4.
After you log in to your account, name your network and specify a device admin
password that applies to all devices that you add to this network, and tap the NEXT
button.
5.
You can now add a device. Choose one of the following options:
•
Add a device by scanning your network.
•
Add a device by entering its serial number.
•
Add a device by scanning its barcode.
Note: Pages might display and suggest that you connect the switch to power and
to an uplink. If you already did this, on these pages, tap the NEXT button.
6.
If the switch is not yet connected to the same WiFi network as your mobile device,
connect it now to the same WiFi network, wait two minutes, and then tap the NEXT
button.
The switch is discovered and registered on the network.
7.
In the Insight app, select the switch and tap the Visit Web Interface link.
The login page of the local browser interface opens.
8. Enter the switch password.
The default password is password. The password is case-sensitive.
The HOME page displays.
Change the Language of the Local Browser
Interface
By default, the language of the local browser interface is set to Auto so that the switch
can automatically detect the language. However, you can set the language to a specific
one.
To change the language of the local browser interface:
1.
Open a web browser from a computer that is connected to the same network as the
switch or to the switch directly through an Ethernet cable.
2. Enter the IP address that is assigned to the switch.
The login page displays.
3. Enter the switch password.
The default password is password. The password is case-sensitive.
User Manual25Install and Access the Switch in
Your Network
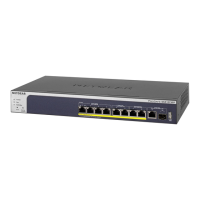
Nighthawk SX10 Pro Gaming Advanced 8-Port Gigabit Ethernet Switch Model GS810EMX
 Loading...
