8.
Enter the fixed (static) IP address that you want to assign to the switch and the
associated subnet mask and gateway IP address.
9.
Write down the complete fixed IP address.
You can bookmark it later.
10.
Click the APPLY button.
Your settings are saved. Your switch web session is disconnected when you change
the IP address.
11.
Disconnect the switch from your computer and install the switch in your network.
For more information, see Set Up the Switch in Your Network on page 16.
12. Restore your computer to its original IP address.
13.
Verify that you can connect to the switch with its new IP address:
a.
Open a web browser from a computer that is connected to the same network as
the switch.
b. Enter the new IP address that you assigned to the switch.
The login page displays.
c. Enter the switch password.
The default password is password. The password is case-sensitive.
The HOME page displays.
Use the NETGEAR Insight App to Access the
Switch
The NETGEAR Insight app lets you discover the switch in your network and access the
local browser interface of the switch from your smartphone or tablet.
To access the switch from the Insight app:
1.
On your iOS or Android mobile device, go to the app store, search for NETGEAR
Insight, and download and install the app.
2.
If the switch is directly connected to a WiFi router or access point, connect your
mobile device to the WiFi network of the router or access point.
3.
Select LOG IN to log in to your existing NETGEAR account or tap the CREATE
NETGEAR ACCOUNT button to create a new account.
User Manual24Install and Access the Switch in
Your Network
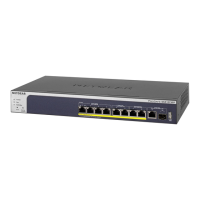
Nighthawk SX10 Pro Gaming Advanced 8-Port Gigabit Ethernet Switch Model GS810EMX
 Loading...
