26
The “joints” tab will allow you to move each joint independently.
The “pose” tab will allow you to move the TCP (Tool Center Point, or simply put: the end of the
arm) with cartesian coordinates relatively from the origin (x, y: middle of the robot base, z:
ground). You can change the position of the TCP as well as its orientation.
To execute a command, follow this procedure:
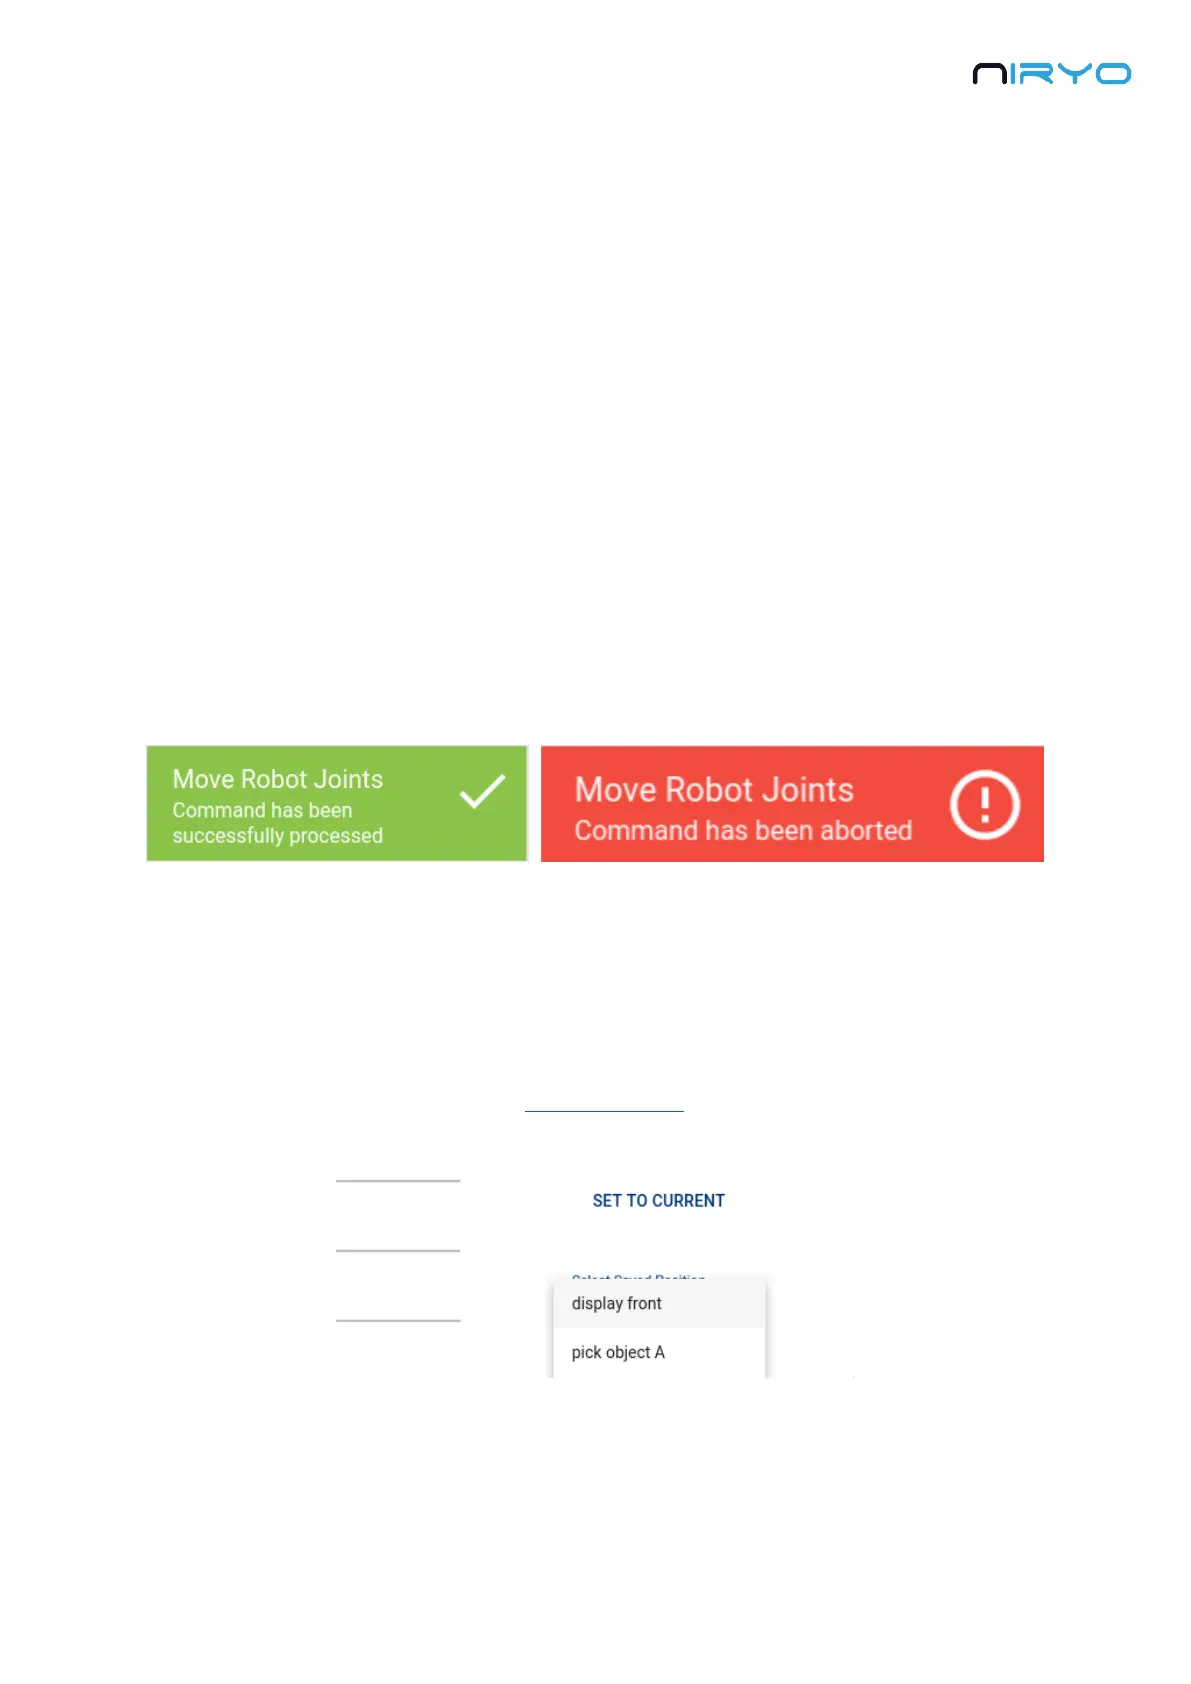
1. (Optional) Click on “Set to current” button. It will set all the axis, position, and orientation to
the current state of the robot. This is useful if you want to modify the values from the current
state (ex: you only want to move axis 5, or you only want to move the TCP along the y axis and
keep the same orientation).
2. Modify the values of the joints or pose (position + orientation).
3. Click on the “Move Joints” or “Move Pose” button to execute the move command.
4. Once the command is done (success or not), you’ll get a notification on the bottom of the
screen.
5. At any time you can cancel the current command execution by clicking on the “Stop
command” button.
You can’t execute a new command while another move command is running. If you want
to start a new command, you’ll have to stop the previous one.
You can also choose a position that you previously saved with the “Select saved position” select
box, replacing steps 1 and 2.