44
⚠ When you trigger the sequence autorun with the top button, if a calibration is needed,
then an auto calibration will be launched first. Make sure you are aware of that. This is useful
when you just want to start a demo without controlling Niryo One from a computer (otherwise,
with no calibration, the robot couldn’t run any move command).
4.9 Use a joystick controller to move the robot
You can use a joystick controller to move each axis of the arm independently.
For now, the only compatible (and tested) joystick controller is a wired Xbox360
controller (wireless controller won’t work because of a driver compatibility issue).
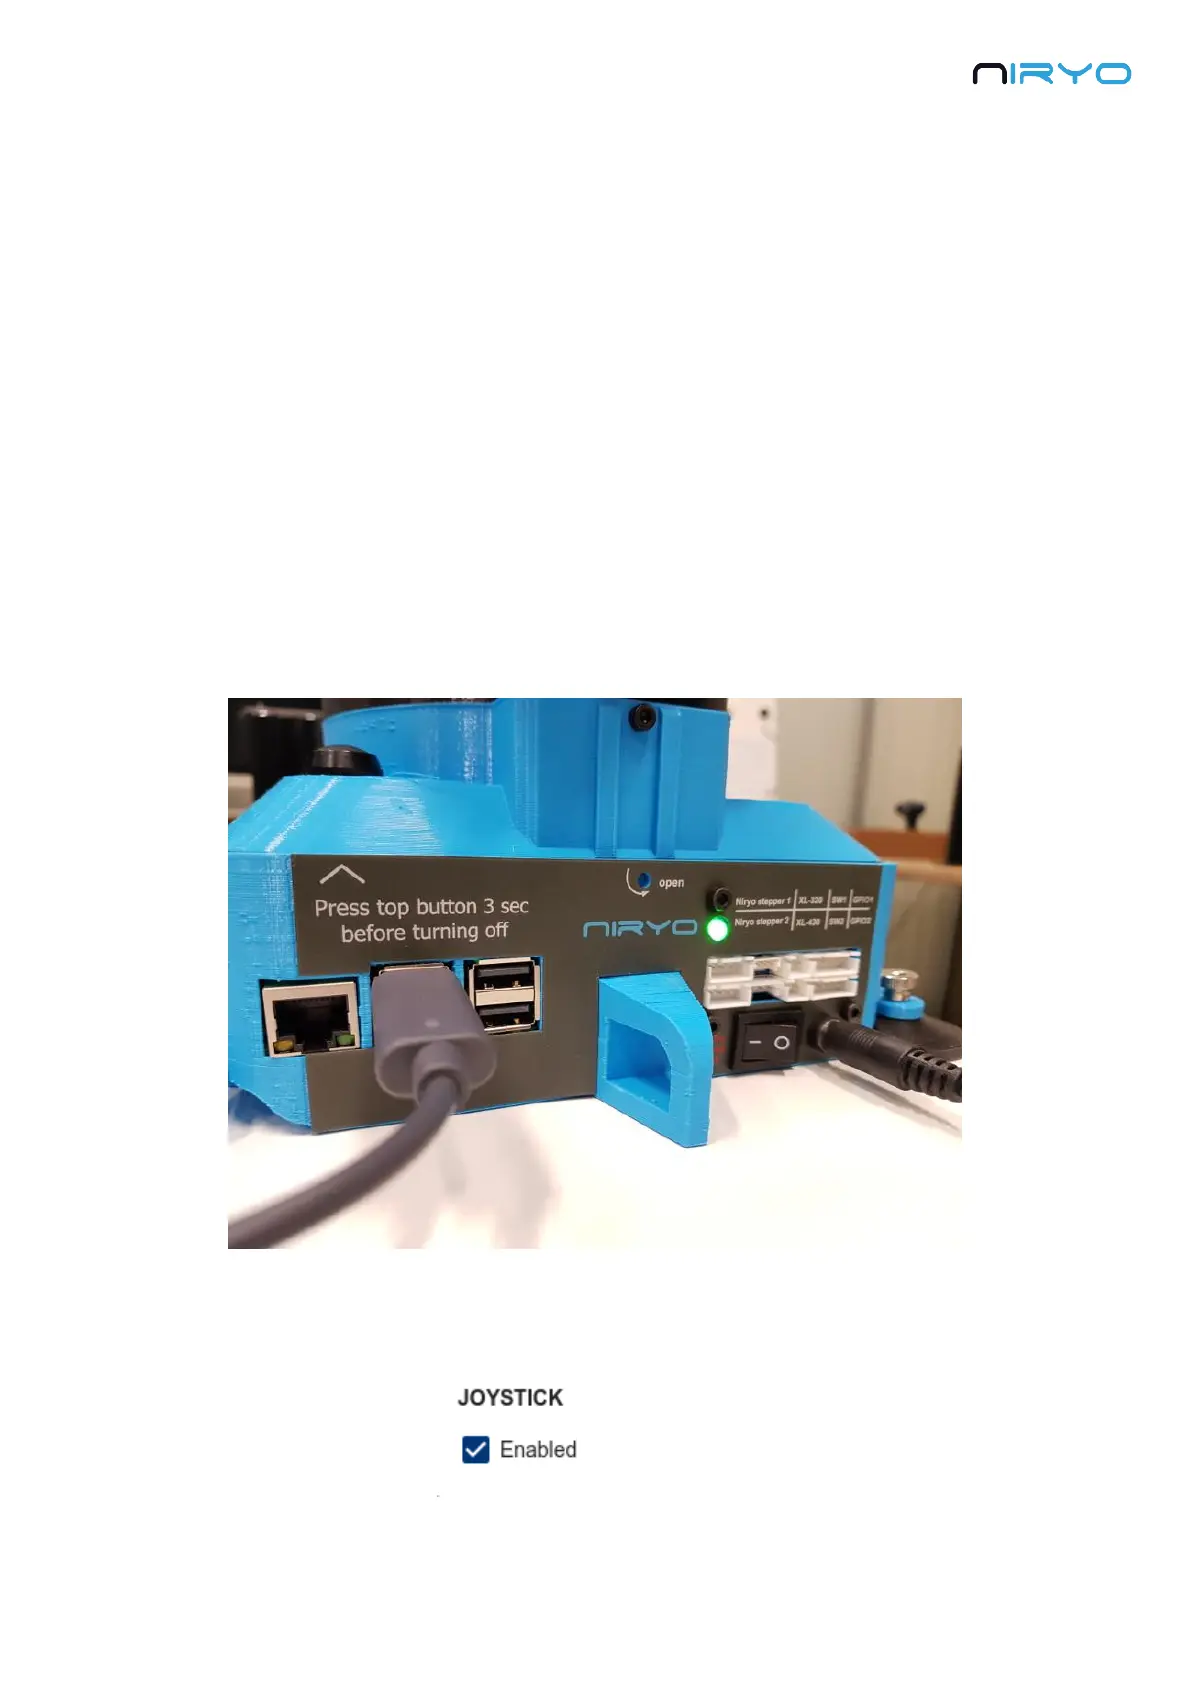
4.9.1 Connect and enable the joystick controller
First, connect the USB cable of the joystick controller to one of the USB cable available at the
back of the robot.
In Niryo One Studio, go in the “Settings” panel >“Joystick” section. Check the “Enabled”
checkbox to enable the joystick control.