17
3.5.3 Connect the robot to a Wi-Fi network
One of the main drawback of the “hotspot mode” is that you can’t be connected to the robot
and have Internet access at the same time. Also, if you have multiple robots, it means that you
need to connect your computer to a different Wi-Fi network every time you want to switch
between robots.
To solve that, you can connect the robot to an already existing Wi-Fi network (for example,
your home/school/office Wi-Fi).
Connecting the robot to a Wi-Fi network is usually the best way to connect to Niryo One
The first step is to connect to the robot in “hotspot mode” (or in “connected mode” if the robot
is already connected to a Wi-Fi network and you want to change the Wi-Fi network). Don’t
forget this step: if you are not connected to the robot, you won’t be able to change its Wi-Fi
network.
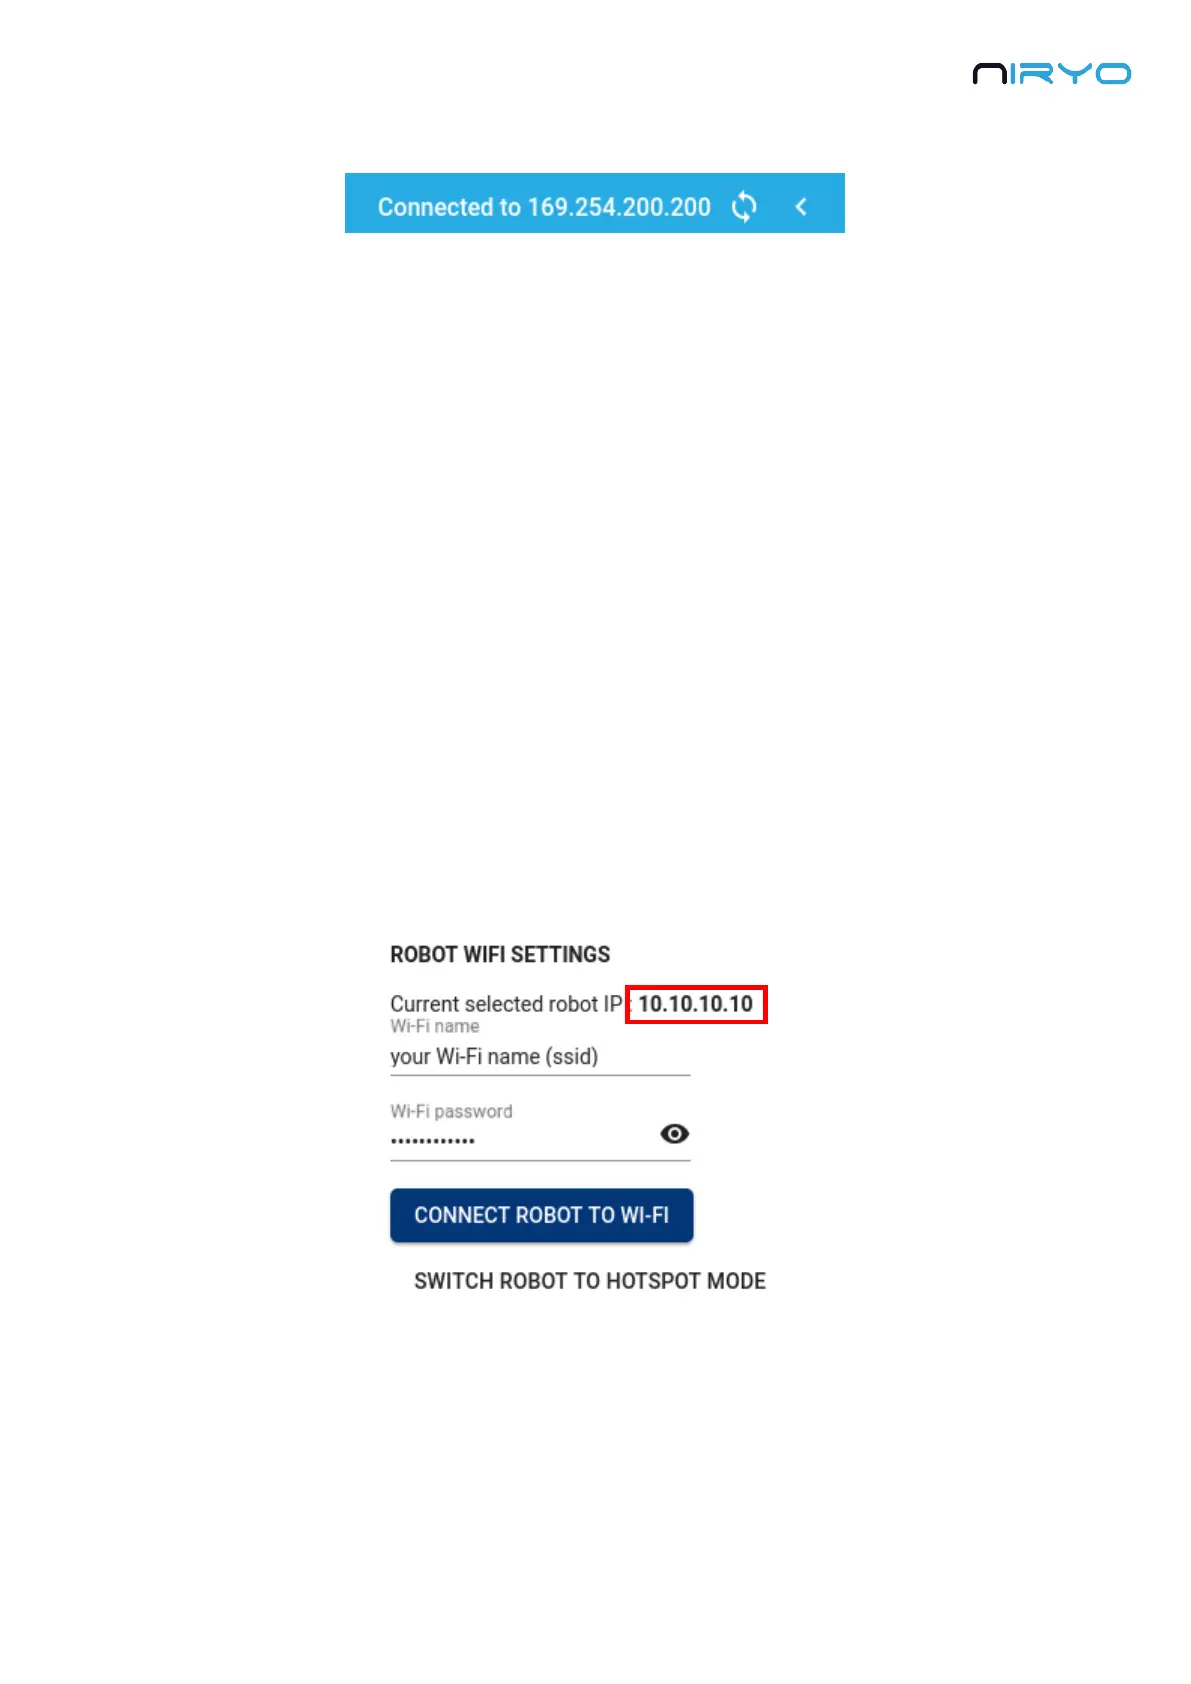
Once connected to the robot, open the settings panel in Niryo One Studio. On the “Robot Wi-
Fi settings” block, make sure that the displayed IP address is the IP address of the robot you
are currently connected to.
You can now fill in the Wi-Fi name (ssid) and password for the Wi-Fi network you want to
connect the robot to. Make sure to avoid typos in the name and password. Then, click on
“Connect robot to Wi-Fi”.
Niryo One Studio will automatically disconnect from Niryo One. The robot will try to connect
to the Wi-Fi network with the given ssid and password. This can take about 20-30 seconds.