Copyright © 2016 Nortek Security & Control 11
Installation Outline
UsethefollowingoutlineinconjunctionwiththisInstallationandProgrammingGuidetoguideyouthroughtheinstallation
steps.
1 Unpackthesystemandidentifythesystemcomponents.
2 CreateanInstallationFloorPlantodeterminethebestcentralizedlocationfortheControlPanel.
3 Decidewheretobestinstallthewiredand/orwirelesssensors.GuidelinesareavailableintheInstallationInstructions
includedwitheachsensor.
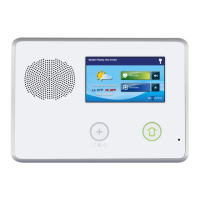
4 IdentifyanunswitchedwalloutlettousefortheControlPanel’ spowersupply.
5 (Optional)InstalltheGSM(Cellular)RadioModuleintheControlPanel.See"GSM(Cellular)RadioModule"onpage17.
NOTE: (Optional)Ifinstallingthe2GIGGo!ControlPOTSModule,identifyorinstallaUSOC.RJ31Xtelephonejacktoconnect
themoduletothephoneline.See
"Optional2GIGGo!ControlPOTSModule"onpage16.
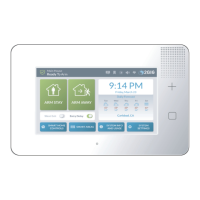
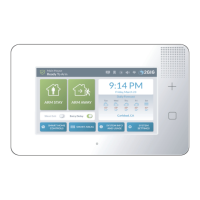
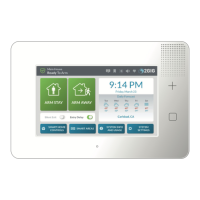
6 UsetheControlPanel’sbackplatetomarkthedrywallcutoutsfortheControlPanel.Thenmakethecutoutsandattach
thebackplatetothewall.See
"ControlPanelMountingPlate"onpage14.
7 Installeachofthesystem’ swirelesssensors.Ifeitherofthetwohardwireloopsaregoingtobeused,installthecontacts
androutetheloopwiretotheControlPanel’ swallcutout.
8 Installtheoptionalhardwiredsounder,androutetheconnectionwiretotheControlPanel’swallcutout.
9 Ifused,routethetelephonelinefromtheRJ31XjacktotheControlPanel’ swallcutout.
10 Usethethird‐handhangerstraptohangtheControlPanelonthemountingplate.ThenconnectallwiringtotheControl
Panel’ sterminalblock.See
"ControlPanelWiring"onpage19and"TerminalBlockWiringDiagram"onpage20.Ifyou
installthe2GIGGo!ControlPOTSModule,plugthetelephonelineintothePOTSmodule.See"Optional2GIGGo!Control
POTSModule"onpage16.
11 Plugthebackupbatteryconnectorintotheconnectoronthecircuitboard.
12 SwingtheControlPanelup,placingthebottomoverthelipofthemountingbracket.PushthetopoftheControlPanel
intothemountingbracketuntilitsnapsintoplace,thensecureitwiththeretainingscrew.
13 Plugthepowersupplyintotheunswitchedwalloutlet.
14 Progr amthesystemasdescribedinthismanualanddocumentanycustomsetupoptionsfortheenduserinthespace
providedintheUserGuide.
15 Testthesystemasdescribed"InstallerTesting"onpage67.
16 Educatetheenduser(s)aboutbasicsystemoperationsandprovidethemwiththeControlPanel’ sUserGuide.
 Loading...