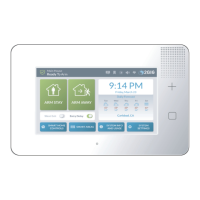
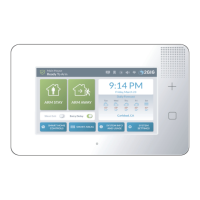
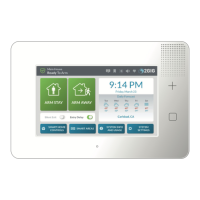
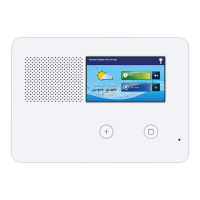
Installation
Copyright © 2016 Nortek Security & Control 21
NOTE: IntheUnitedStates,wiringroutedinsidewalls,
ceilings,andfloorsmustcomplywithrequirementsof
ANSI/NFPA70:NationalElectricalCode(NEC)andlocal
buildingcodes.Forwiringfromtheoutputofthe2GIG
ClassIIPowerSupply,wiringratedCL2,CL2X,CL2R,or
PLTCisrecommendedtosatisfythese
requirements.If
thiswiringisinstalledinanairplenum(spaceusedfor
environmentalairexchange)itmustberatedCL2P
(plenum‐rated).
Figure 17 Power Supply Wiring
Control Panel and Power Supply
Mounting
Afterallthewiringcomplete,followthesestepstopower
uptheControlPanel:
1 PlacethebottomoftheControlPaneloverthelowerlip
ofthebackplateandfliptheControlPanelupwards.
ThenpushtheControlPaneloverthemountingbracket
untilitsnapsintoplace.itwiththeretainingscrew.
2 Peelofftheadhesivebackingfromthepowersupply
retainingbracketandattachthebrackettotheoutlet
withawallplatescrew.
Figure 18 Connecting Battery and Closing Panel
3 SpreadtheretainingbracketearsandplugtheControl
Panel’ spowersupplyintotheunswitchedwalloutlet.
Slotsareprovidedonthebrackettosecurethepower
supplywithazip‐tie.
4 Afteraboutfive(5)seconds,theControlPanelindicates
thatpowerhasbeenapplied.IftheControlPaneldoes
notpowerup,checkthepowersupplypolarity.
Figure 19 Securing the Power Supply
NOTE: IntheUnitedStates(andothercountrieswhereitis
required),usethepowersupplyretainingbracket.In
Canada,thepowersupplyretainingbracketisnot
required.
A LeftTer min al14VDC(+) C 14VDC(+)Ter minal 1
B RightTermi nal14VDC(‐) D 14VDC(‐)Ter minal2
A Connectbattery
B Alignmountingplateinsideofconsolebottomedge
C Swingconsoleupandsnapintothemountingplate
D Secureconsolewithscrewinretaininghole
1 Placethescrewhereforabracketonastandardstyleoutlet.
2 Placethescrewhereforabracketonadecorastyleoutlet.
 Loading...