NOVA chat User’s Guide Page 130
Configuring Data Uploading
Note: You must be connected to WiFi to upload data.
1. Choose Realize Language from the Data Logging menu. The first
time you select Realize Language, the following message will
appear: “Access to personal communication requires authorization.
Please enter your privacy password.” Choose OK. A keyboard will
open, prompting you to enter your privacy password.
2. Enter your privacy password and choose OK. Another keyboard will
open, prompting you to enter your Realize Language account email
address and Realize Language account password.
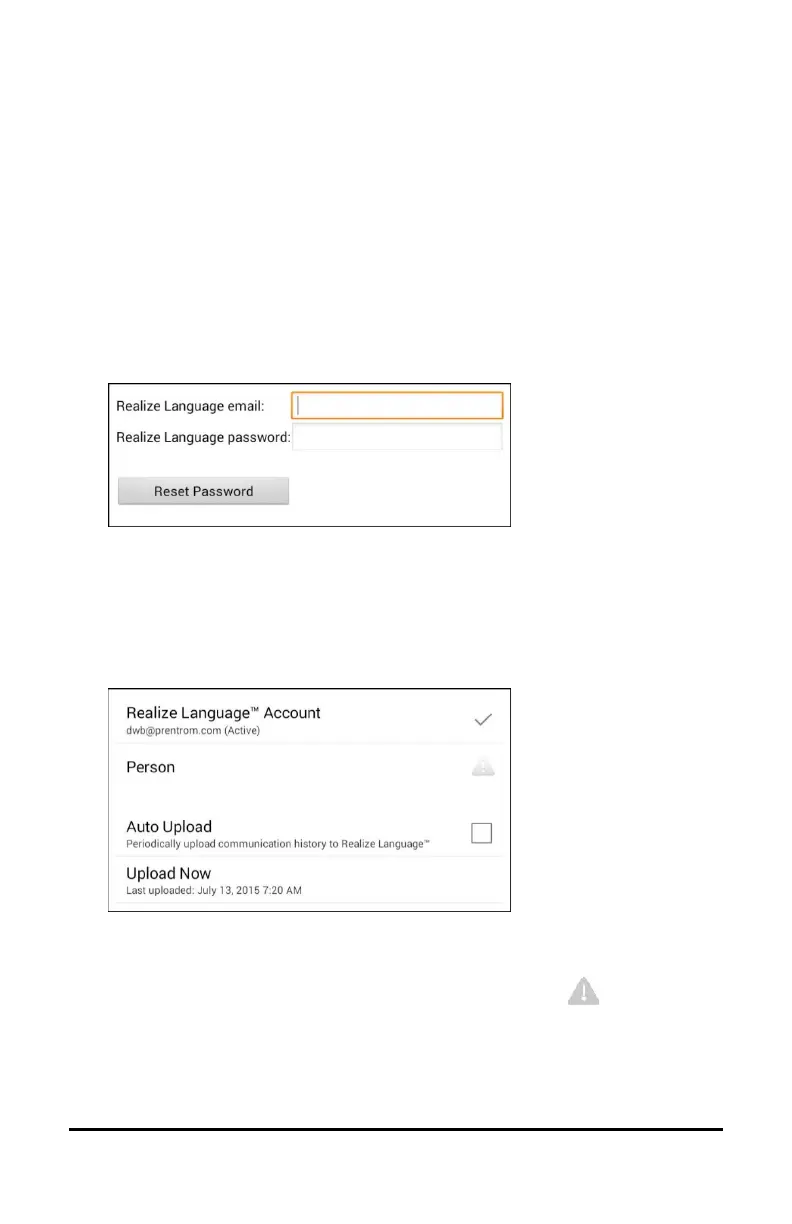
3. Enter your Realize Language account email address and choose
Next. The highlight moves to the Realize Language Password field.
4. Enter your Realize Language account password and choose OK. The
device will be connected to the Realize Language website, and the
Account/Upload screen will be displayed.
5. The screen will display your Realize Language account email
address; the currently selected person (the person with whom
collected data will be associated) or a warning icon if no person
is selected; the Auto Upload checkbox; and the Upload Now button
with the date and time of the last data upload.
6. At this point you can select a person, set up automatic data uploads,
or initiate uploads yourself.