165
10
Transferring images to a computer
Printing images
The print menus include menus such as [Photo], [Index], [Postcard],
[Calendar] etc. The examples in the instructions below are taken from the
[Photo] menu.
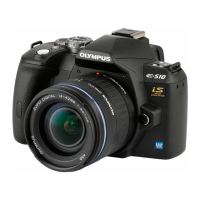
1 Click (Print Images at Home) in the
OLYMPUS Master main menu.
• The print menu appears.
2 Click (Photo).
• The photo print window appears.
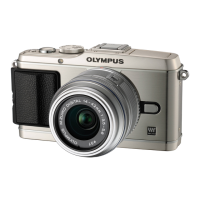
3 Click (Settings) on the photo print
window.
• The printer setting dialog box appears. Make
printer settings as required.
4 Select the layout and size of the image to
print.
• To print images with the date or date and
time, check off [Print Date], then select [Date]
or [Date & Time].
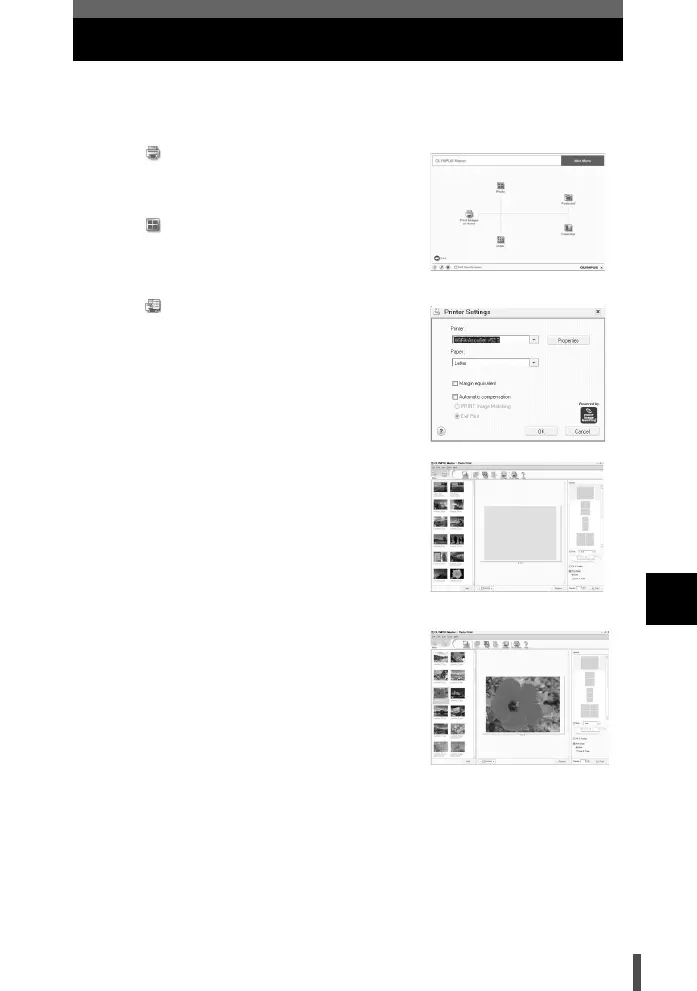
5 Select the thumbnail of the image you
want to print, then click the [Add] button.
• The selected image is previewed on the
layout.
6 Set the number of images to print.
7 Click the [Print] button.
• Clicking [Menu] in the photo print window
returns to the main menu.
s0004_e_Advanced.book Page 165 Tuesday, September 27, 2005 4:15 PM