47
EN
2
Recording
Changing the recording scene
The voice recorder has preregistered templates of optimum settings tailored to various
recording applications such as lectures and dictation. When selecting one of these
templates you can enter several settings recommended for your recording application all
in a single operation.
[Lecture]
Suitable for recording with the microphone pointed in a specific
direction such as at a large venue where the speaker is far away.
[Conference]
Suitable for recording conferences in a large space and other sounds
over a wide area.
[Meeting]
Suitable for recording meetings held in a small space and other
sounds that are fairly close.
[Dictation]
Suitable for recording your own voice and other sounds that are
extremely close.
[NoisySituation]
Suitable for recording your own voice and other sounds that are
extremely close while reducing surrounding noise.
[Music]
Suitable for recording realistic audio with exceptional clarity such
as live recording of a musical instrument performance or out in the
open air.
[DNS]
Suitable for Speech Recognition Software.
[User 1]
Save custom [Rec Level], [Rec Mode], [Zoom Mic], [Low Cut Filter],
and [External Input] settings in either of the [User 1] and [User 2]
custom recording-scene banks. For information on creating custom
recording scenes, see “Creating Custom Recording Scenes”
(☞ P.51).
[User 2]
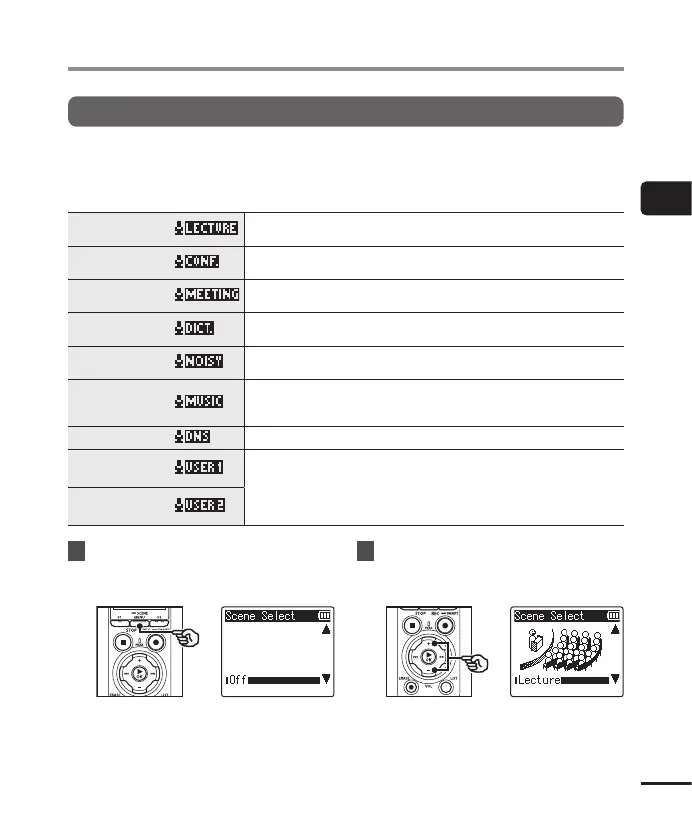
1
While the voice recorder is in
stop mode, press and hold the
MENU/SCENE button.
2
Press the + or − button to
select the desired recording
application.
Selecting the automatic recording setting [Rec Scene]