118
EN
4
Menu
Start and end recording at specified times.
NOTE
• Before proceeding, check that
the recorder’s clock is set to the
correct time and date. If it is not,
set the clock using [Time & Date]
(☞ P. 101).
• Timed recording is performed
according to the settings currently
chosen on the recorder. Any changes
must be made before recording
begins. Recording time and power
consumption vary with the settings
chosen (☞ P. 84).
• Check the battery level and charge the
batteries or insert fresh batteries as
needed (☞ P. 12, P. 13, P. 20).
• Check the amount of memory
available and insert a new microSD
card or delete files to free up
additional space as needed
(☞ P. 22, P. 74).
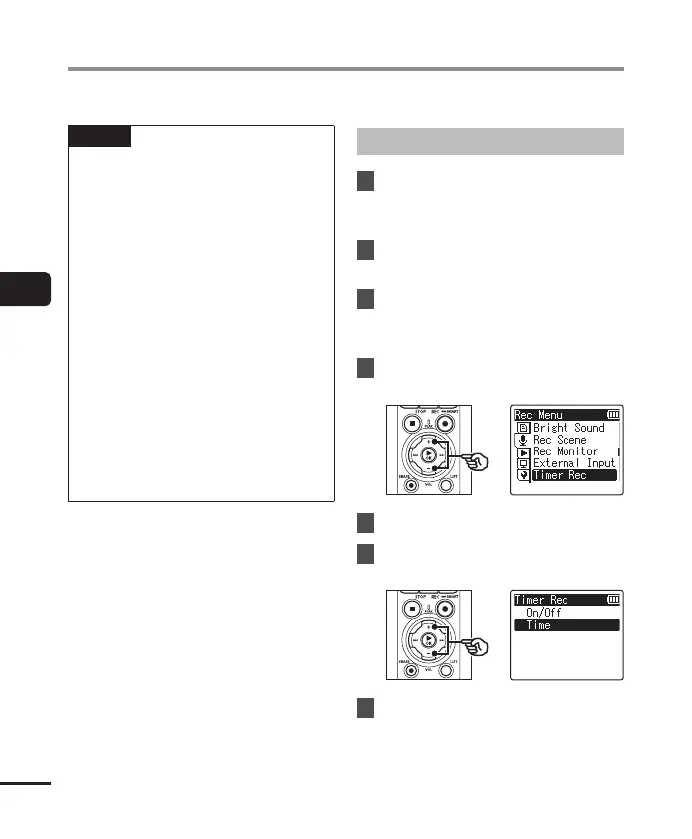
Choosing Start and End Times
1
Press the MENU/SCENE
button while the voice recorder
is in stop mode.
2
Press the + or − button to
select the [Rec Menu] tab.
3
Press the `OK button to
move the cursor into the list of
setting items.
4
Press the + or − button to
select [Timer Rec].
5
Press the `OK button.
6
Press the + or − button to
select [Time].
7
Press the `OK button.
Starting Recording at a Set Time [Timer Rec]