Tape Dr ive Tray
6-2 StorageTek SL150 Modular Tape Library Installation Manual
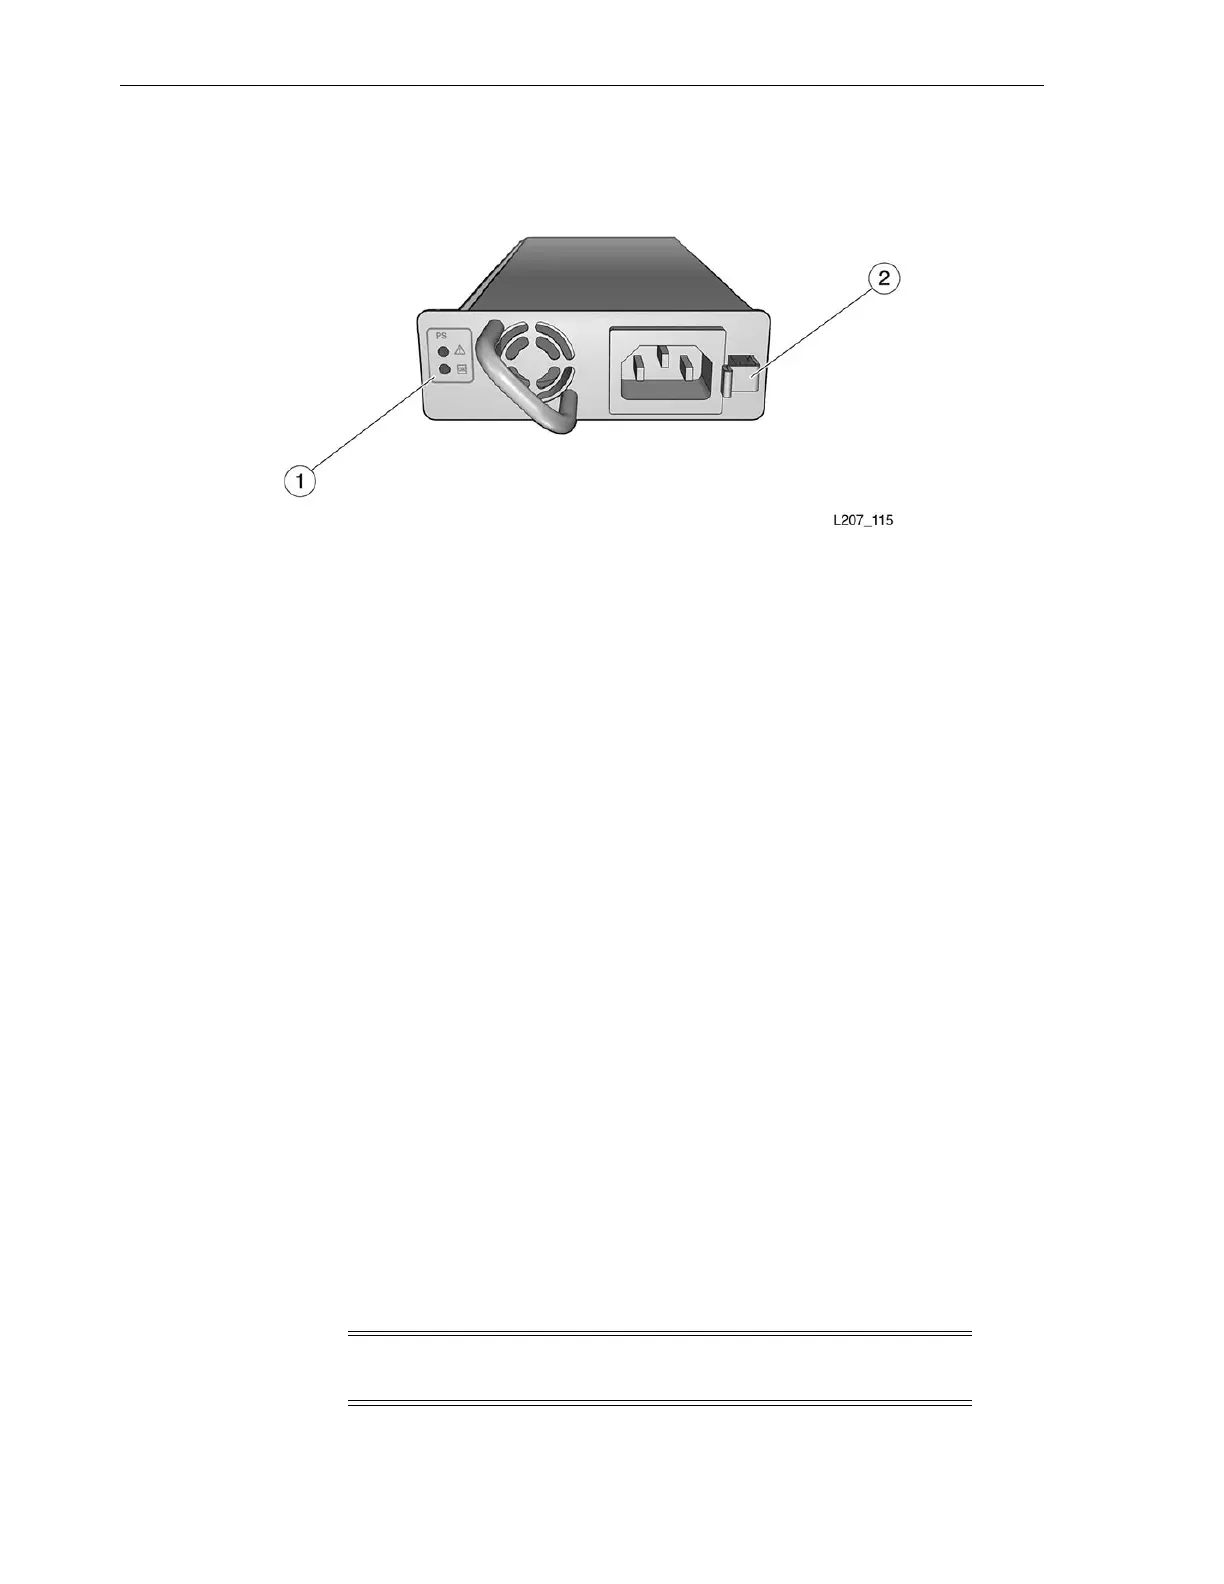
Figure 6–2 Power Supply
Illustration Legend:
1 - Power Supply Indicators
2 - Power Supply Latch
To Remove the Power Supply Filler
1. Hook your finger in the hole of the power supply filler (see Figure 6–1).
2. Pull the filler out of the power supply slot and set it aside.
Install an Additional Power Supply
To install an additional power supply:
1. Remove the power supply from the shipping carton.
2. Grasp the power supply by the handle with one hand and support the bottom of
the supply with your other hand.
3. Guide the power supply into the power supply slot.
4. Make sure the power supply is latched in place.
5. Connect a power cord to the power supply receptacle and a receptacle on the rack
power strip.
6. Gather cord slack to the outside of the library and wrap the hook and loop strap(s)
around the cord.
Tape Drive Tray
Two actions are involved to add a tape drive tray (see Figure 6–3) to a library module:
1) removal of the tape drive filler and 2) installation of the tape drive tray. No tools are
required to perform these tasks.
Note: The SL150 library supports installation of Generation 5, 6, and
7 tape drives simultaneously as bridged tape drives and data drives.

 Loading...


