Tape Dr ive Tray
Adding Power Supplies and Tape Drives 6-3
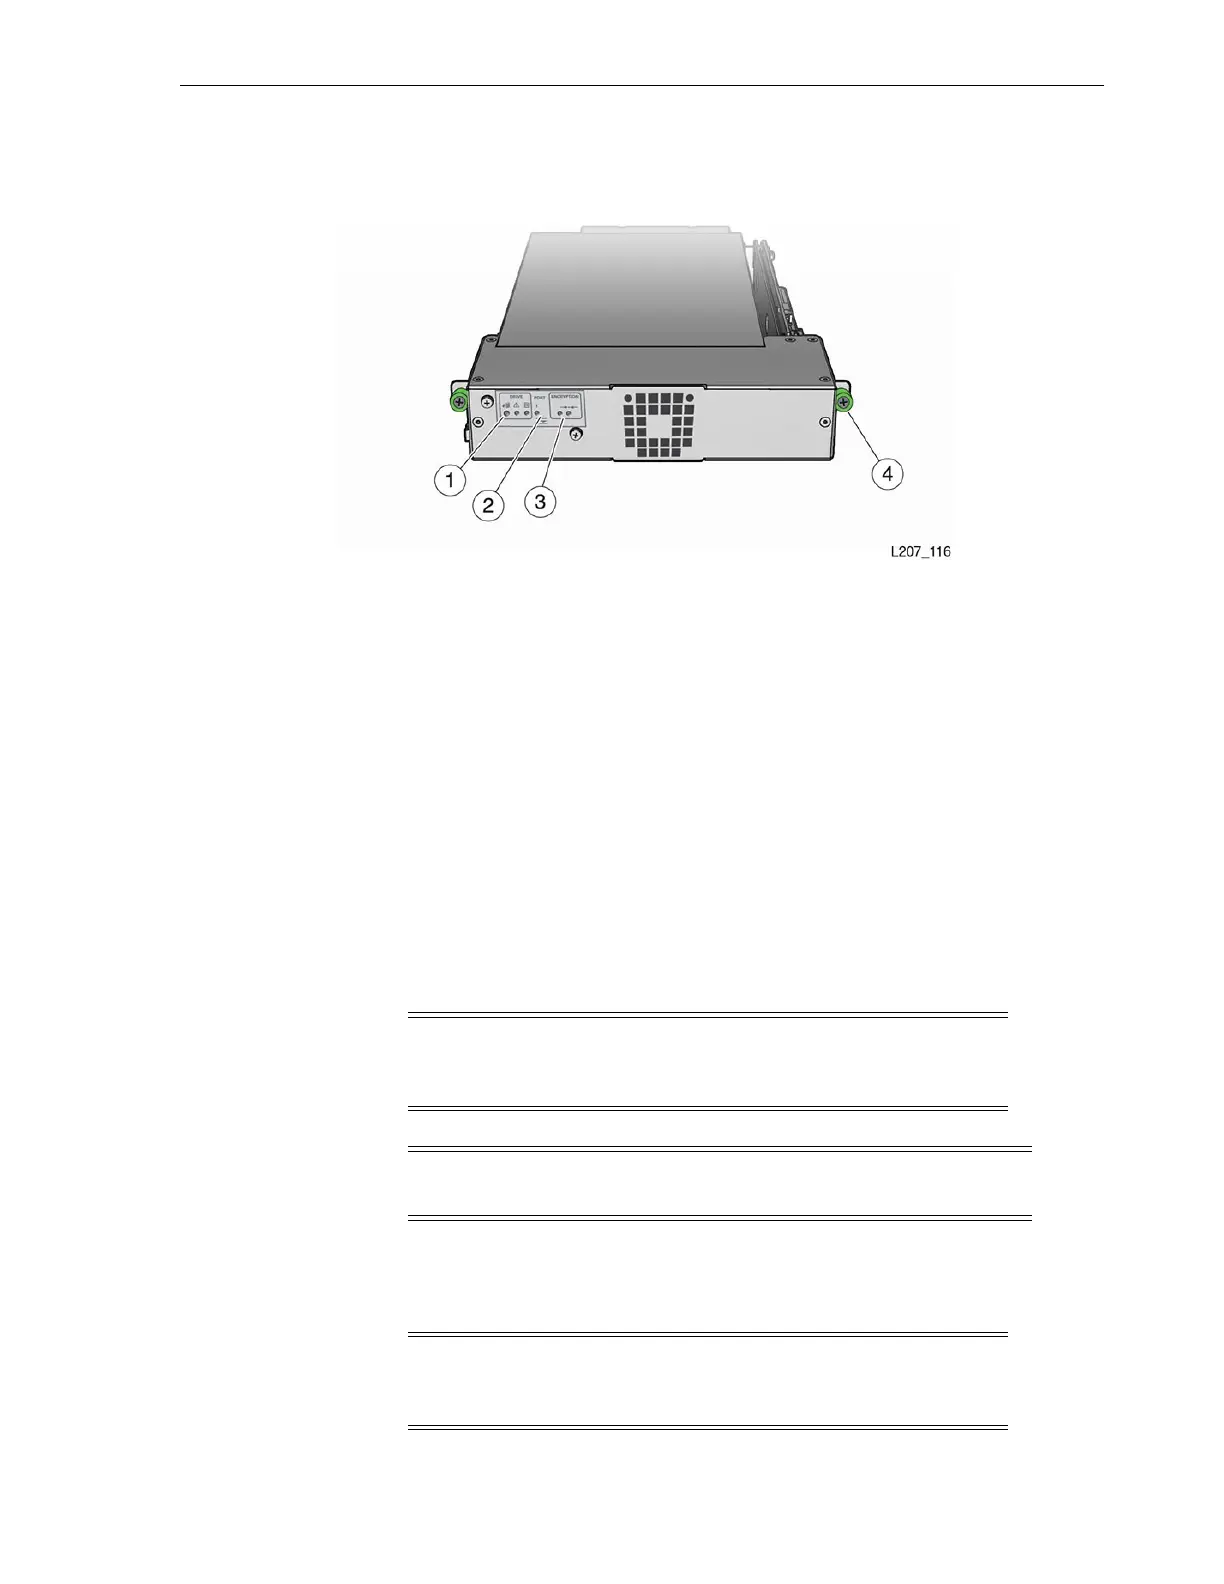
Figure 6–3 Tape Drive Tray
Illustration Legend:
1 - Drive Indicators
2 - Port Indicators (HP drives only)
3 - Encryption Indicators
4 - Thumbscrew (One on Each Side of the Tray)
Remove the Tape Drive Filler
To remove the tape drive filler:
1. Loosen the thumbscrews on both sides of the tape drive filler (see Figure 6–1).
2. Grasp the thumbscrews and pull the filler toward you.
3. Remove the filler from the drive slot and set it aside.
Install an Additional Tape Drive Tray
1. Follow accepted practices to prevent ESD.
2. Remove the drive tray from the shipping carton.
Caution: Equipment damage. Do not touch the drive tray circuit
card or static sensitive components. The circuit card is located on
the right side of the drive tray (see Figure 6–3).
Note: Library firmware release 2.60 or later supports the LTO-7 tape
drive.
Note: Handle the drive tray by the rear corners (close to the
thumbscrews) and the bottom of the tray. Avoid contact with the
top cover of the actual tape drive.

 Loading...


