26
o Mating connector: SMB male connector. An example of mating assembly can be found under
the reference “BPSMBP1.5M174” over https://ccsukltd.co.uk
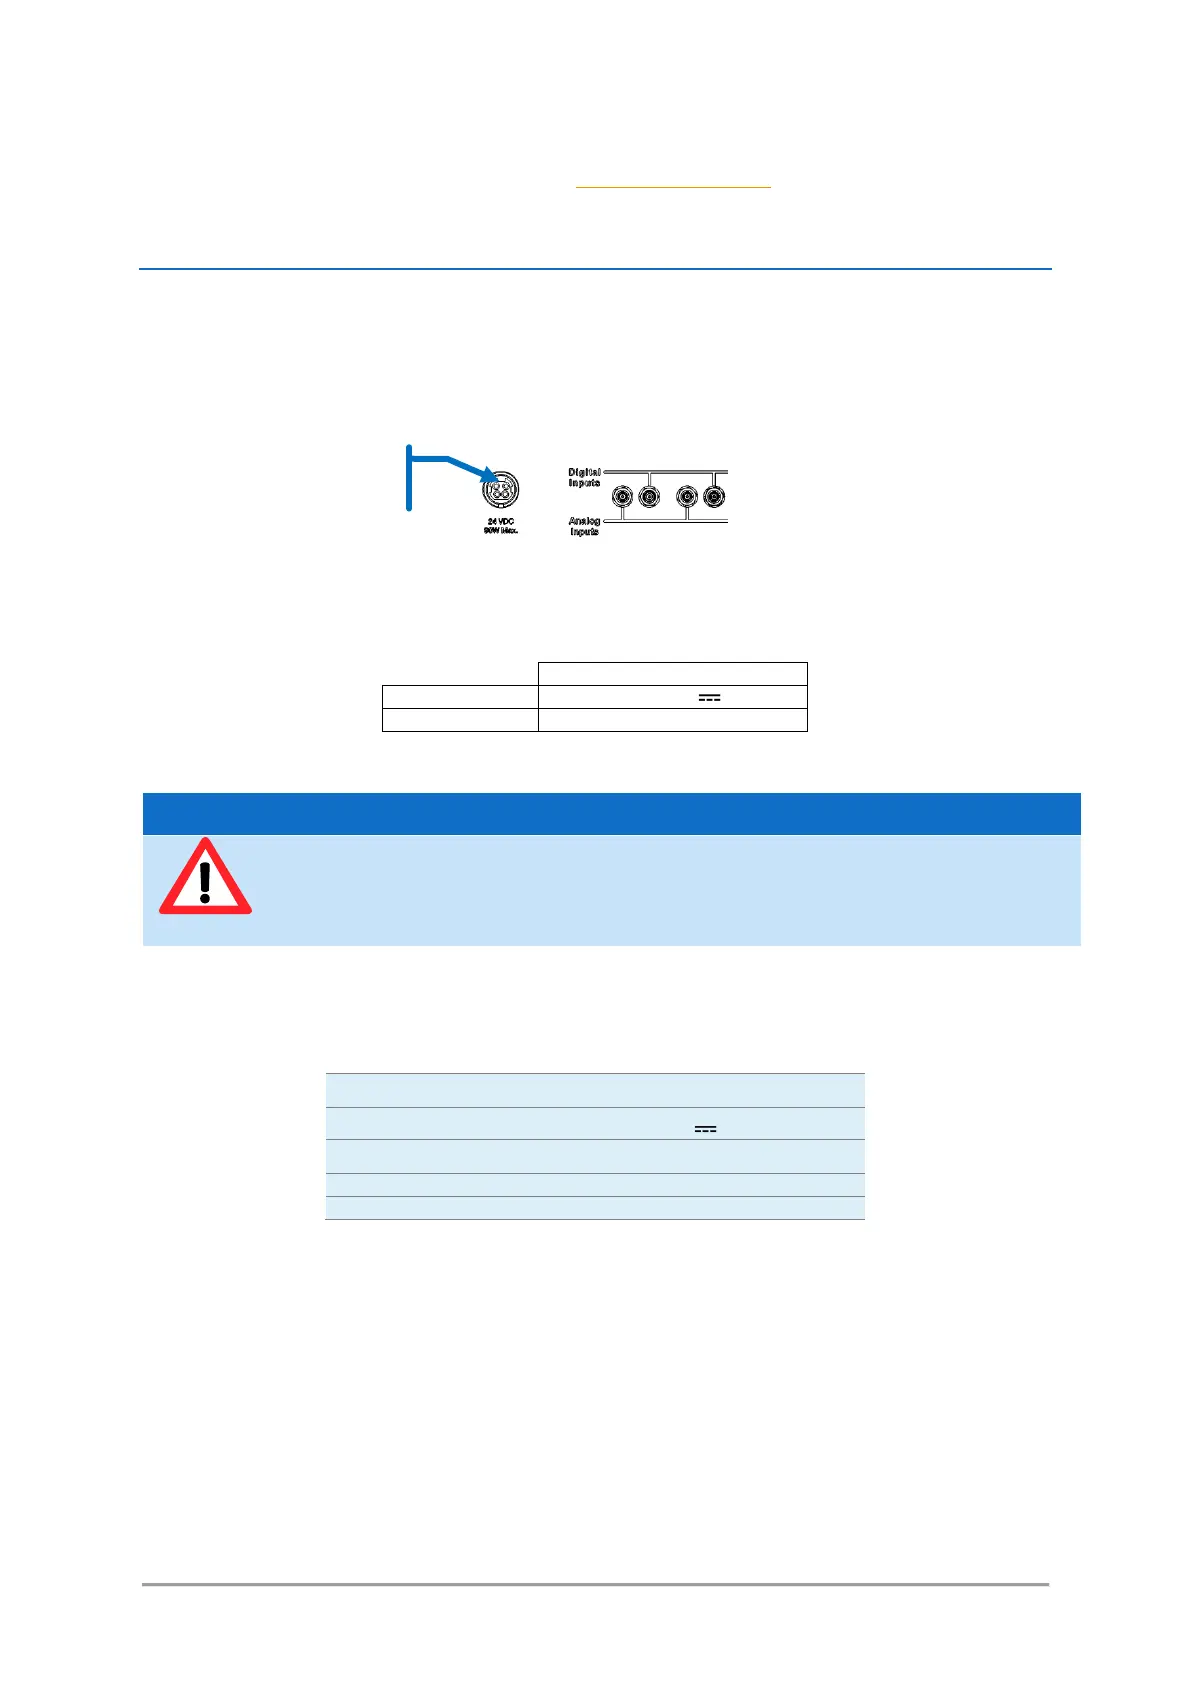
CONNECTING TO POWER
1. Observe the safety instructions described in section 1, "Safety Information".
2. Plug the output cable of the power supply to the power socket on the rear panel of the combiner.
Plug the AC power cable into the AC power connector of the power supply. Only use the AC power
cable delivered with the product.
3. Plug the AC power cable into a power outlet with ground contact.
The power supply provided with the combiner have the following characteristics:
In case you have to use your own power supply for the laser sources, the input voltage socket at the rear
panel of the combiner must be connected to a “SELV” source complying with the following specifications:
Line voltage regulation: +/-1%
A SELV source, as stated by UL 60950-1, is a “secondary circuit which is so designed and protected that
under normal and single default conditions, its voltages do not exceed a safe value”. This “secondary
circuit” has no direct connection to the primary power (AC mains) and derives its power via a
transformer, converter or equivalent isolation device.
The power supplies provided with the plug-and-play L4Cc and L6Cc meet these requirements.
For electrical safety, Oxxius recommends to use the standard power supply supplied with
this product. A protective ground connection integrating a grounding conductor is essential
for a safe operation. To avoid electrical shock, plug the power cord into a properly wired
receptacle.
Connect to the power supply