• Select this option if you wish to include the patient’s ears in the
photo:
The image is taken using a combined method of laser and optical
scans.
• Select this option if you do not wish to include the patient’s ears in
the photo:
The image is taken with a laser scan. We recommend that you use
this option if you need to take very sharp photos.
The positioning lights show on the patient’s face.
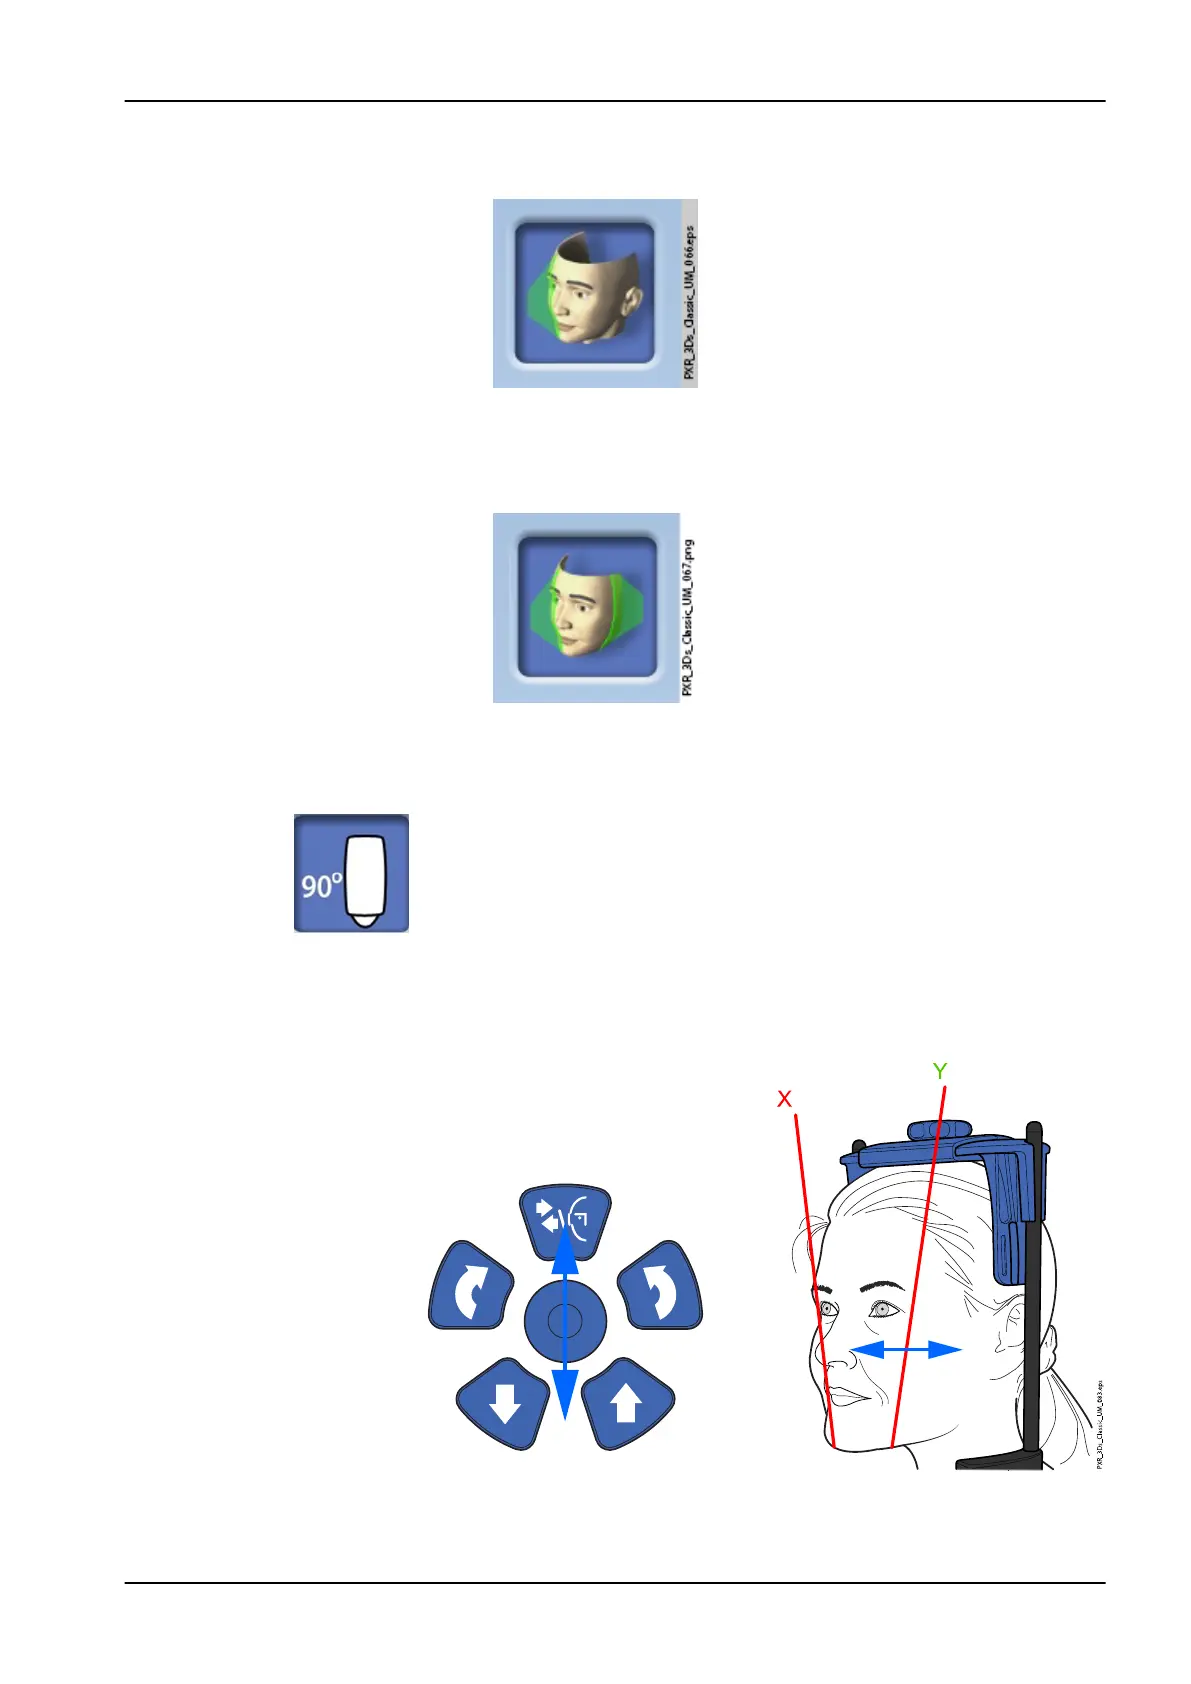
3. Rotate the C-arm 90 degrees clockwise by selecting the 90° button at
the bottom of the screen. This will give you a better view for checking the
position of the side light (Y laser).
• Select the button again if you wish to rotate the C-arm back to the
original position.
4. Check that the side light (Y laser) is positioned 1 - 3 cm (0.4 - 1.2 in.)
behind the patient’s eye corner.
• If you need to adjust the side light, move the positioning joystick
towards you (laser to the front) or away from you (laser to the back).
9 3D face photo
User's manual Planmeca ProMax 55