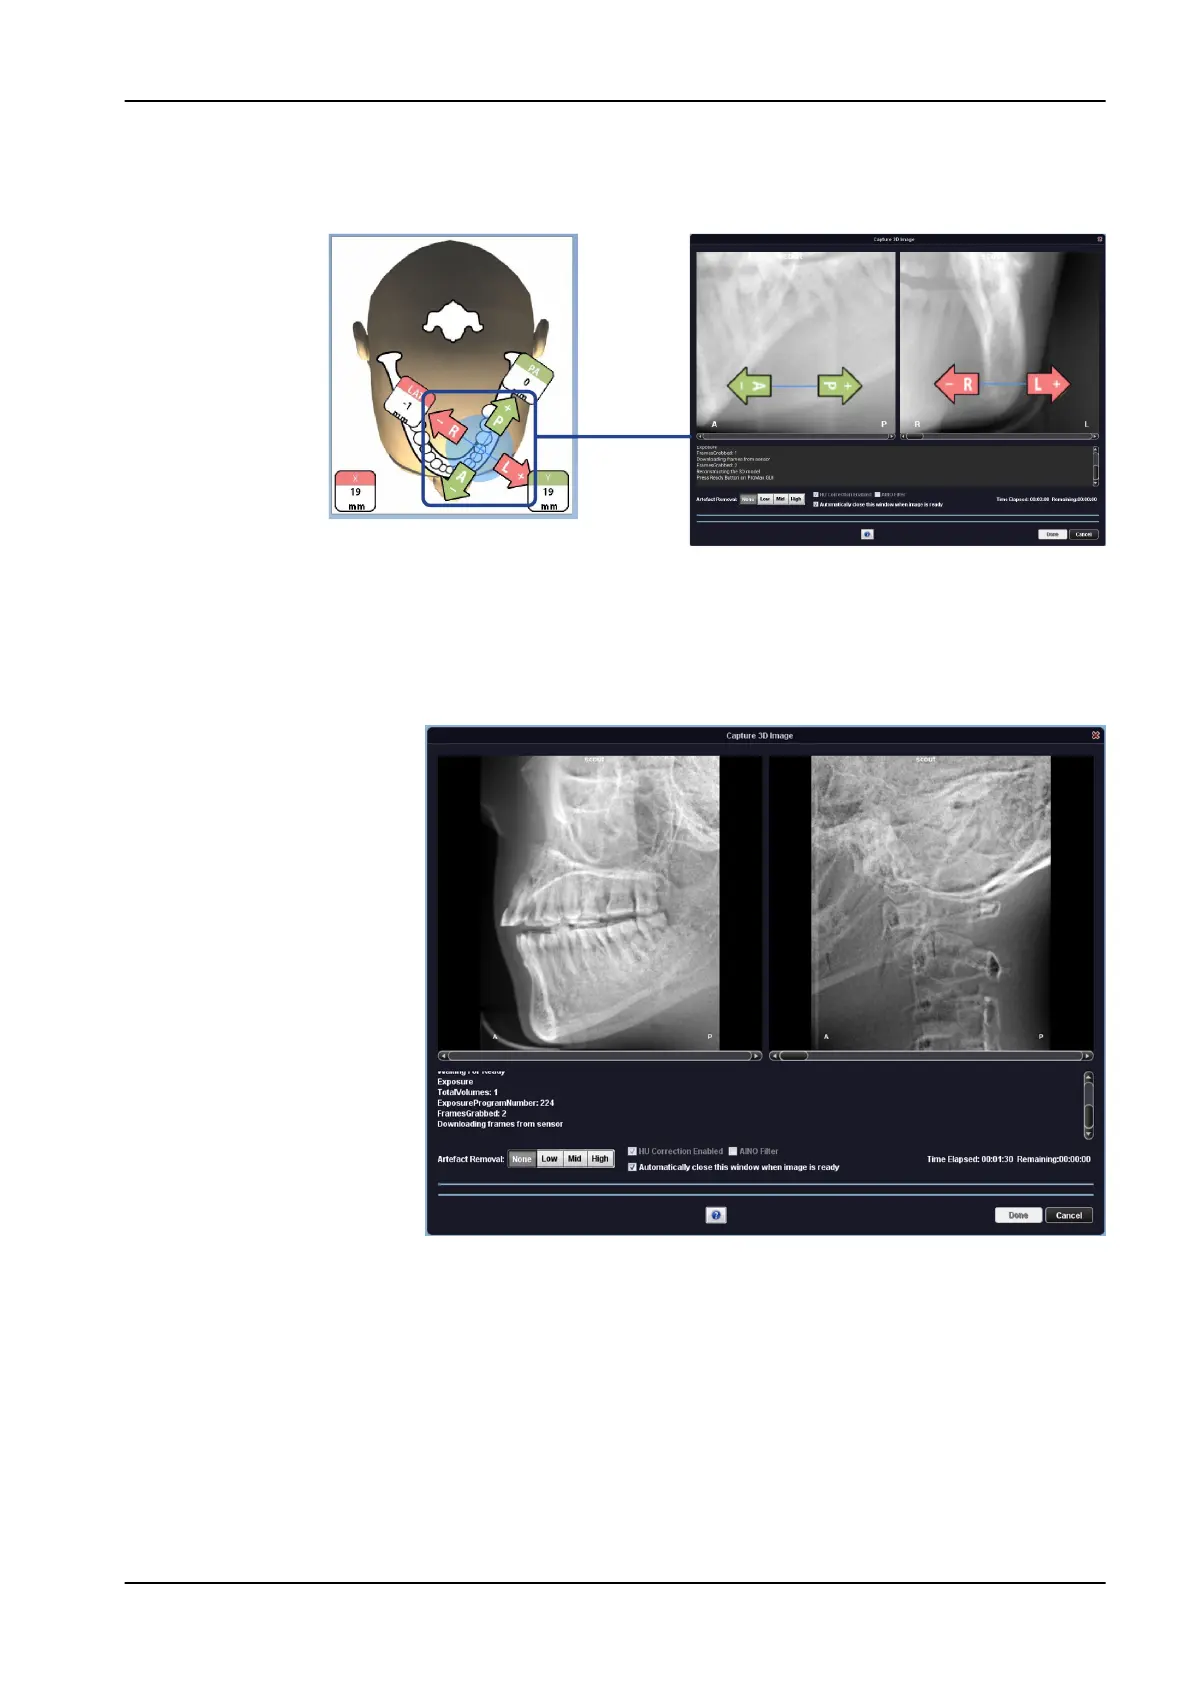
6. The image is shown on the computer screen. If needed, you can readjust
the position of small volumes as shown below.
Use the plus and minus signs that appear on the touch screen.
7. Take a new exposure as described above. Repeat the procedure until
the image volume is in the correct place.
NOTE
The scout view function yields results for Jaw and Face programs that look
different to the scouts for Tooth and Teeth programs.
8.10 Taking a 3D exposure
NOTE
Make sure that you have selected the correct patient and exposure mode in
the Planmeca Romexis program.
1. Make sure that the Volume tab is selected.
8 3D patient exposure
User's manual Planmeca ProMax 49