Installation and Operation Manual Page 54 of 104
(PVI-3.8/4.6-I-OUTD-US Rev.: 1.1)
3) Once both switches are closed, the inverter starts the grid connection sequence.
This routine is indicated by the flashing green LED labelled POWER over the
display.
This routine may take from 30 seconds up to several minutes, depending on grid
condition. Three screens are shown in sequence on the LCD display during this
routine:
• Grid voltage value and status compared to specified values
(within/outside range).
• Grid frequency value and status compared to specified values
(within/outside range).
4) When the connection sequence is completed, AURORA starts operating;
proper operation is indicated by a warning sound and the green LED staying
on steady.
5) If the grid check routine does not give a positive result, the unit will repeat
the procedure until all grid voltage and frequency parameters and grid
configuration are found to be within the specified range. During this process,
the green LED will keep flashing.
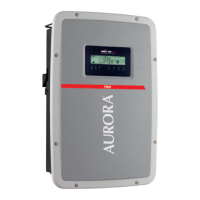
4.2 Start-Up using side button
In case of missing DC voltage, when the AC is properly connected and present, user
can turn on the inverter only pressing for more than 2 seconds on the side key Fig. 21.
A “beep” will indicate the detection of pressed key from the inverter.
The key is located on the right side of the inverter.
The inverter will stay on for 10 minutes allowing every type of control on the display
(statistics, settings etc.). The inverter will not connect to the grid until a valid DC input
will appear.
If turned on with no DC voltage the inverter will use energy from the grid to stay on
(less than 20W).