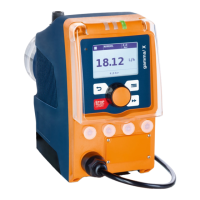
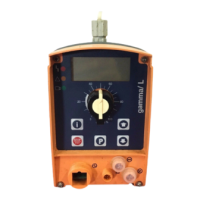
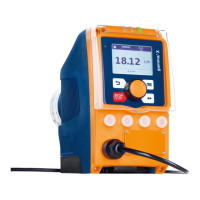
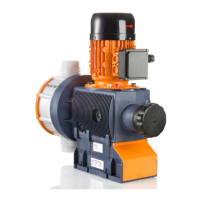
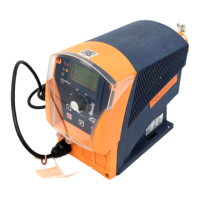
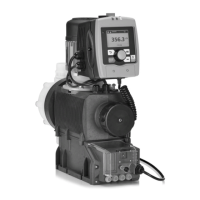
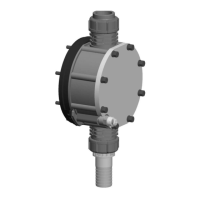
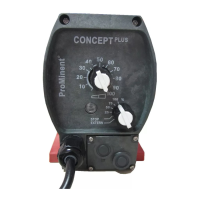
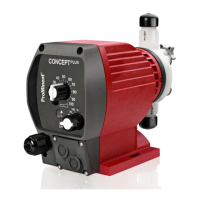
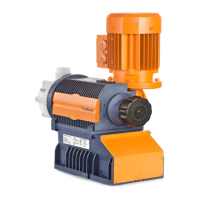
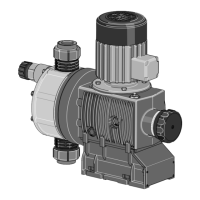
Pump type 2.0 diaphragm complete 2.0 spare parts kit PVM 2.0 spare parts kit PVN
1612 1117433 1119828 1119829
1020 1117354 1121492 1121491
0730 1117352 1118459 1118464
0450 1117353 1120526
14.2 Cleaning the diaphragm rupture indicator
After the diaphragm rupture indicator has been triggered, any res‐
idue of feed chemical may affect its function.
n After the diaphragm rupture indicator has been triggered, clean
and test it.
1. First replace the liquid end diaphragm - see above.
2. Unscrew the diaphragm rupture indicator using an AF 14
open-ended spanner.
3. Clean the diaphragm rupture indicator with suitable liquid - if
possible using water (polysulphone material).
4. Test the connected diaphragm rupture indicator: fully
immerse the tapered section at the front in water.
ð
The continuous display indicates a diaphragm rupture.
5. Thoroughly dry the diaphragm rupture indicator.
ð
The continuous display no longer indicates a diaphragm
rupture.
6. Screw the clean and dry diaphragm rupture indicator into the
hole until hand-tight and liquid-tight - without using tools.
14.3
Cleaning valves
Warning of faulty operation
Refer to the exploded drawings in the appendix
when working on the unit.
The order no. (part number) of the appropriate spare parts kit can
be found at the end of the
‘Service’
menu.
Repair
104
 Loading...
