PLX3x Series ♦ Multi-Protocol Gateways EIP Protocol
User Manual
ProSoft Technology, Inc. Page 61 of 215
January 25, 2018
The following table specifies the configuration for the EIP client (master) device
on the network port:
Specifies the number of milliseconds to wait between the initial issuances of
a command. This parameter can be used to delay all commands sent to
servers to avoid "flooding" commands on the network. This parameter does
not affect retries of a command as they will be issued when failure is
recognized.
Specifies the amount of time in milliseconds that a Client will wait before re-
transmitting a command if no response is received from the addressed
server. The value to use depends on the type of communication network
used, and the expected response time of the slowest device connected to
the network.
Specifies the number of times a command will be retried if it fails.
Class 3 Client[x]/UClient Commands
There is a separate command list for each of the different message types
supported by the protocol. Each list is processed from top to bottom, one after
the other, until all specified commands are completed, and then the polling
process begins again.
This section defines the EtherNet/IP commands to be issued from the gateway to
server devices on the network. You can use these commands for data collection
and control of devices on the TCP/IP network. In order to interface the virtual
database with Rockwell Automation Programmable Automation Controllers
(PACs), Programmable Logic Controllers (PLCs), or other EtherNet/IP server
devices, you must construct a command list, using the command list parameters
for each message type.
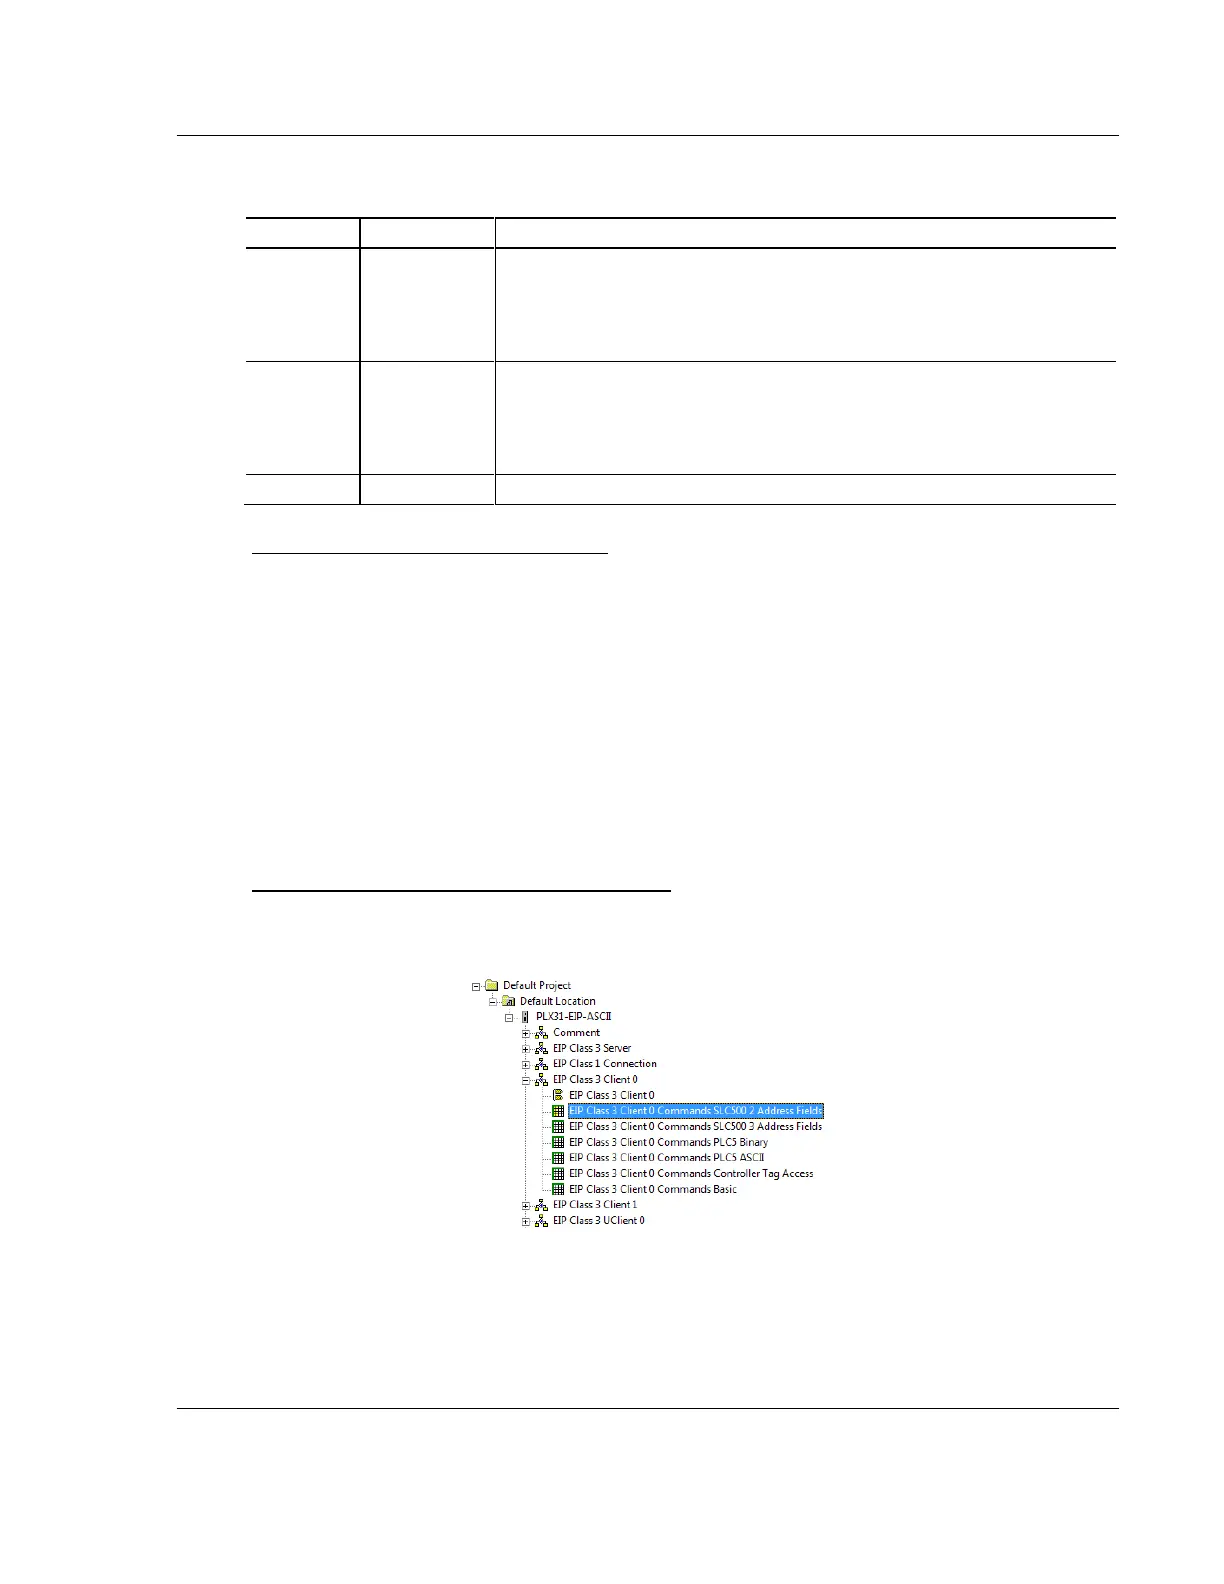
To add Class 3 Client/UClient [x] commands
1 In ProSoft Configuration Builder, click the [+] next to the gateway, then click
the [+] next to EIP Class 3 Client [x] or EIP Class 3 UClient [x].
2 Double-click the desired command type to display the Edit - EIP Class 3
Client [x] Commands or Edit - EIP Class 3 UClient [x] Commands dialog box.
3 Click ADD ROW to add a new command.
4 Click EDIT ROW or double-click the row to display the Edit dialog box where
you configure the command.
 Loading...