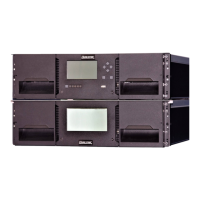
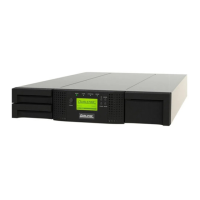
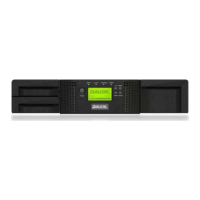
Q40 Tape Library Installation and Operations Manual
511026 Rev. 07-01-19 150
8.8.1 The Robotic Assembly is stopped in an Expansion Module that is near the Base
Module or is Stopped Directly between Two Modules
• Remove the front bezel from the Base Module, the Expansion Module containing the robotic
assembly, and any modules in between as needed; see “Removing the Bezel
”.
• Insert a small flat head screwdriver into the screwdriver relief on the right rear bearing block of the
r
obotic assembly.
• T
urn the screwdriver to manually operate the robotic assembly gear train and move the robotic
assembly into the Base Module.
• Lock the robotic assembly; standing at the front of the module, move the blue lever to the left,
then away from you, then to the right.
• Reinstall the bezels previously removed; see “Installing the Bezel
”.
• Remove the robotic assembly and spooling mechanism; see “Preparing to Remove the
Robotic Assembly and Spooling Mechanism from the Base Module”.
• Install the new robotic assembly and spooling mechanism; see “Installing the Robotic
Assembly and Spooling Mechanism into the Base Module”.
• Slide the Base Module back into the rack; see “After the Robotic Assembly and Spooling
Mechanism Installation”.
8.8.2 The Robotic Assembly is stopped in an Expansion Module that is not near the
Base Module or it Cannot Move Vertically
• Power off the library. Disconnect all power cords from all of the modules.
• Remove the left magazine of the Base Module.
• Using plastic-handled scissors reach through the left magazine opening of the Base Module and
carefully cut the spooling cable.