The manufacturing date of a hose line is indicated in one of the hose fittings as year/month
(e.g., 2012/04).
Preparation
u
Ensure that the hydraulic system is depressurized and has cooled down.
u
Provide collection trays for leaking hydraulic oil below the separation points.
u
Have
suitable plugs ready in order to prevent a leaking of the hydraulic oil out of the lines which
cannot be replaced.
u
Provide suitable tools.
u
Put on your protective gloves and glasses.
u
Ensure that the new hydraulic hose corresponds to the type of hydraulic hose to be replaced. In
particular, observe the correct pressure range and hose length.
There are two nitrogen tanks in the hydraulic circuit. These also remain under pressure after system
shutdown.
u
Slowly and carefully open the screw connections of the hydraulic circuit.
Observe the different maximum pressure specifications on the hydraulic lines to be replaced.
Implementation:
u
Loosen the hose fitting at the end of the hydraulic hose to be replaced.
u
Discharge the oil from the hydraulic hose.
u
Loosen the other end of the hydraulic hose.
u
Put the loose hose end into the oil collection tray immediately and plug the connection.
u
Loosen the hose fixtures and remove the hydraulic hose.
u
Connect the new hydraulic hose. T
ighten the hose fittings.
u
Fix the hydraulic hose by means of the hose fixtures.
u
Check the position of the new hydraulic hose.
w
The hose routing must correspond to the one of the old hydraulic hose.
w
Friction points are to be excluded.
w
The hose may not be twisted or tensioned.
The hydraulic hoses have been replaced successfully.
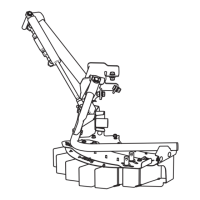
10.10.3 Nitrogen tank
n
Nitrogen tank
10. Maintenance and service
112
5903494 AERO GT 60.1
 Loading...