2.Replacement and Adjustment
21
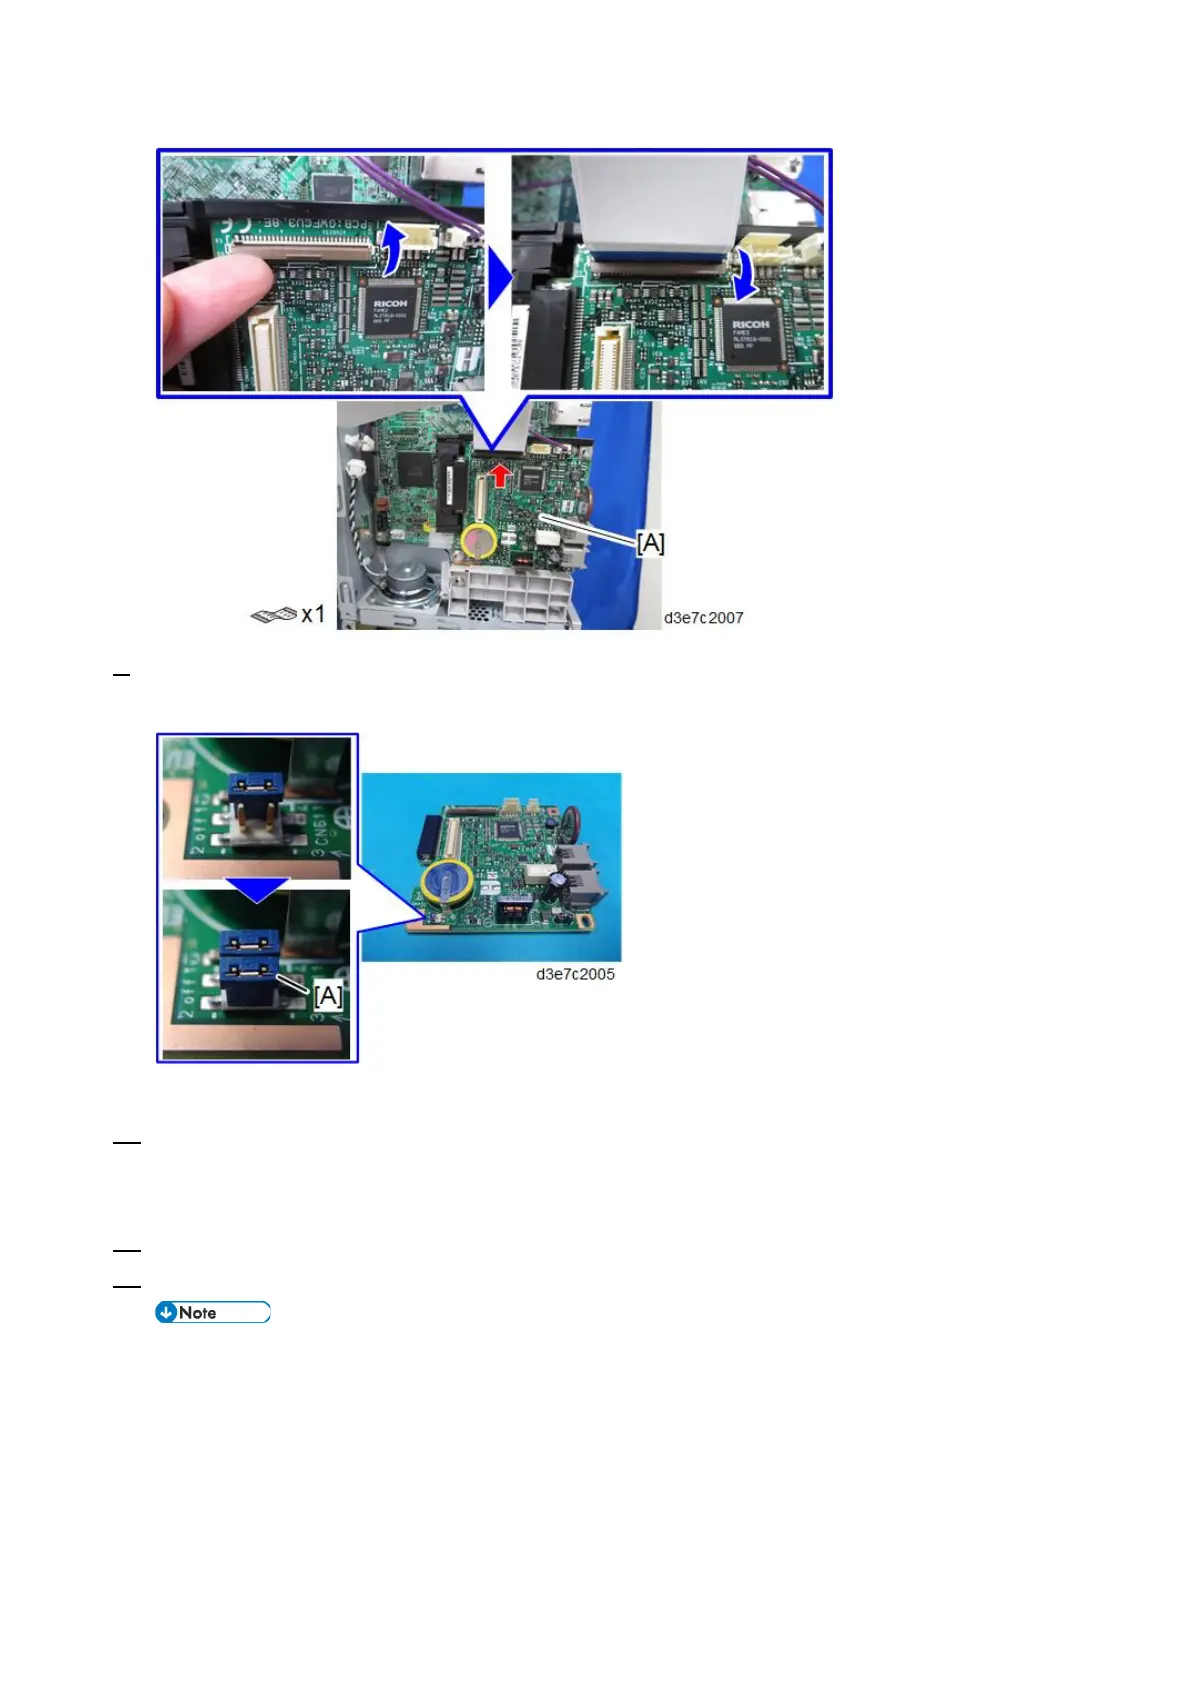
9. Attach the battery jumper switch [A] on the removed FCU board to switch to the Restore mode.
This jumper switch is provided with the new FCU board.
10. Connect the other end of the FFC to CN603 of the removed FCU board.
• When inserting the FFC, lift the lever to release the lock and then push the lever to lock.
• Make sure that the blue tapes of the FFC face left and it is not slanted.
11. Turn ON the main power.
12. SRAM data transmission starts. When the transmission is completed, you will hear a beeper sound.
• The beeper sound is the same volume as the speaker sound.
• The beeper sounds even if the speaker sound is turned off.
• If the beeper does not sound, cycle the main power on and off repeatedly and do the transmission
procedure 2 or 3 times.
• If the beeper does not sound after turning the main switch on and off 3 times, you need to input the
settings stored in SRAM memory manually.