Riverstone Networks RS 3000/3100/3200 Switch Router Getting Started Guide 3-15
Hardware Installation Installing the Hardware
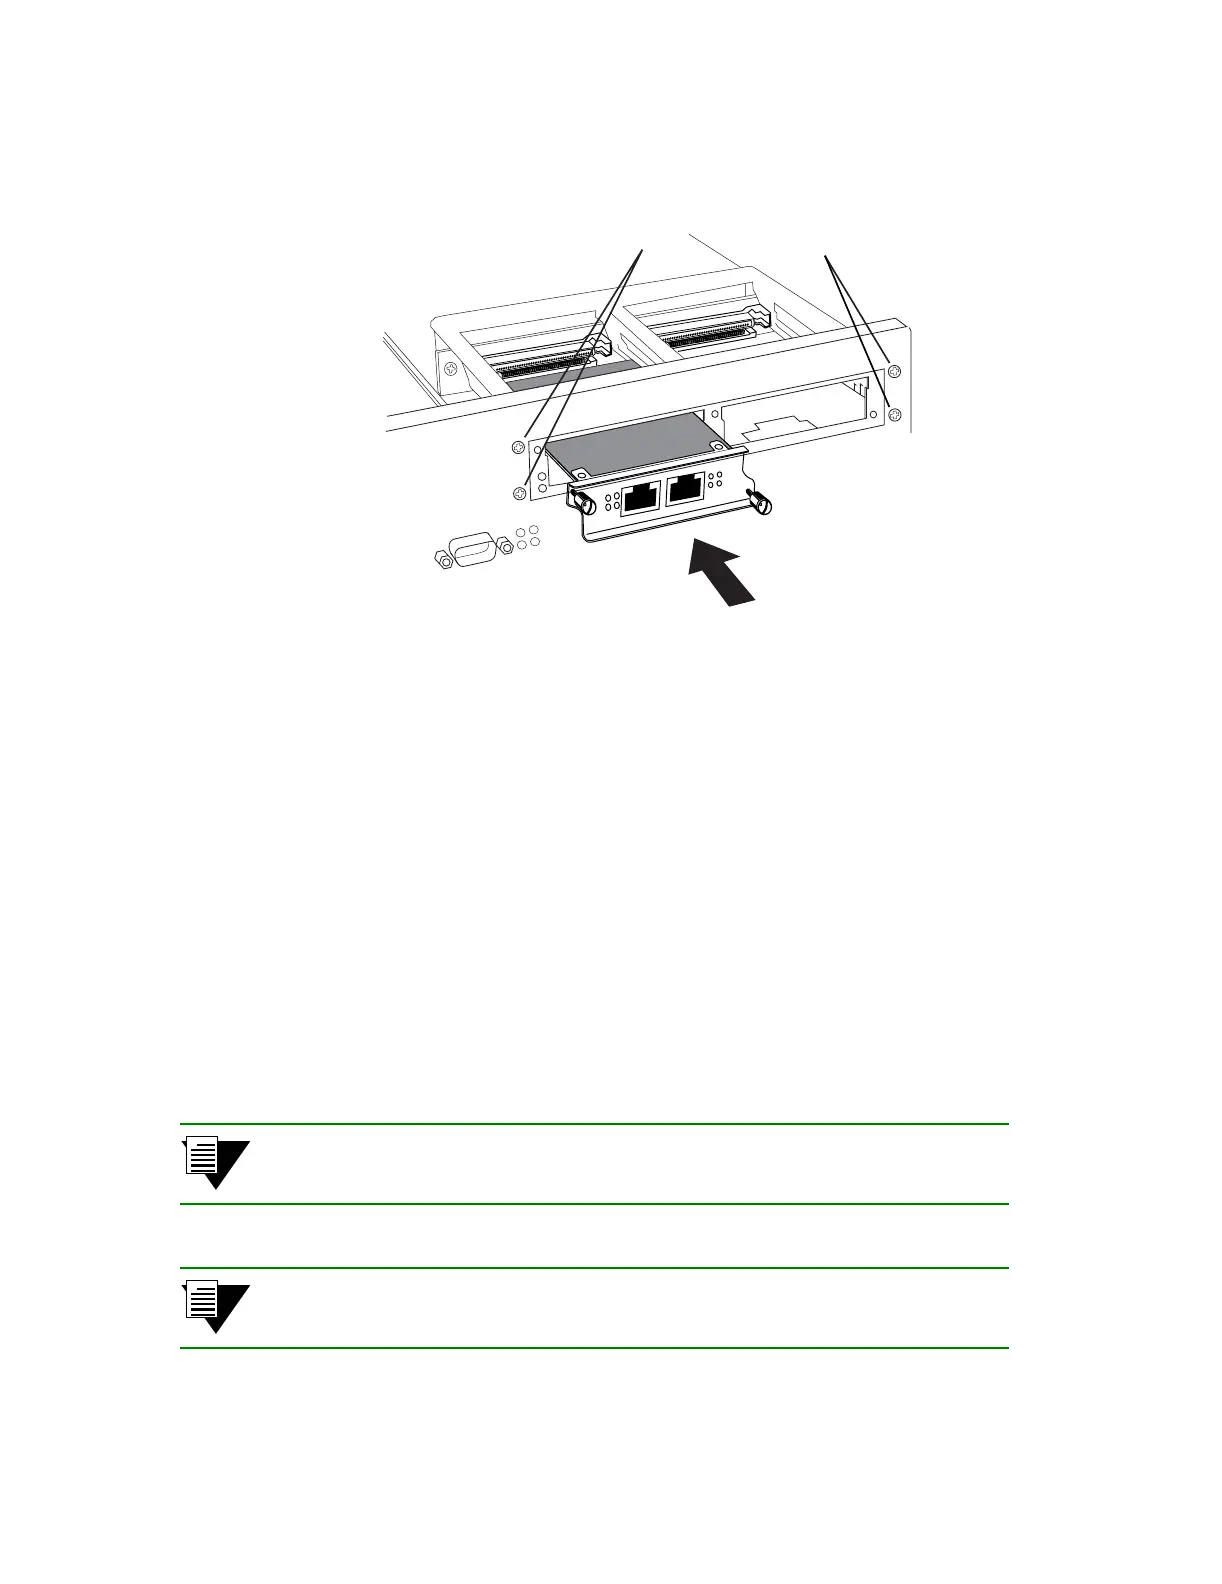
Figure 3-12 Installing a WIC
14. Push the WIC card into the WIC receptacle until the 96-pin connector is firmly seated into the
connector at the back of the receptacle.
15. Use the two captive screws on the WIC card to secure it to the Multi-rate line card.
16. Replace the cover of the RS 3000, and secure it using the #2 Phillips-head screwdriver and the four
screws previously removed.
3.3.6 Installing the RS 3000, RS 3x00 or RS 3200 into an Equipment Rack
The RS 3000, RS 3x00 or RS 3200 is designed to be installed in a standard 19” equipment rack. To install the RS 3000
in an equipment rack, use the following procedure; you will need a #2 Phillips-head screwdriver to perform this
procedure.
Note Riverstone recommends that only qualified personnel conduct installation of any
chassis.
Nota Riverstone recomienda que la instalación del chasis se lleve a cabo por personal
capacitado únicamente.
Once the multi-rate WAN line card
is installed, fasten it to the front
of the RS 3000 using the 4 screws
Insert the T1 WICs only
after the line card
is securely installed
into the RS 3000
 Loading...