AX10 Palletizing Solution
9. Selectthe digital input that corresponds to box sensor #1 (digital_in[0], in this example). Go through the Box Sensor
(Multiple Box Types - Multi-Pick Feature) section to determine the digital input to select at this point.
10. Without inserting any space character, enterthe word and or tap the and button on the panel.
11. Expandthe Input dropdown menu.
12. Selectthe digital input that corresponds to box sensor #2 (digital_in[1], in this example). Go through the Box Sensor
(Multiple Box Types - Multi-Pick Feature) section to determine the digital input to select at this point.
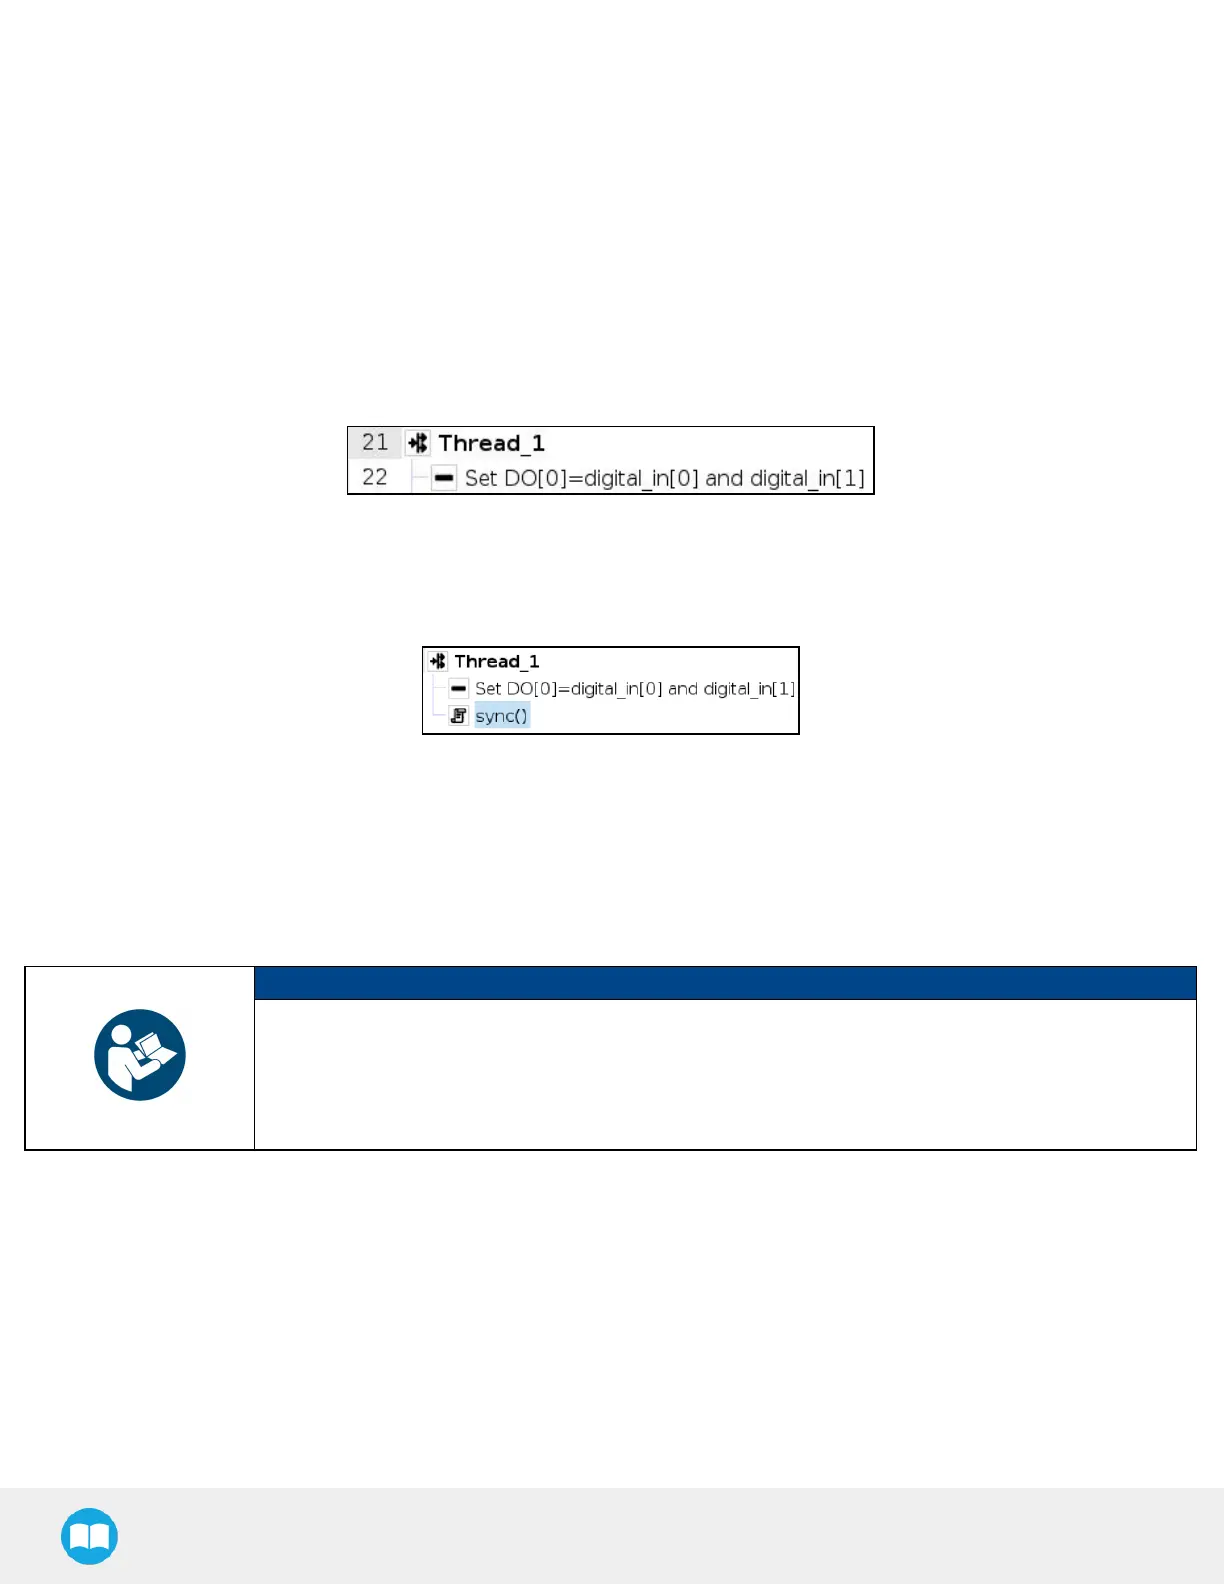
Theresult in the program tree should resemble this:
13. Go to Program > Advanced and insert a Script node.
14. In the Script node, tap the f(x) box.
15. In the dialog box, enter sync() and tap Submit.
Fig. 5-32: Complete Thread Node in Program Tree
Gripper Activation
The following steps explain how to activate the right gripper for each box type.
NOTICE
Grippers are linked to digital outputs.
In the example below, there are two grippers: one linked to digital_out[1] and the other to digital_out
[2].
The link between box type and gripper-to-activate can vary depending on the configuration.
1. In the program tree, nest an If node within the Grip node (Program > Advanced).
2. Select the If node, tap the f(x) box in the Command window (leave the Check expression continuously box unticked).