17
Preparing the Sound Files
* If you’re using the USB ash drive for the rst time, format it using
the AE-30.
& “Formatting a USB Flash Drive” (p. 14)
1. Prepare the sound le that you will add on the AE-30,
and place the le on your computer.
MEMO
Sound les such as SOUND PACK or WAVE EXPANSION can be
obtained via the Roland Cloud.
For more about Roland Cloud, refer to the Roland website.
& https://www.roland.com/
2. Connect the USB ash drive to your computer.
3. Save the le in the appropriate directory of your USB ash
drive.
SOUND PACK (extension: .SDZ): ROLAND/SOUND folder
WAVE EXPANSION (extension: .EXZ): Root directory
4. Disconnect the USB ash drive from your computer.
Importing a SOUND PACK
This is how to import a SOUND PACK to the user tone/scene.
1. While holding down the [MENU] button, turn on the
power.
Hold down the [MENU] button until the Roland logo disappears.
2. Connect the USB ash drive containing the tone le to the
USB port of this instrument.
3. Use the [K] [J] button to select “Import Tone,” and then
press the [MENU] button.
4. Use the [J] button to select “YES.”
If you decide to cancel, press the [K] button to select “NO.”
5. Use the [K] [J] buttons to select the le to import, and
press the [MENU] button.
If this is the rst time to import data, a screen appears that asks you
to install the user license.
To continue importing, press the [J] button and then select “YES.”
6. Select the tones/scenes to import.
Use the [H] [I] buttons to switch between tones/scenes, use the
[J] button to select, and use the [K] button to disregard your
selection.
A [+] mark is shown on the selected tone/scene number.
Press the [MENU] button when you’re nished selecting.
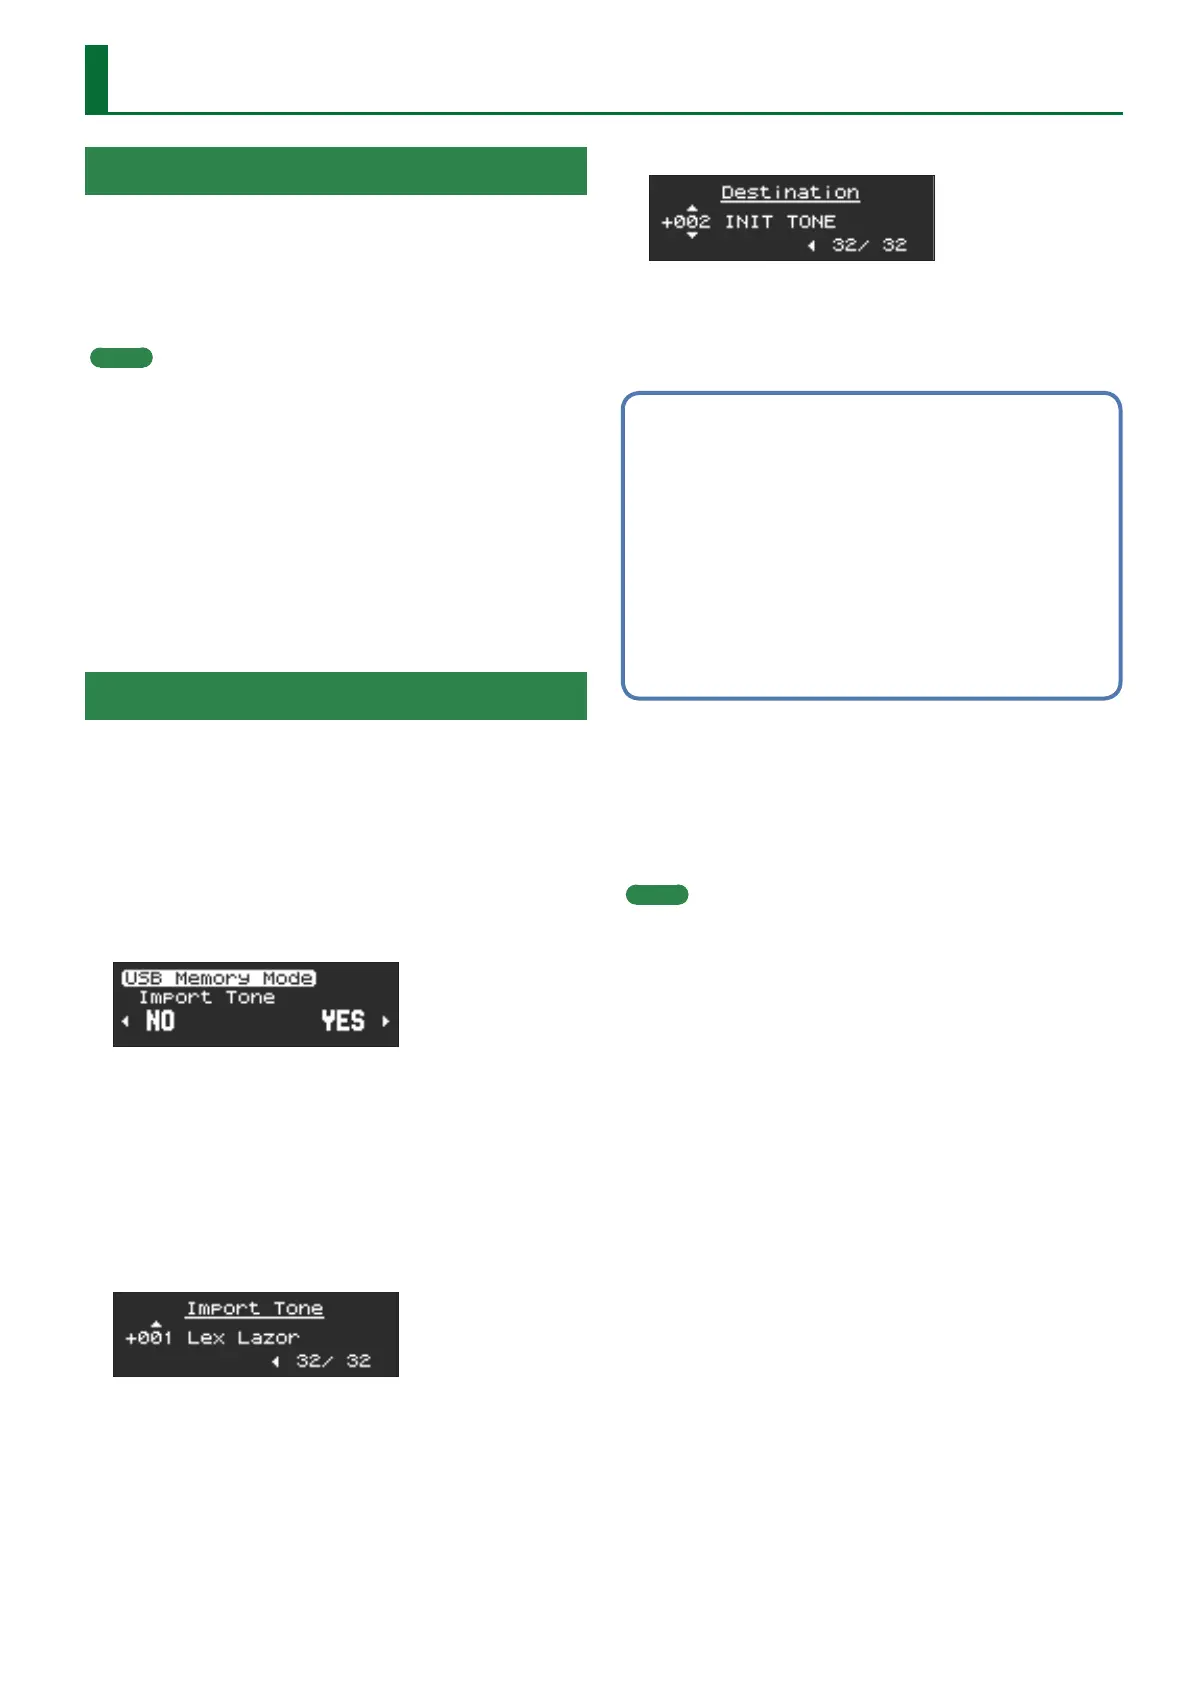
7. Select the import destination for the tones/scenes.
Use the [H] [I] buttons to switch, use the [J] button to select, and
use the [K] button to disregard your selection.
A [+] mark is shown on the selected tone/scene number.
8. Press the [MENU] button when you’re nished selecting.
When importing tones
1. When “Make Scene” is displayed, generate a scene
for the tone to be imported.
2. Use the [H] [I] buttons to switch between scenes,
use the [J] button to select, and use the [K] button
to disregard your selection.
A [+] mark is shown on the selected scene number.
3. Press the [MENU] button when you’re nished
selecting.
“Import OK?” is shown on the screen.
9. To import, press the [J] button and select “YES”; and to cancel,
press the [K] button and select “NO.”
Selecting “YES” imports the data.
When the operation is completed, the display indicates
“Completed!”.
Press the [MENU] button to return to the Import Tone screen.
MEMO
Hold down the [MENU] button to return to the Import Tone screen.
Installing a Sound Pack/Wave Expansion
 Loading...