15
Reference Manual Ver. 1.5 and later
Model Bank
By using the model bank function, you can instantly recall your favorite
models or categories.
With the factory settings, a specic model or category is registered to each
of the [1]–[15] buttons.
You can assign the desired model or category to each button.
Using the model bank to select a tone
1.
Press the [MODEL BANK] button.
The MODEL BANK TOP screen appears. The [1]–[16] buttons change to
tone select mode.
2. Press a [1]–[16] button to select a model bank.
The tones of the sound engine that’s registered to that model bank are
shown.
In this screen as well, you can use the [2] knob to select a tone.
3. Press the [ENTER] button.
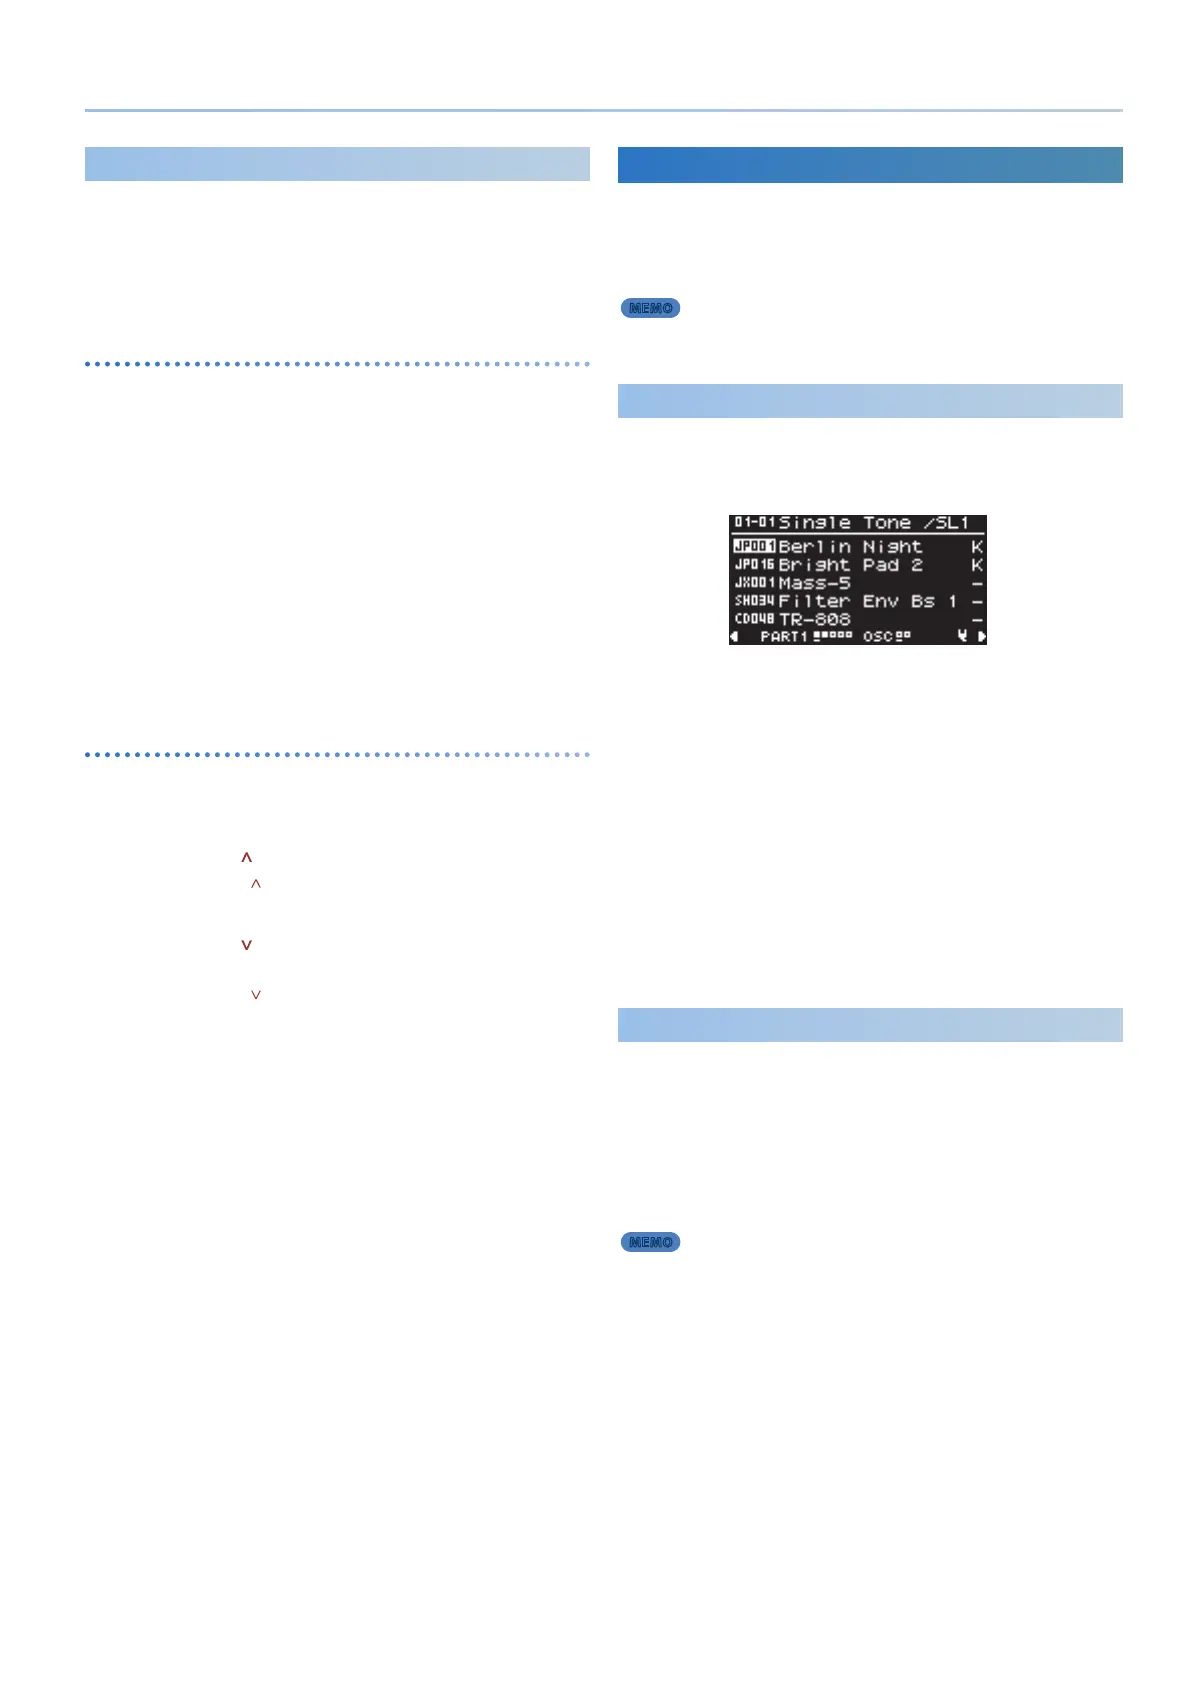
The tone list appears.
4. Use the [2] knob to select a tone.
You can use the [1] knob to move rapidly.
5. Press the [ENTER] button.
Customizing the model bank
1.
Hold down the [MODEL BANK] button and press the button
([1]–[16]) of the model bank that you want to assign.
2. Press the PAGE [ ] button to move the cursor to “Attr.”
Instead of the PAGE [ ] button, you can also use the [1] knob to select.
3. Use the [2] knob to select the model/category/user.
4. Press the PAGE [ ] button to select the model number that
you want to change.
Instead of the PAGE [ ] button, you can also use the [1] knob to select.
5. Use the [2] knob to select a model name (device name) or
category name.
* You can register up to eight models or categories in one model bank.
* You can’t simultaneously assign both a model and a category in a model bank.
6. To save the settings, execute the system write operation.
&“Saving the System Settings (System Write)” (p. 42)
Selecting a Part (Part Select Mode)
On the JUPITER-Xm, the part you’re editing and the part that you’re playing
from the keyboard can be selected separately.
You can also use the knobs to edit the part that’s playing an arpeggio, while
using the keyboard to play a dierent part.
MEMO
You can select a synthesizer tone for each part 1–4, and a drum kit tone
for part 5. You can select one tone for each part.
Showing the Part Setting Status List
1. On the SCENE TOP screen, press the [PART] button.
Chooses part select mode.
PART 1
&
Scene
&
PART 2
&
PART 4
&
PART 5
&
PART 3
&
You can make the following settings in part select mode.
Current part settings
Use the [1]–[5] buttons to make the settings.
* For the part that’s set as the current part, you can use the panel knobs to edit
the tone.
On/o settings for each part
Press the [6]–[10] buttons to switch the parts on/o.
Tone switches for each part
Move the cursor to the part to switch, and use the [2] knob to make the
setting.
Switching between scenes
Move the cursor to the scene, and use the [2] knob to make the setting.
2. Press the [PART] button to return to the SCENE TOP screen.
Selecting the Part to Edit
(Current Part)
Here’s how to select the part whose settings you will edit using the panel
knobs and screen operations.
1. Press the [PART] button.
The [1]–[5] buttons switch to part select mode.
2. Press one of the [1]–[5] buttons to select the current part.
The current part is highlighted.
MEMO
When editing a tone, you can press two or more of the [1]–[5] buttons
simultaneously to edit multiple parts at the same time as the current
part.
&“Editing a Tone (TONE EDIT)” (p. 25)

 Loading...


