46
Backing-Up Data to a USB Flash Drive
(BACKUP)
Here’s how to back up user data to a USB ash drive.
Data that is backed up
5 All scene data (including arpeggio settings and step edit data)
5 User tone data
5 System settings
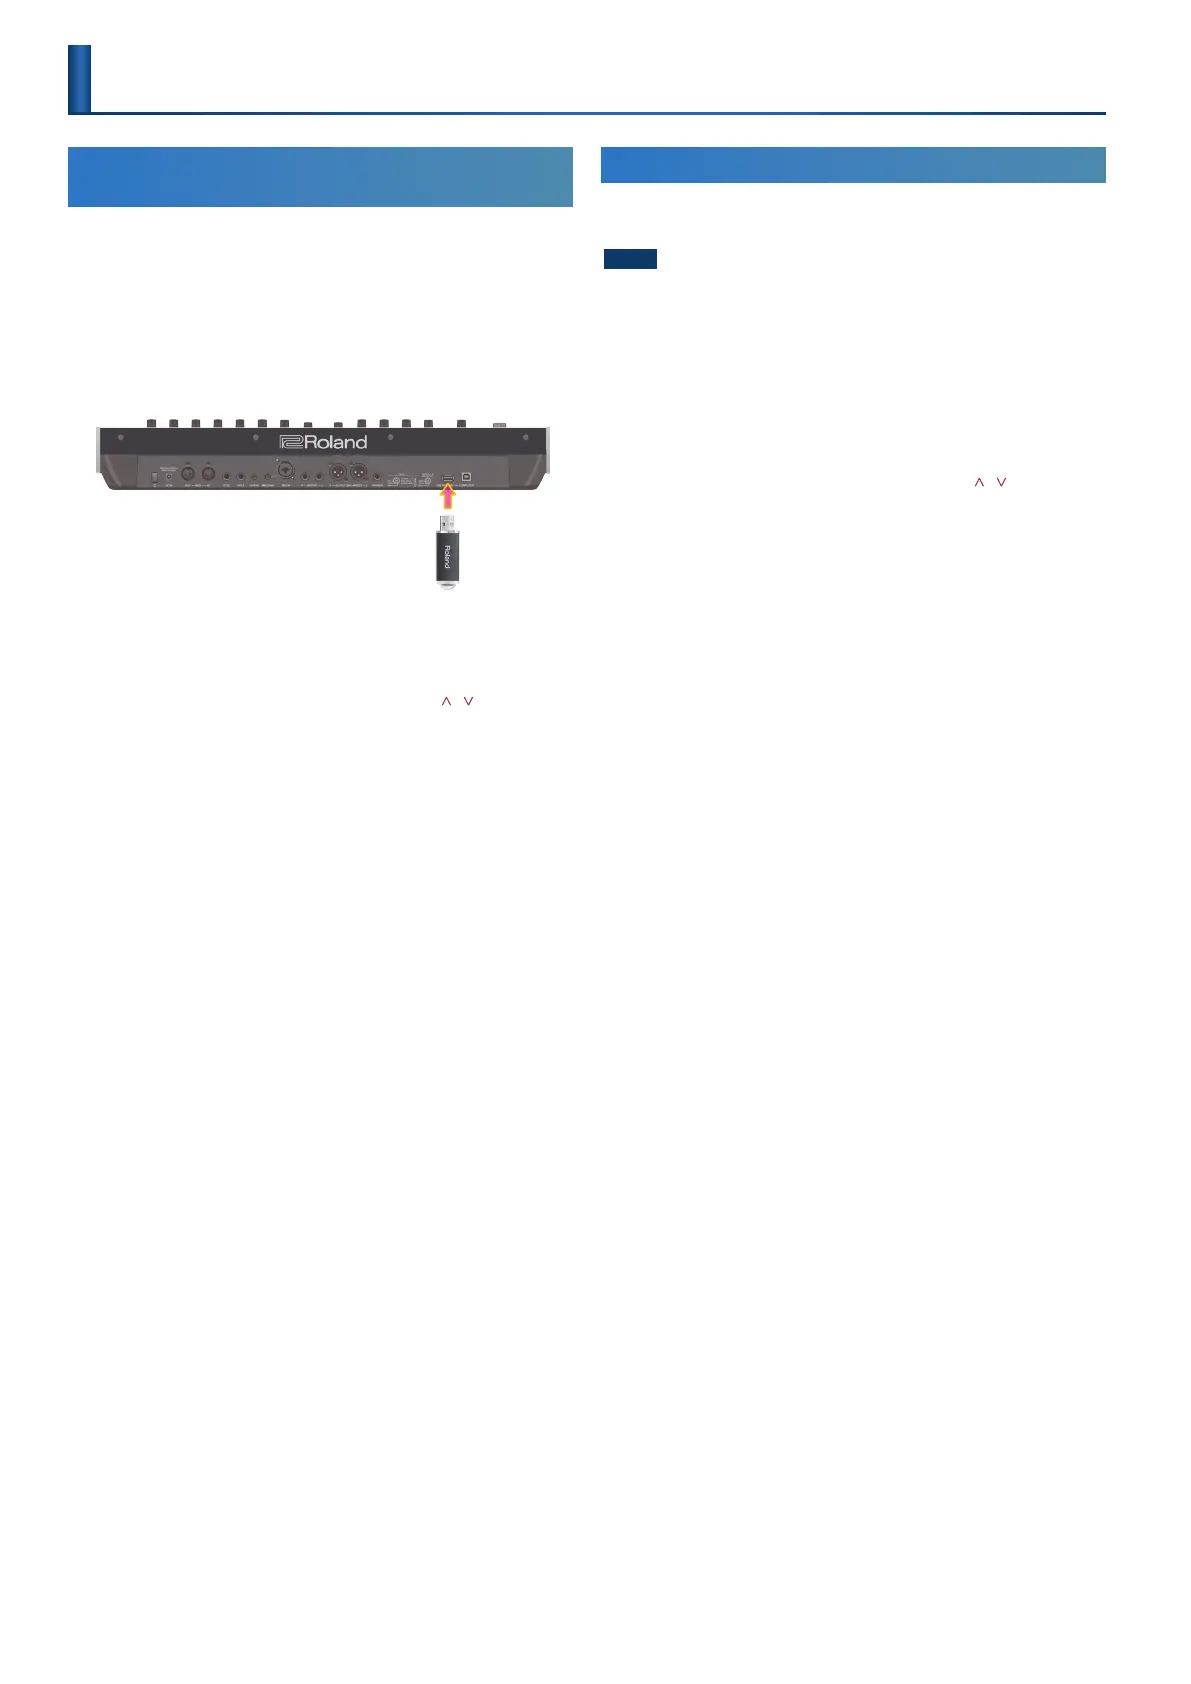
1. You can connect a USB ash drive here.
USB ash drive
2. Press the [MENU] button.
3. Use the [1] knob to select “UTILITY,” and then press the
[ENTER] button.
You can also make this selection by using the PAGE [ ] [ ] buttons
instead of the [1] knob.
4. Use the [1] knob to select “BACKUP,” and then press the
[ENTER] button.
The BACKUP screen appears.
5. Use the PAGE [<] [>] buttons to move the cursor, and use
the [2] knob to change characters.
6. When you’ve specied the le name, press the [ENTER]
button.
A conrmation message appears.
If you decide to cancel, press the [EXIT] button.
When the backup is nished, the screen indicates “Completed!”
If a le of the same name exists, a conrmation screen (Overwrite?) asks
whether you want to overwrite the existing le.
* Never turn o the power or disconnect the USB ash drive during a process,
such as while the “Executing…” display is shown.
Restoring Backed-Up Data (RESTORE)
Here’s how user data that you backed-up on a USB ash drive can be
returned to the JUPITER-Xm.
NOTE
All user data are rewritten when you execute the restore operation. If your
JUPITER-Xm contains important data, assign it a dierent name and back it up to
an USB ash drive before you restore.
1. You can connect a USB ash drive here.
2. Press the [MENU] button.
3. Use the [1] knob to select “UTILITY,” and then press the
[ENTER] button.
You can also make this selection by using the PAGE [ ] [ ] buttons
instead of the [1] knob.
4. Use the [1] knob to select “RESTORE,” and then press the
[ENTER] button.
5. Use the [1] knob to select the le that you want to restore.
6. Press the [ENTER] button.
A conrmation message appears.
If you decide to cancel, press the [EXIT] button.
7. To execute, use the [2] knob to select “O K,” and then press
the [ENTER] button.
When the restore operation is nished, the screen indicates
“Completed. Turn o power.”
8. Turn the power of the JUPITER-Xm o and then on again.
* Never turn o the power or disconnect the USB ash drive during a process,
such as while the “Executing…” display is shown.
Convenient Functions
(UTILITY Screen)

 Loading...


