41
Accessing the MENU Screen
1. Press the [MENU] button.
2. Use the [1] knob to select the item that you want to edit,
and press the [ENTER] button.
You can also make this selection by using the PAGE [ ] [ ] buttons
instead of the [1] knob.
3. Use the [1] knob to select the parameter and use the [2]
knob to change the setting.
Editing the Scene Settings
(SCENE EDIT)
1. Press the [MENU] button.
2. Use the [1] knob to select “SCENE EDIT,” and then press the
[ENTER] button.
The SCENE COMMON EDIT screen appears.
This is the same screen as when you press the PAGE [>] button once
from the SCENE top screen.
To edit other scene settings, press the PAGE [>] button several times.
3. Use the [1] knob to select the parameter and use the [2]
knob to change the setting.
Editing the I-ARPEGGIO Settings
(ARPEGGIO EDIT)
1. Press the [MENU] button.
2. Use the [1] knob to select “ARPEGGIO EDIT,” and then press
the [ENTER] button.
The ARPEGGIO PART EDIT screen appears.
This is the same screen as when you press the PAGE [<] button twice
from the SCENE top screen.
Use the [PART] button to select the part whose arpeggio parameters
you want to edit, and then edit the parameters.
If you want to edit the ARPEGGIO COMMON EDIT settings, press the
PAGE [>] button once.
3. Use the [1] knob to select the parameter and use the [2]
knob to change the setting.
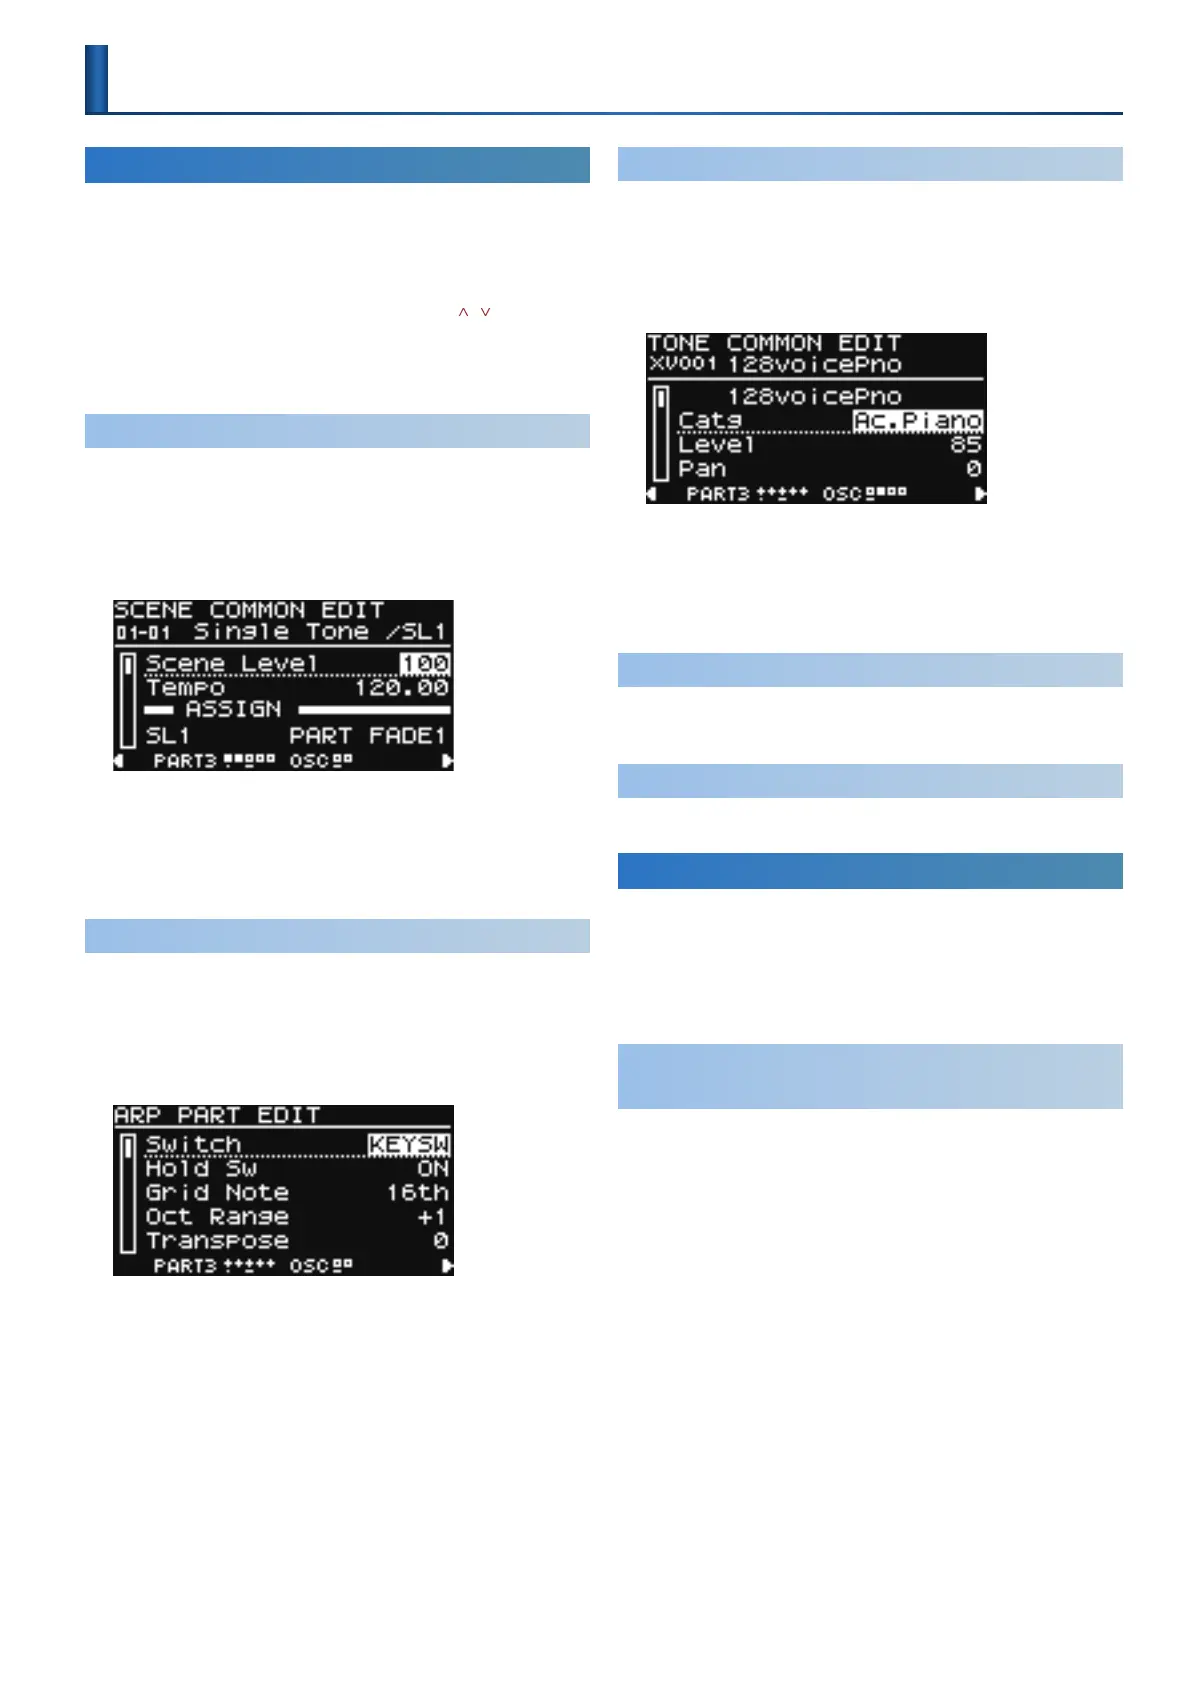
Editing the Tone Settings
(TONE EDIT)
1. Press the [MENU] button.
2. Use the [1] knob to select “TONE EDIT,” and then press the
[ENTER] button.
The TONE COMMON EDIT screen appears.
This is the same screen as when you press the PAGE [>] button once
from the MODEL BANK screen.
To edit other tone settings, press the PAGE [>] button several times.
3. Use the [1] knob to select the parameter and use the [2]
knob to change the setting.
Using Convenient Functions
(UTILITY)
Execute convenient functions.
& “Convenient Functions (UTILITY Screen)” (p. 46)
Viewing the Software Version
(INFORMATION)
View the software version.
Accessing the WRITE Screen
1. Press the [SCENE] button, and then press the [WRITE]
button.
2. Use the [1] knob to select the item that you want to edit,
and press the [ENTER] button.
Saving Scenes and Tones at the Same Time
(SCENE & TONE)
You can save the scene settings and tone settings at the same time. The
“EDITED” message appears when you need to save your changes.
This operation saves the tone settings for parts 1–4 in which the tones
show “EDITED.”
1. Press the [SCENE] button, and then press [WRITE] button.
2. Use the [1] knob to select “SCENE&TONE,” and then press
the [ENTER] button.
* If the tones in parts 1–4 do not show “EDITED,” go to step 4.
3. Use knobs [1] and [2] to select where to save the tones that
are shown as “EDITED” in their parts, and press [ENTER].
To edit the names of tones to save, move the cursor using the PAGE [<]
[>] buttons and use the [2] knob to select the characters.
* Do this for each part that is shown as “EDITED.”
4. Use knobs [1] and [2] to select where to save the scenes and
press the [ENTER] button.
To edit the names of scenes to save, move the cursor using the PAGE [<]
[>] buttons and use the [2] knob to select the characters.
5. Press the [ENTER] button.
If you decide to cancel, press the [EXIT] button.
Settings for the Entire Unit

 Loading...


