12
Turning the JUPITER-Xm On
1. Power-on the equipment in the order of JUPITER-Xm 0
connected devices.
* In order to protect its circuitry, the JUPITER-Xm waits for a while after being
powered-on before it begins operating.
2. Switch on power to the connected equipment, and raise the
volume to an appropriate level.
* The power to this unit will be turned o automatically after a
predetermined amount of time has passed since it was last used
for playing music, or its buttons or controls were operated (Auto
O function).
If you do not want the power to be turned o automatically,
disengage the Auto O function.
& “Using the Auto O Function”
5 Unsaved data is lost when the power turns o. Before turning the
power o, save the data that you want to keep.
5 To restore power, turn the JUPITER-Xm on again.
Turning O the Power
1. Power-o the equipment in the order of the connected
devices 0 JUPITER-Xm.
* If you need to turn o the power completely, rst turn o the unit, then unplug
the power cord from the power outlet.
Using the Auto O Function
You can make the power turn o automatically when a certain time has
elapsed since the unit was last played or operated.
1. Press the [MENU] button.
2. Use the [1] knob to select “SYSTEM,” and then press the
[ENTER] button.
You can also make this selection by using the PAGE [ ] [ ] buttons
instead of the [1] knob.
3. Use the [1] knob to select “Auto O” and use the [2] knob to
change the setting.
If you don’t want the unit to turn o automatically, choose “OFF”
setting.
Parameter
[1] knob
Value
[2] knob
Explanation
Auto O
OFF,
30 [min],
240 [min]
Species whether the unit will turn o
automatically after a certain time has
elapsed.
If you don’t want the unit to turn o
automatically, choose “OFF” setting.
4. To save the setting, press the [WRITE] button.
A conrmation message appears.
If you decide to cancel, press the [EXIT] button.
5. To execute, press the [ENTER] button.
Adjusting the Overall Volume
Adjusts the overall volume.
1. Adjust the [VOLUME] knob.
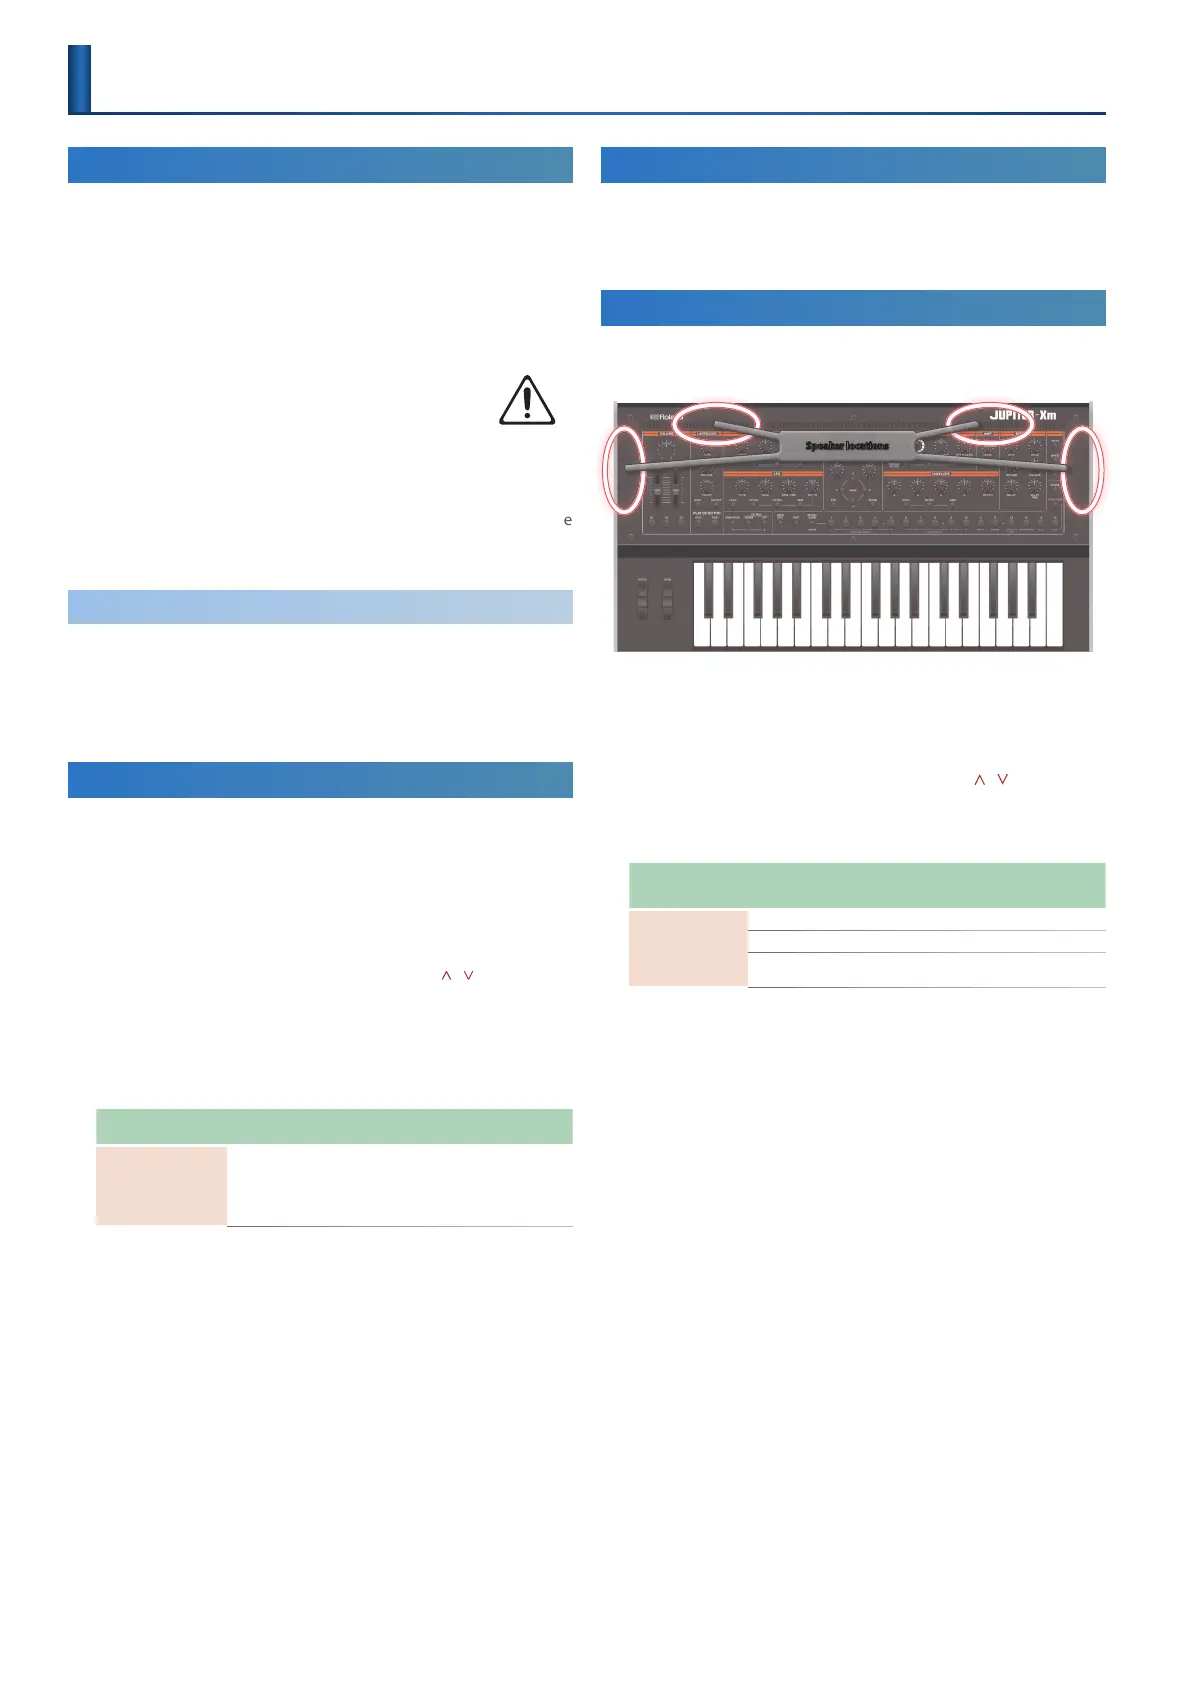
Using the Built-In Speakers
This unit contains built-in stereo speakers. If the built-in speakers are
turned on, you can play sound from this unit.
Speaker locations
1. Press the [MENU] button.
2. Use the [1] knob to select “SYSTEM,” and then press the
[ENTER] button.
You can also make this selection by using the PAGE [ ] [ ] buttons
instead of the [1] knob.
3. Use the [1] knob to select “Speaker Sw,” and use the [2]
knob to specify “ON” or “AU TO.”
Parameter
[1] knob
Value
[2] knob
Explanation
Speaker Sw
OFF Sound is not output from the speakers.
ON Sound is output from the speakers.
AUTO
“OFF” if headphones are connected, “ON” if
headphones are not connected.
Getting Ready to Play

 Loading...


