ROTAX 125 MAX evo, Junior MAX evo, Mini MAX evo, Micro MAX evo
Route carburetor Bowden cable on top side of chassis tubes and attach with cable
ties supplied. Make sure that the Bowden cable won’t touch any moving parts or the
track.
Warning: The carburetor bowden cable must not be kinked or restricted as the
carburetor piston might stick in full throttle position.
Set and secure the adjustment screw for Bowden cable on chassis such that the
carburetor piston will remain in closed position when throttle pedal is not activated.
Set and secure the stop screw for throttle pedal such, that with pedal completely
pressed down, the carburetor piston will be in the full open position. The bowden
cable must not be under fully tension if the throttle is in fully open position.
9. Installation of the radiator
Attention: To warrant the best possible engine cooling ensure that the air stream covers the
complete radiator area.
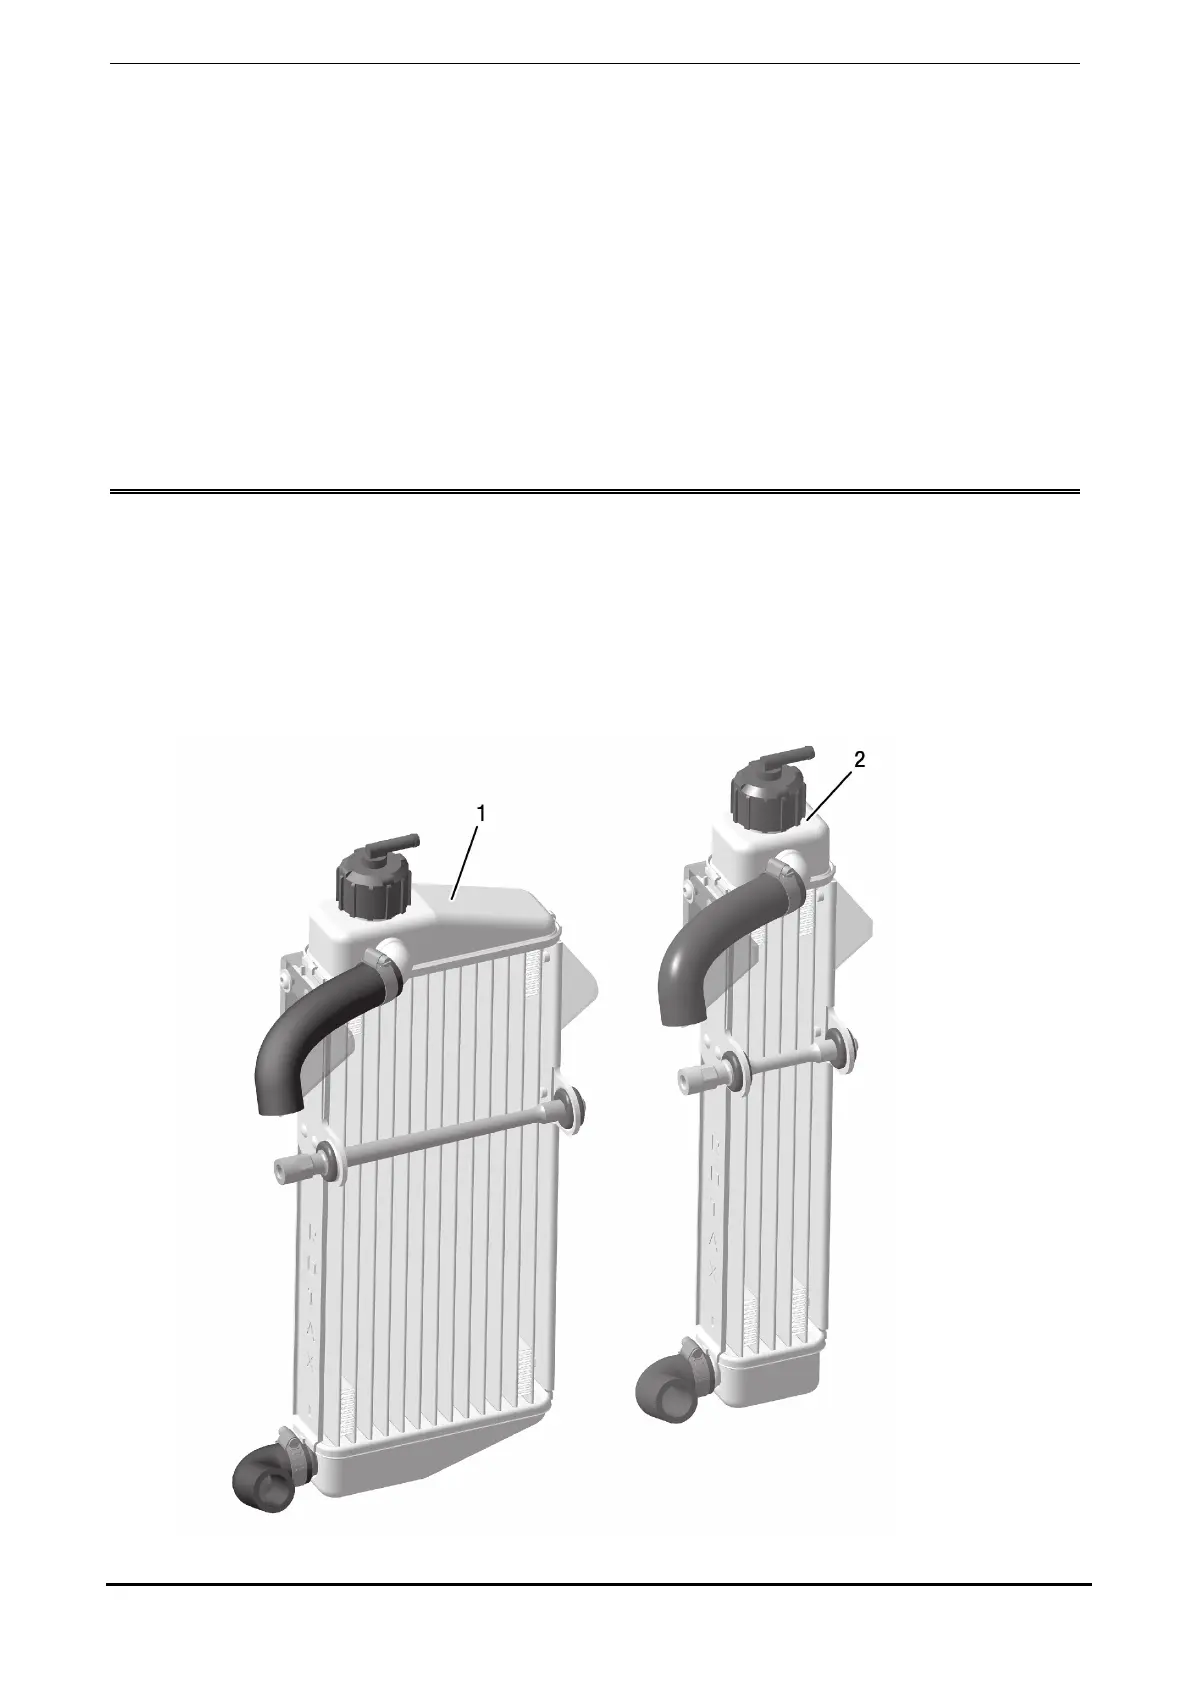
Pre-mount radiator with coolant hoses and radiator support as shown in Fig. 17.
Note: Radiator (Pos. 1) shown in Fig. 17 fits to engine types 125 MAX evo, Junior MAX
evo and Mini MAX evo. The small radiator (Pos. 2) fits to engine type Micro MAX
evo. The installation of both radiators is similar.
Fig. 17 (K00428)
Seite/page 64/98
Ausgabe/Edition 11/2014
 Loading...


