Page 49
Monitoring 4
User guide Diagnostic ECG (R-ECG) 4.5
Art. no.: 0-48-0227 Rev.: g
DEFIGARD/PHYSIOGARD Touch 7
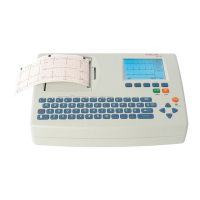
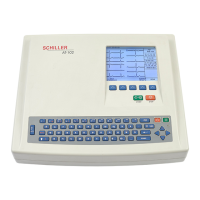
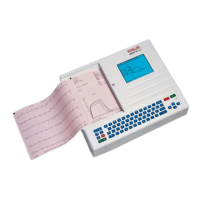
4.5 Diagnostic ECG (R-ECG)
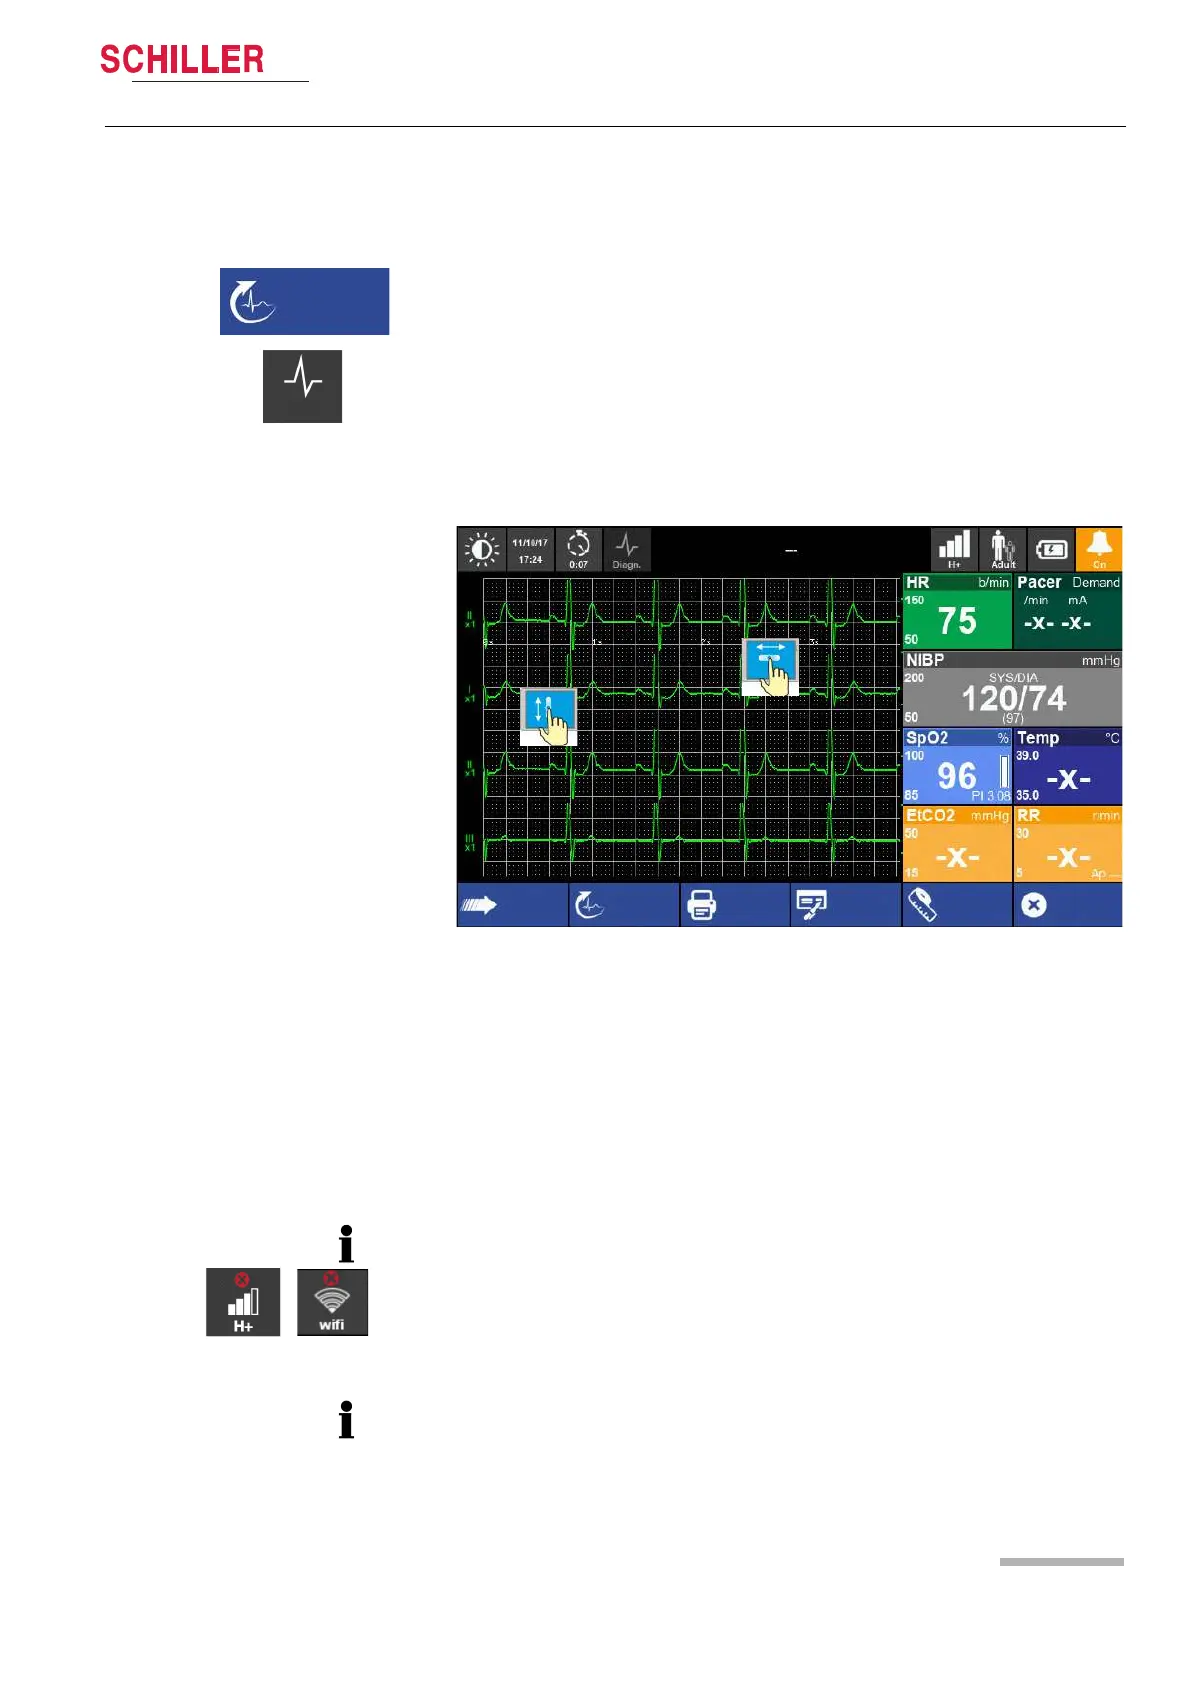
1. Apply the electrodes of the 10-wire ECG cable as shown in Fig. 4.5.
2. Connect the patient cable to the ECG signal input.
3. Press the button R-ECG and:
– the icon on the top changes from “Rhythm” to “Diagn.”
– the lead placement screen appears, showing leads off with red circle.
4. Press Next:
– the patient information dialogue is displayed for entering patient data if required
5. Press Next:
– the “ECG acquisition in progress” screen appears.
6. It takes about 15 seconds to record the ECG. After acquisition, the “Send” and
“Print” buttons are active. After about 8 seconds, the button “NEW R-ECG” is dis-
played so that another resting ECG can be recorded, if necessary.
7. It is now possible to scroll the R-ECG in the x-y axis for reviewing.
8. Transmit the ECG with following options:
Press ”Send” to transmit the file via the defined transmission path e.g GSM/3G/
Wi-Fi, Bluetooth to:
– SEMA
– e-mail
– USB storage
Press “Print” to print the ECG to an external Bluetooth printer.
Press “Interpr.” to open the interpretation information.
Press ”Measur.” to open the measurement information
• If transmission of the data fails, the error icon appears in the top right status bar.
The failed transmitted data can be re-sent in the main menu “R-ECG”.
• If you close the R-ECG Window without sending the data, the data can be re-sent
via the main menu “R-ECG”.
For detailed information about the transmission, see chapter 4.6 page 50.45
• The resting ECG speed displayed on the recording depends on the configured
printout- or pdf format (see chapter 4.4.10 Print and pdf formats, page 48).
• To display all 12 ECG leads see chapter 4.1.1 View selection, page 37.
Send
New R-ECG
Print
Close
Interpr. Measur.