5-1
© 2014 SeaStar Solutions Optimus Installation Manual, Rev. E
5.0 COMPONENT INSTALLATION
Refer to Section 4 – Planning, before proceeding with any part of the
installation. This will speed the installation and avoid problems that
could occur due to lack of up-front planning.
On multiple helm installations write down the serial number of the
helms and note which station they are installed at. This will simplify
the configuration process (section 7.1)
5.1 Mounting the Helm(s)
Follow these guides when mounting Optimus EPS Helms:
• MountingforallmodelsissimilartoallSeaStarSolutions
hydraulic helms.
• Althoughsomemountinghardwarehasbeenupdated,installation
methods are the same.
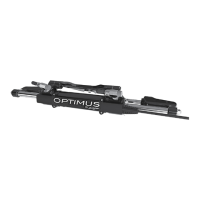
There are four Optimus EPS helms available for installation: Front
Mount,
Rear Mount, Classic Tilt, and Sport Plus Tilt. On multiple helm
installations,
any type helm may be used at either station.
See the following pages for installation diagrams.
ALL HELMS MUST HAVE A GROUND CONNECTION TO THE GROUND,
NEGATIVE BUS BAR, OR THE NEGATIVE SIDE OF THE BATTERY TO
PREVENT DAMAGE FROM STATIC ELECTRICITY. A GROUND
STRAP AND HARDWARE IS PROVIDED WITH EACH HELM.
FAILURE TO DO SO MAY RESULT IN LOSS OF STEERING CONTROL,
POSSIBLY RESULTING IN PROPERTY DAMAGE, INJURY OR DEATH.
NOTICE
NOTICE
WARNING