ShopBot PRS Assembly Manual Page -56
Connect the Emergency Stop Switch and the 3-Button Pendant
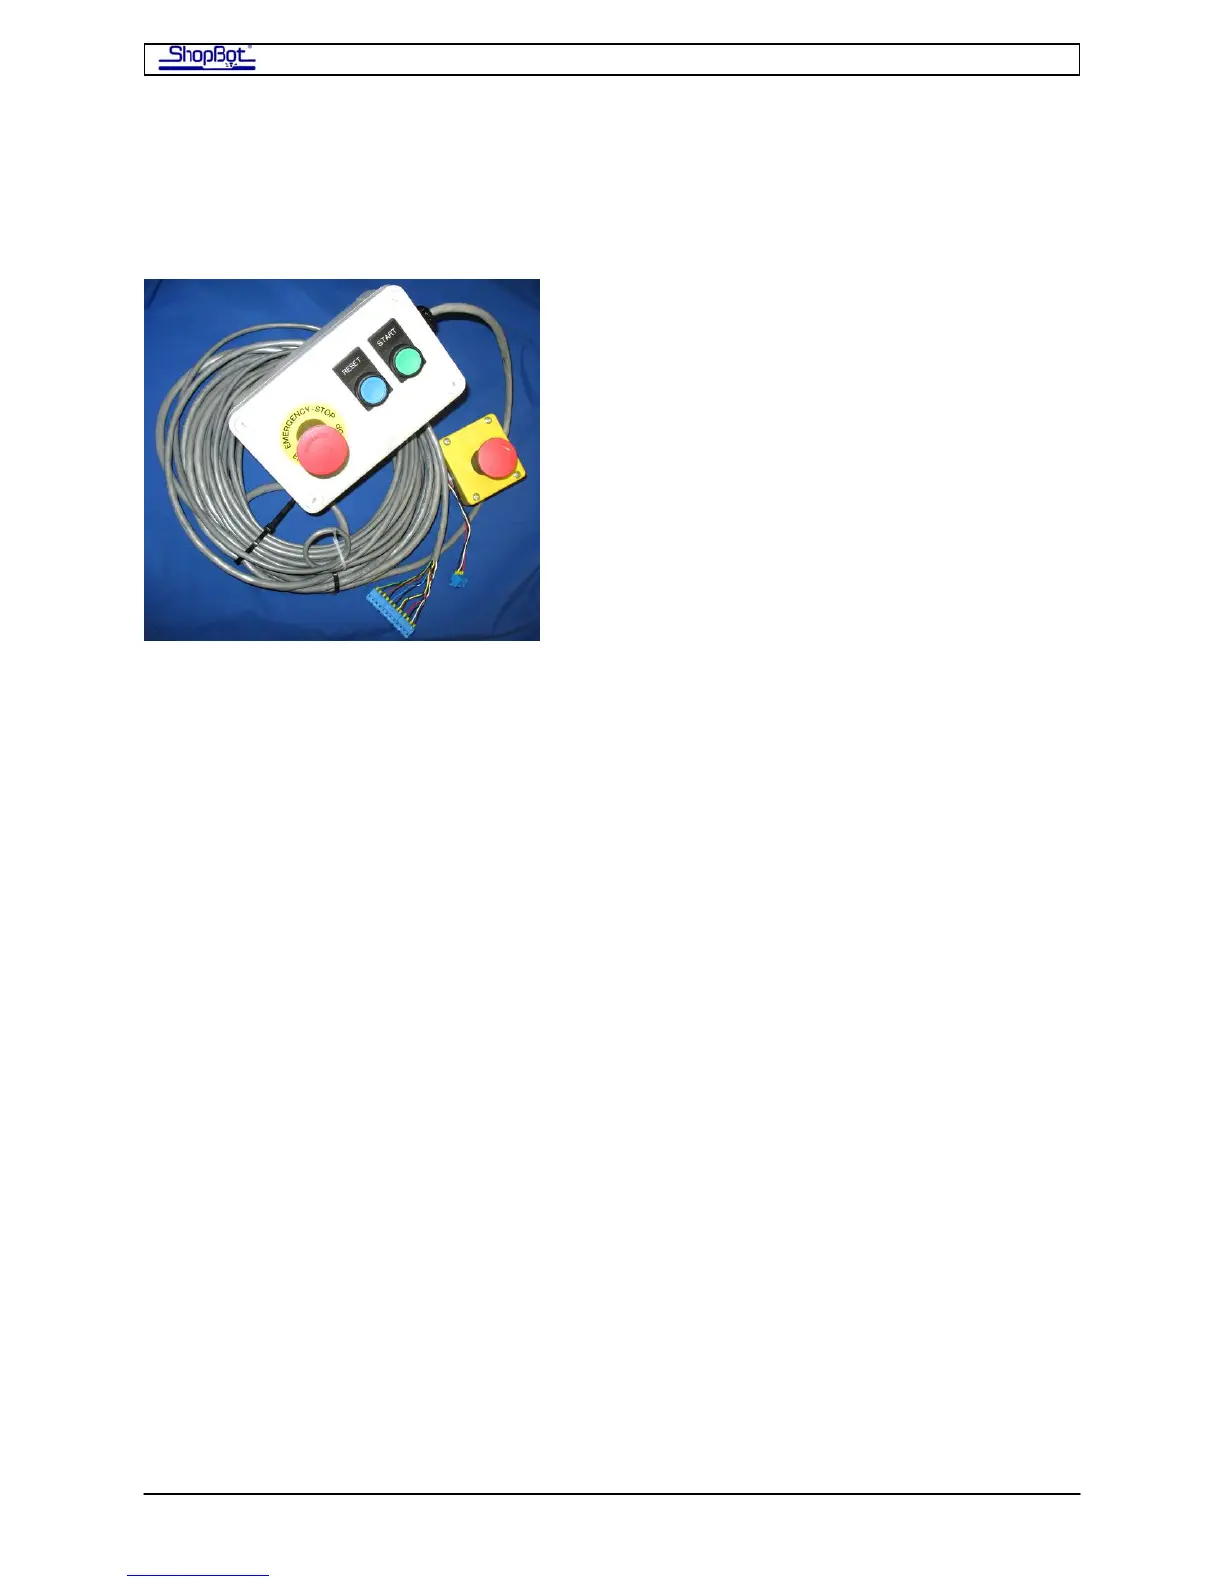
The 3-Button Pendant and the separate E-Stop are bundled together for shipping. Both
must be attached in order for the E-Stop and the 3-Button Pendant to function. Order of
attachment does not matter.
The ShopBot 3-Button Pendant allows you to place the reset, start and extra emergency
stop buttons at a convenient location away from the PRSalpha Control Box. It has been
prewired so that hooking it up to your PRSalpha Control Box entails plugging the terminal
block from the pendant into the control board inside the PRSalpha Control Box. Your
PRSalpha Control Box may differ slightly from pictures in the manual depending on which
model you have. If you have a 3-Button Pendant, your PRSalpha Control Box will not have
Start/Reset buttons.
The separate E-Stop Switch also comes fitted with a terminal block that plugs into the
Control Board. Power for the router or spindle is routed through the PRSalpha Control Box
safety controls so that activating the E-stop by hitting the RED BUTTON will stop the
movement of the carriages and power down the router or spindle. We suggest mounting this
to the gantry on your machine in an easy-to-access location. See section on Mounting the
E-Stop Switch.
Note: If you try to run the ShopBot without the E-Stop connected, Input #4 will flash red
on the computer screen and the ShopBot Control Software will not allow the ShopBot to
move.
PRSAssembly080922.doc Copyright 2007,2008 ShopBot Tools, Inc