ShopBot PRS Assembly Manual Page -14
Assembly Steps
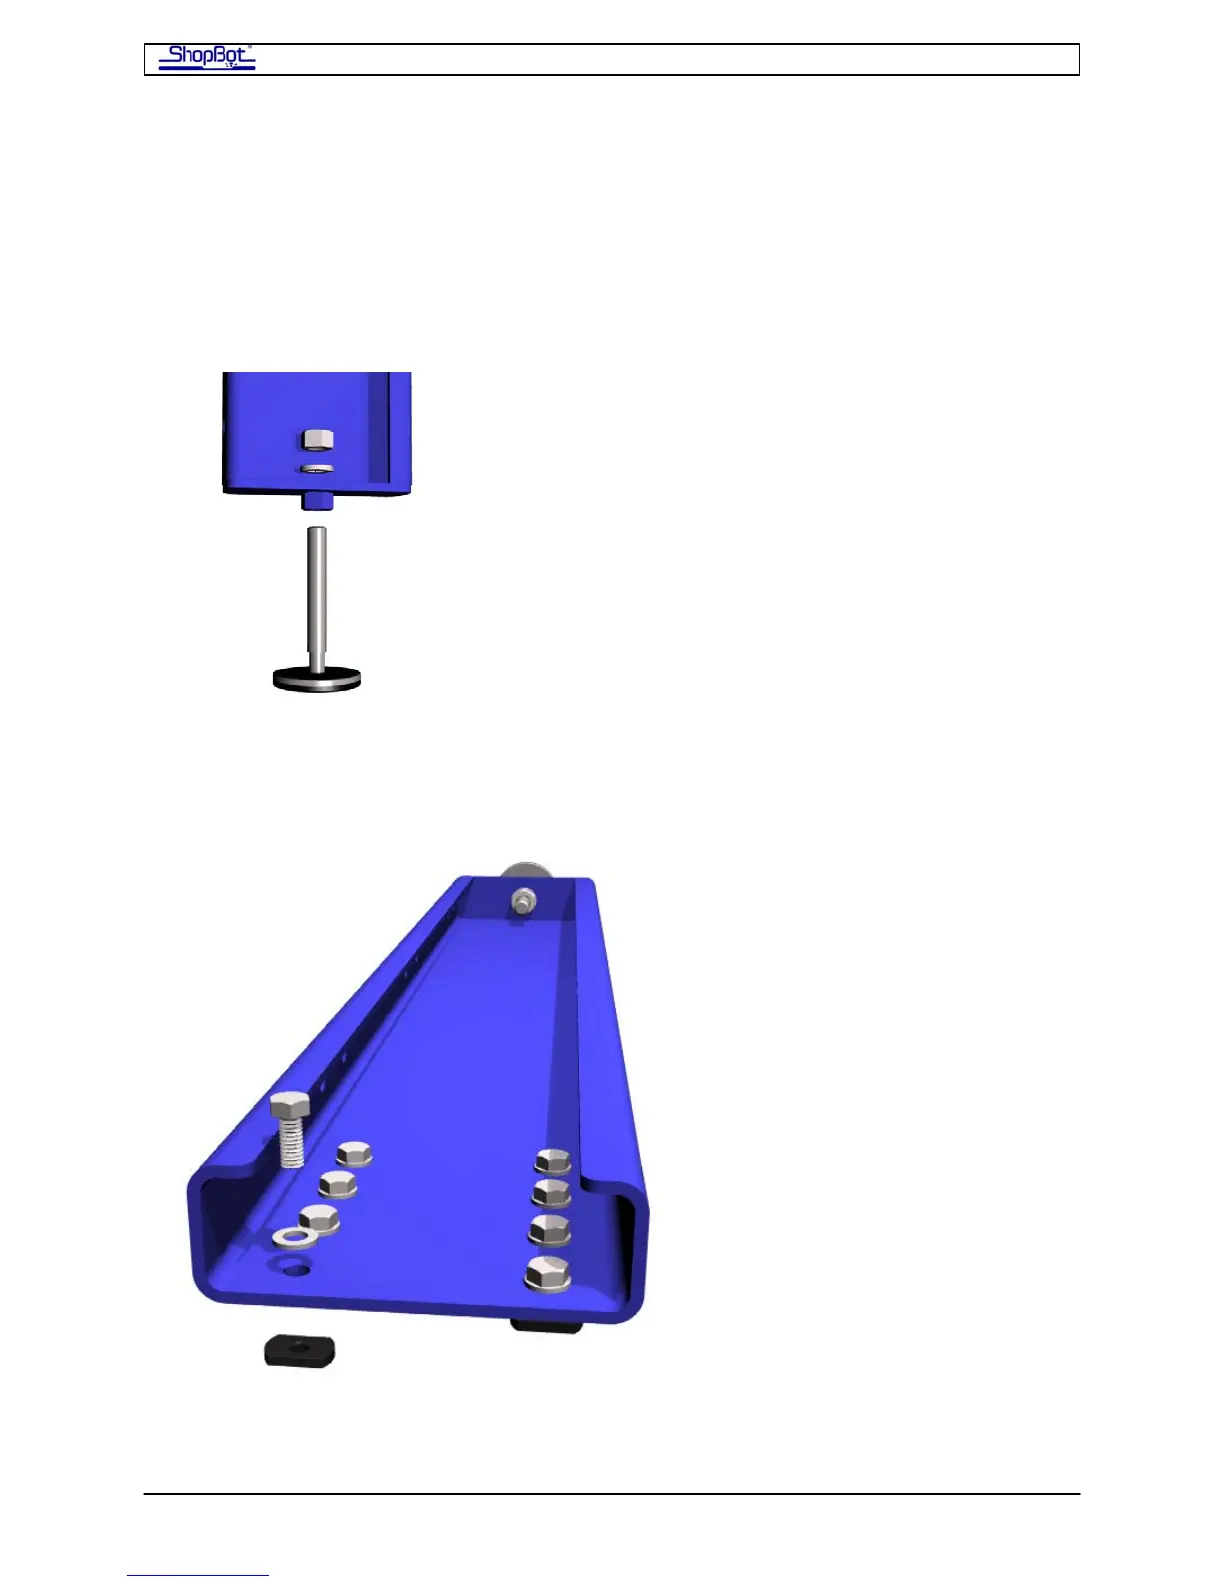
Step1.1: Attach a Machine Glide to the Bottom of Each of the Table
Legs
Screw a Machine Glide through the 5/8” nut in the bottom of each Table Leg. Place a 5/8”
lock washer and hand tighten a 5/8” hex nut on the Machine Glide. Do not tighten at this
time (see Step 5). Repeat for all legs.
Bottom of Table Leg showing Machine Glide assembly
Step 1.2: Attach the Table Legs to the Table Sides
Place 5/16” bolts, flat washers and T-nuts at the eight holes on each of the Table Legs.
Looking down on table leg
Attach the first leg to the inside of the Table Side by sliding the T-nuts into the side
channels on the Table Side. Square the Table Leg to Table Side and tighten just enough to
PRSAssembly080922.doc Copyright 2007,2008 ShopBot Tools, Inc