Connecting the encoder
ATM60-Cxx 03/2007 47
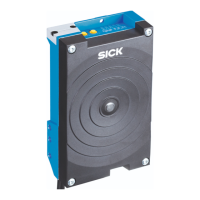
12. Connecting the encoder
Specific features of the ATM60-Cxx may be configured using setting switches on the hardware. These are the
node ID, the baud rate and the terminating resistance for the CAN network. In addition, by operating a
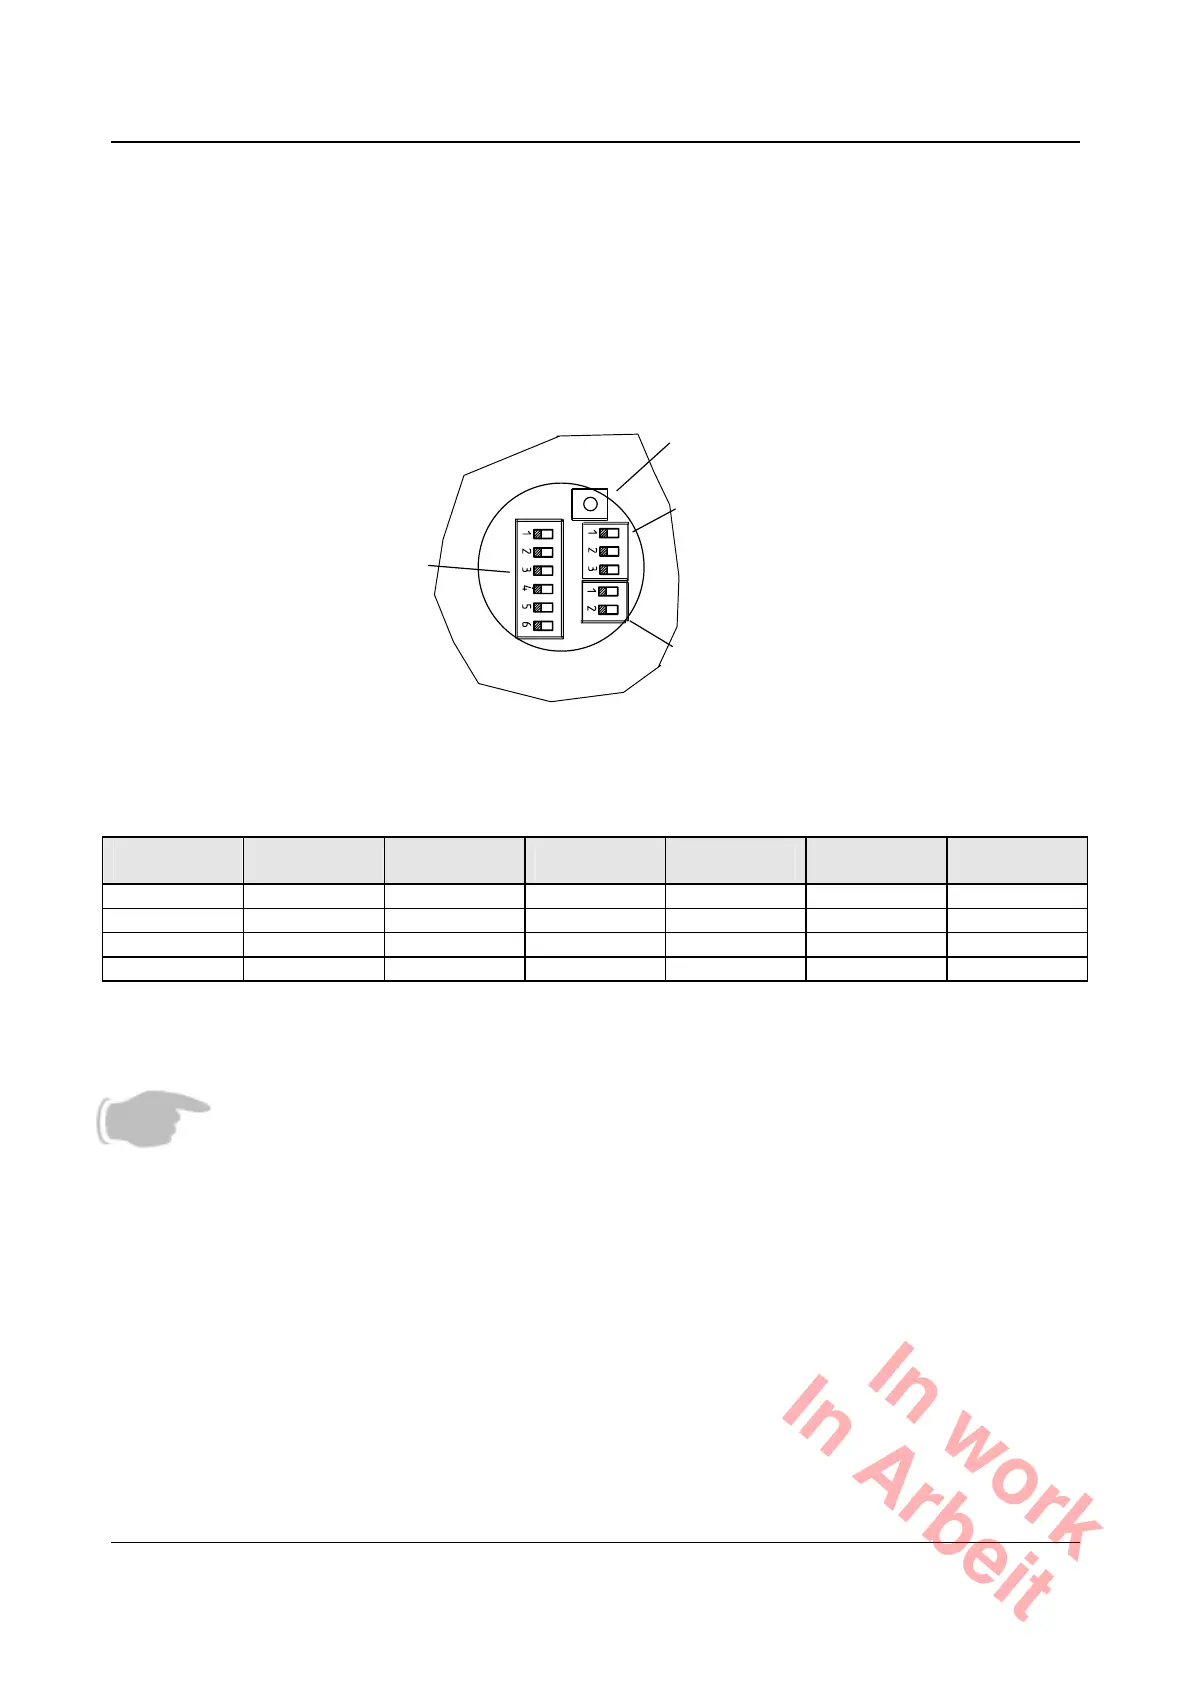
pushbutton, the encoder can be set to a defined value (PRESET function). In order to implement these
actions, the PG plug on the rear of the encoder has to be removed. Underneath it, three DIP switches and
one micro pushbutton become visible.
PRESET pushbutton
Baud rate
Node ID
Bus termination
12.1 Setting the node ID
The node ID can be set via the 6-pole DIP switch. Ex works, it is set to 1. The coding of the DIP switch is
binary, beginning with DIP switch 1 = 2
0
up to DIP switch 6 = 2
5
.
DIP 6
2
5
DIP 5
2
4
DIP 4
2
3
DIP 3
2
2
DIP 2
2
1
DIP 1
2
0
Address
0 0 0 0 0 0 0
0 0 0 0 0 1 1
... ... ... ... ... ... ...
1 1 1 1 1 1 63
0 = DIP switch OFF,
1 = DIP switch ON.
Node ID 0 may not be set, since this is reserved in a CANopen system.
The setting of the node ID to 0 will be converted internally into node ID 1.
A new node ID is accepted at a power-on of the encoder.
ON
OFF
ON
OFF
In work
In Arbeit
 Loading...