40
8012704/YHS4/V2-0/2016-10 | SICKOPERATING INSTRUCTIONS | GM32
Subject to change without notice
4 START-UP
Fig. 27: Fitting the cover on the purge air fixture
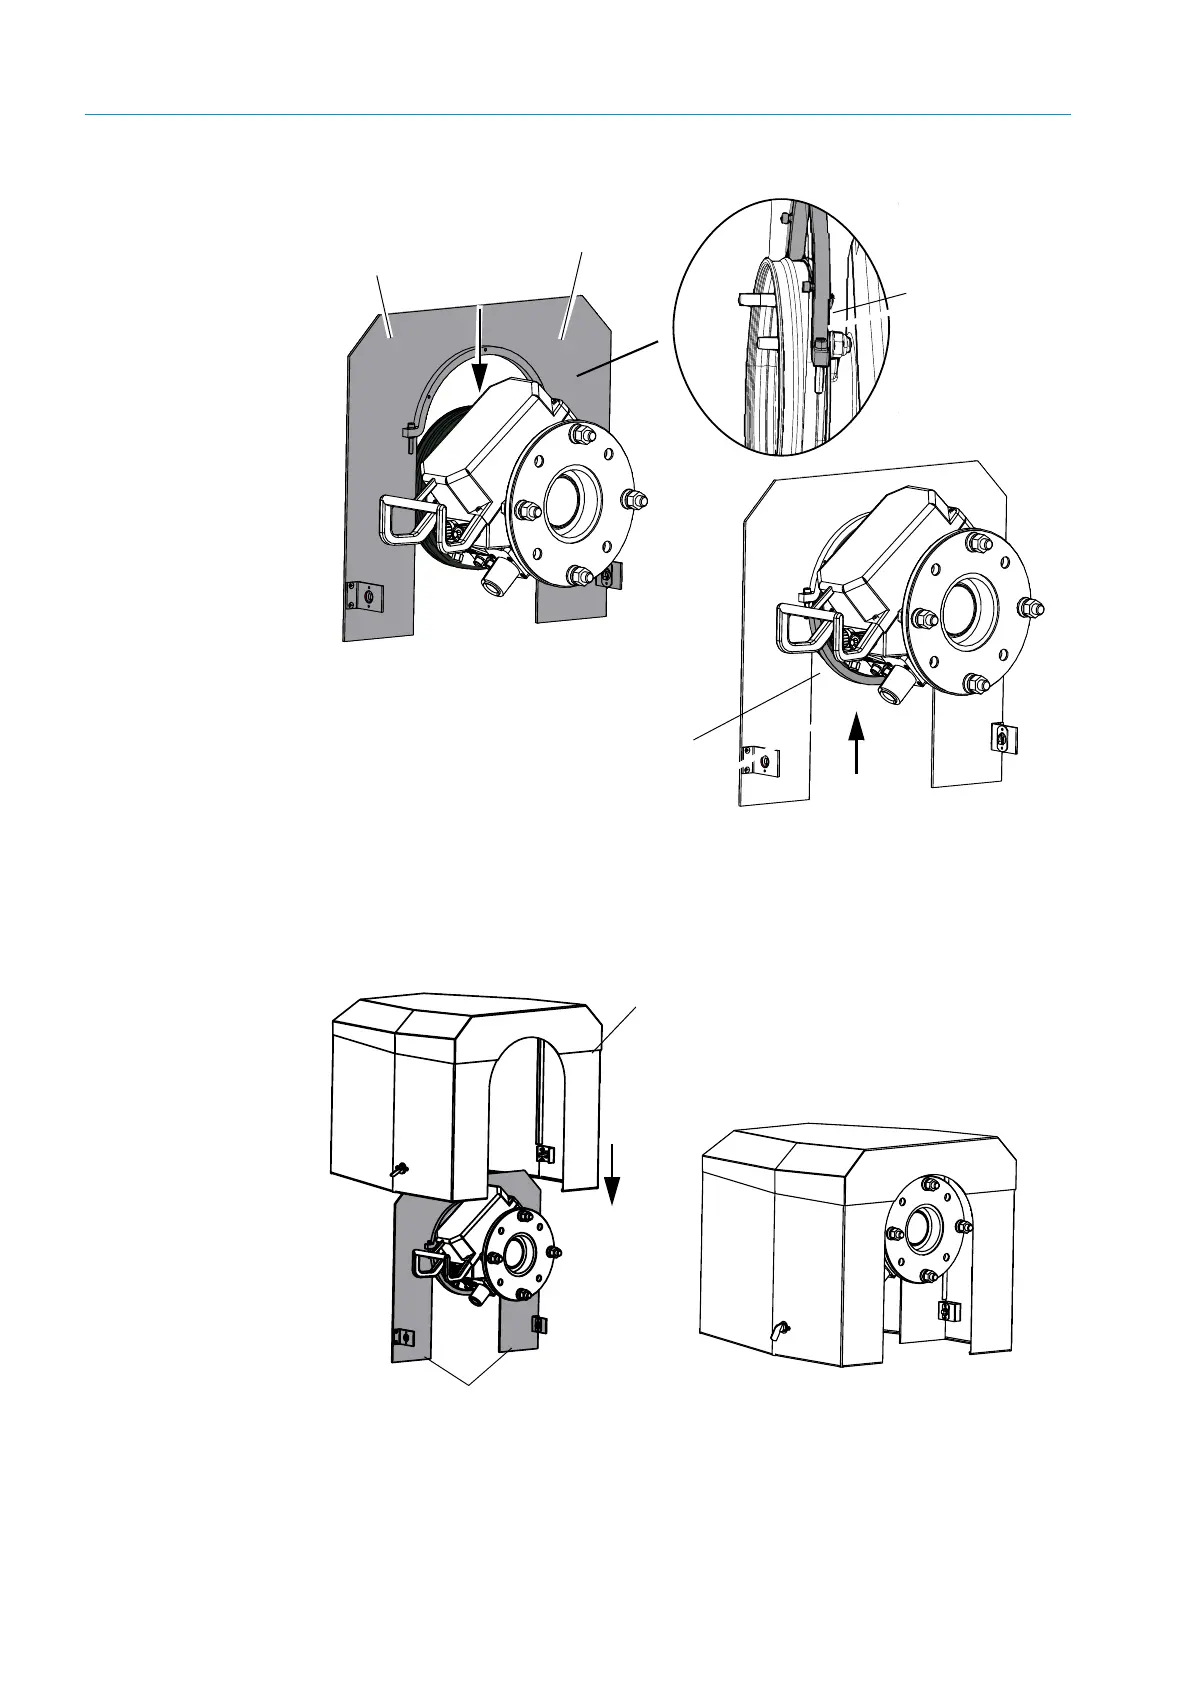
▸ Remove the bottom mounting ring.
▸ Place installation plate (1) onto the rubber band of the purge air fixture from the top.
Position the mounting ring on the side of the purge air fixture (2).
▸ Fasten bottom mounting ring (3) again.
Fig. 28: Fitted weatherproof cover
▸ Position the cover on the installation plate from the top.
▸ Engage the locks and close again.
Top mounting ring
Installation plate
Bottom mounting ring
Detailed view
Position the top mount-
ing ring on the side of
the purge air fixture.
(1)
(2)
(3)
Installation plate
Weatherproof cover