10.2 Installing panel
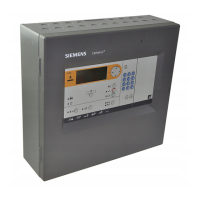
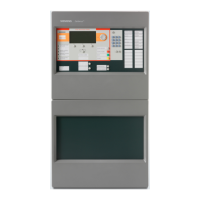
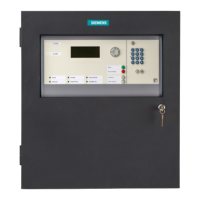
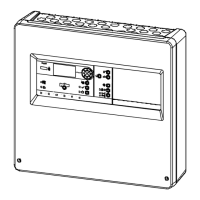
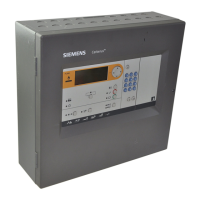
FC360 fire control panel is mounted.
1. Insert the cables of the ↑ detector lines and the mains supply into the panel
and connect them to the panel. See chapter 'Power supply - mains voltage
[➙ 30]'.
2. Place the batteries and connect them to the power supply. See chapter 'Battery
[➙ 31]'.
10.3 Starting up the panel
1. Connect the cables of the ↑ detector lines.
2. Connect the power supply (mains and batteries).
The panel executes the first startup.
During the startup, the fault LED and system fault LED are on and the
display shows no information.
3. Wait until the display indicates the selection of the country and language.
4. Press / to select your country, press and confirm with .
5. Press / to select your language, press and confirm with .
6. Decide if auto configuration on loops/stubs performs automatically during the
startup process.
Press to confirm the auto configuration. The display indicates the
progress status. After the auto configuration is finished, all devices but
FDCI723 (if installed) on loops/stubs are read in and assigned to
corresponding device types. For more information about what happens
after auto configuration, see 'Auto configuration [➙ 94]'.
Press to perform the auto configuration manually. After the startup
progress is finished, the panel is ready for commissioning. See 'Auto
configuration [➙ 94]' for detailed steps.
Report 'configuration fault' during the first system startup
A detector line is detected as two stubs during the first system startup even if
devices on the line are connected as a loop.
● Carry out 'Auto configuration' during commissioning and the fault disappears.
10.4 General commissioning steps
10.4.1 Configuring detector line automatically
See chapter Auto configuration [➙ 94].
After finishing auto configuration:
● All devices on the ↑ detector line are read in and added to the detector line as
per the topology.
● All the devices are configured with the default settings (see chapter Appendix
G: Default setting for panel/devices [➙ 141]).
 Loading...