4.4 Installation
21
4 Setting Up
Version 1.0 8/00
4.4.2 Mounting the modules
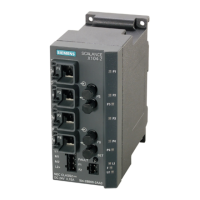
The OLM modules can either be mounted on a 35 mm hat
rail in accordance with DIN EN 50022 or directly on to a
flat surface.
Install the device in a location where the climatic and
mechanical limit values defined in the Technical Data
can be complied with.
Ensure that there is sufficient room to connect the bus
and power supply cabling.
Connect the optical fiber line before mounting the
module. This is easier than connecting it after the
module has been installed.
Only mount the module on a low-impedance and
low-induction grounded hat rail or base plate. No
other grounding measures are required.
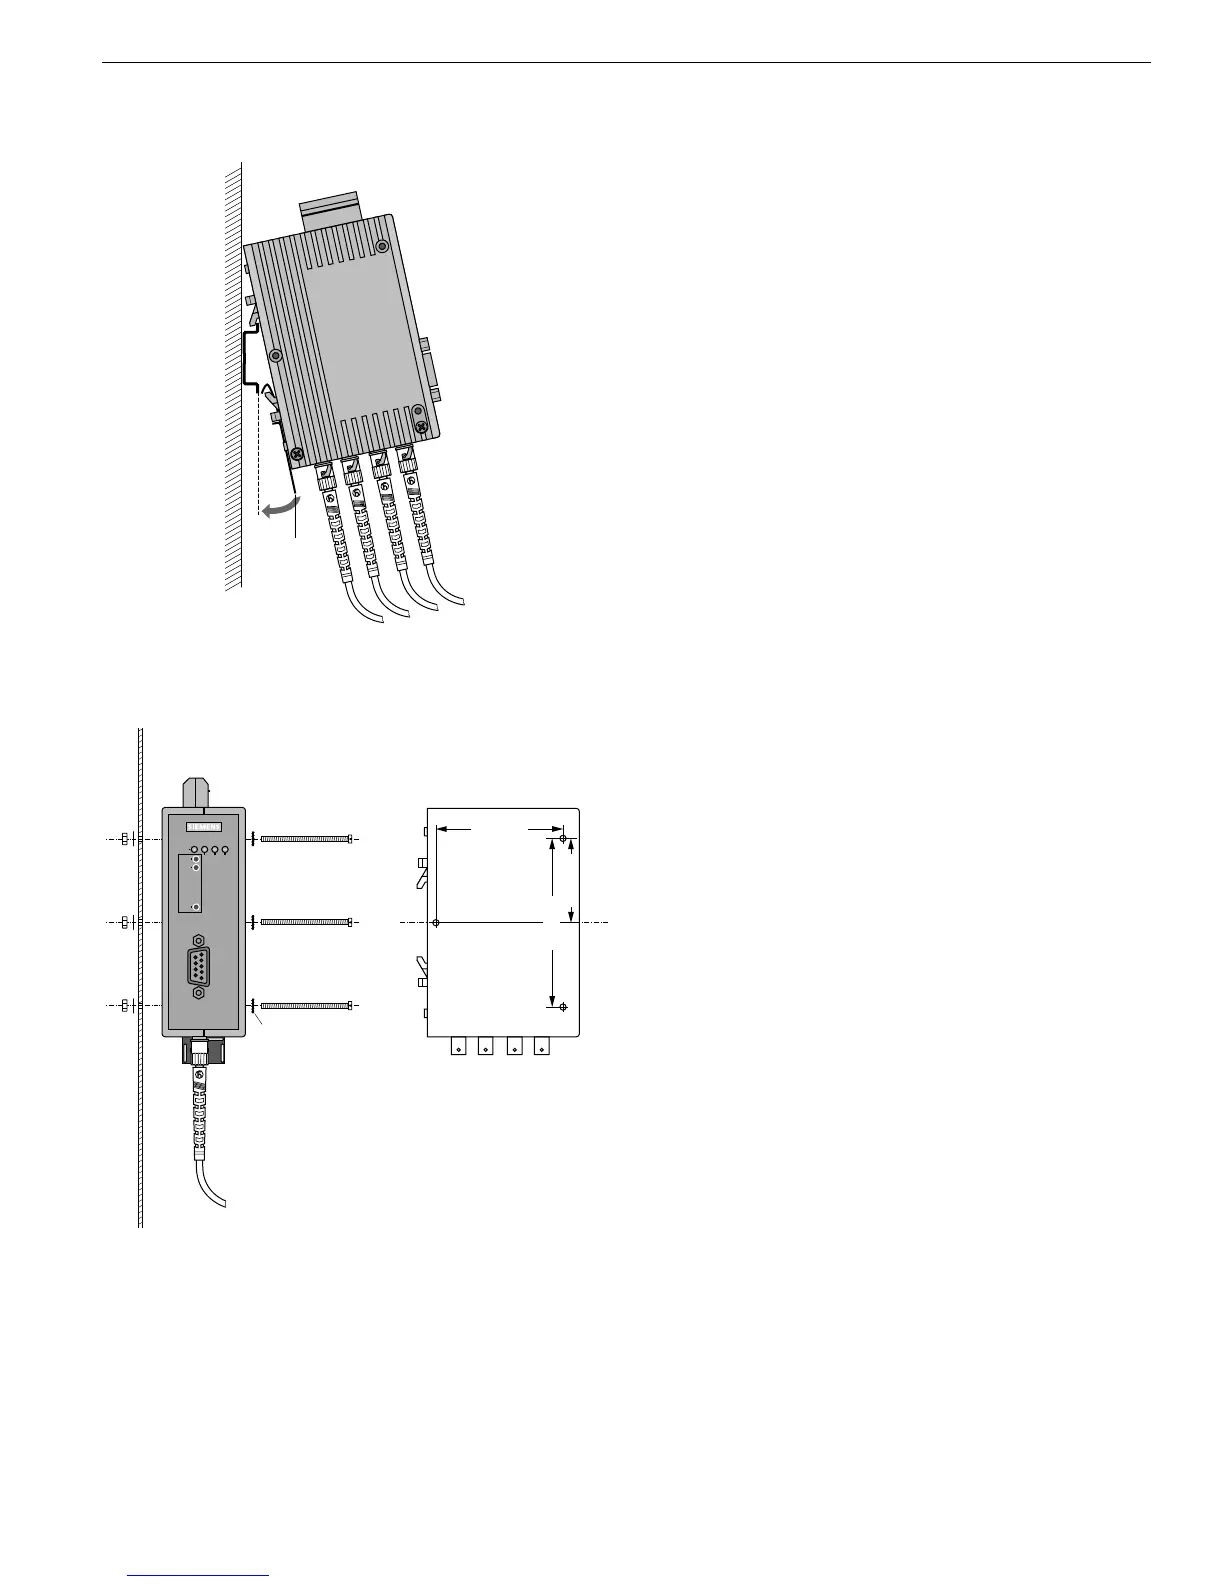
Mounting on a hat rail
Hang the top snap-in hooks of the module into the hat
rail and press the underside onto the rail (as shown in
Fig. 7) until it audibly clicks in.
To remove the module, pull down on the locking slide.
Mounting on a mounting plate
The modules have three through-holes. This allow it to be
mounted on any flat surface, e.g. on the mounting plate of
a switch cabinet.
Drill three holes in the mounting plate corresponding to
the drilling template in Fig. 8.
Secure the modules with machine bolts (e.g. M 3 x 40).
Ensure that there is a reliable electrical connection
between the module housing and the mounting plate.
Place toothed washers under the bolt heads to pierce
the varnish.
Fig. 8: Mounting a module on a mounting plate