Installation
20222121A 41
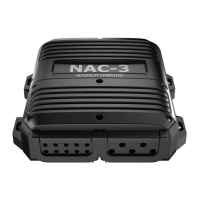
Screw the strain relief tab to the cable exit port on the autopilot
computer unit using the screws supplied and secure the cables to
the tab using the wraps as shown.
Figure 3-3 Cable strain relief
3.7 Control unit installation
Avoid mounting the control unit(s) where it is easily exposed to
sunlight, as this will shorten the lifetime of the display. If this is
not possible, make sure the units are always covered with the
white protection cover when not used.
Caution ! Do not install the control unit where moisture at the rear can
be present. It could cause damage by entering the breathing
hole or by coming into contact with the electrical connectors.
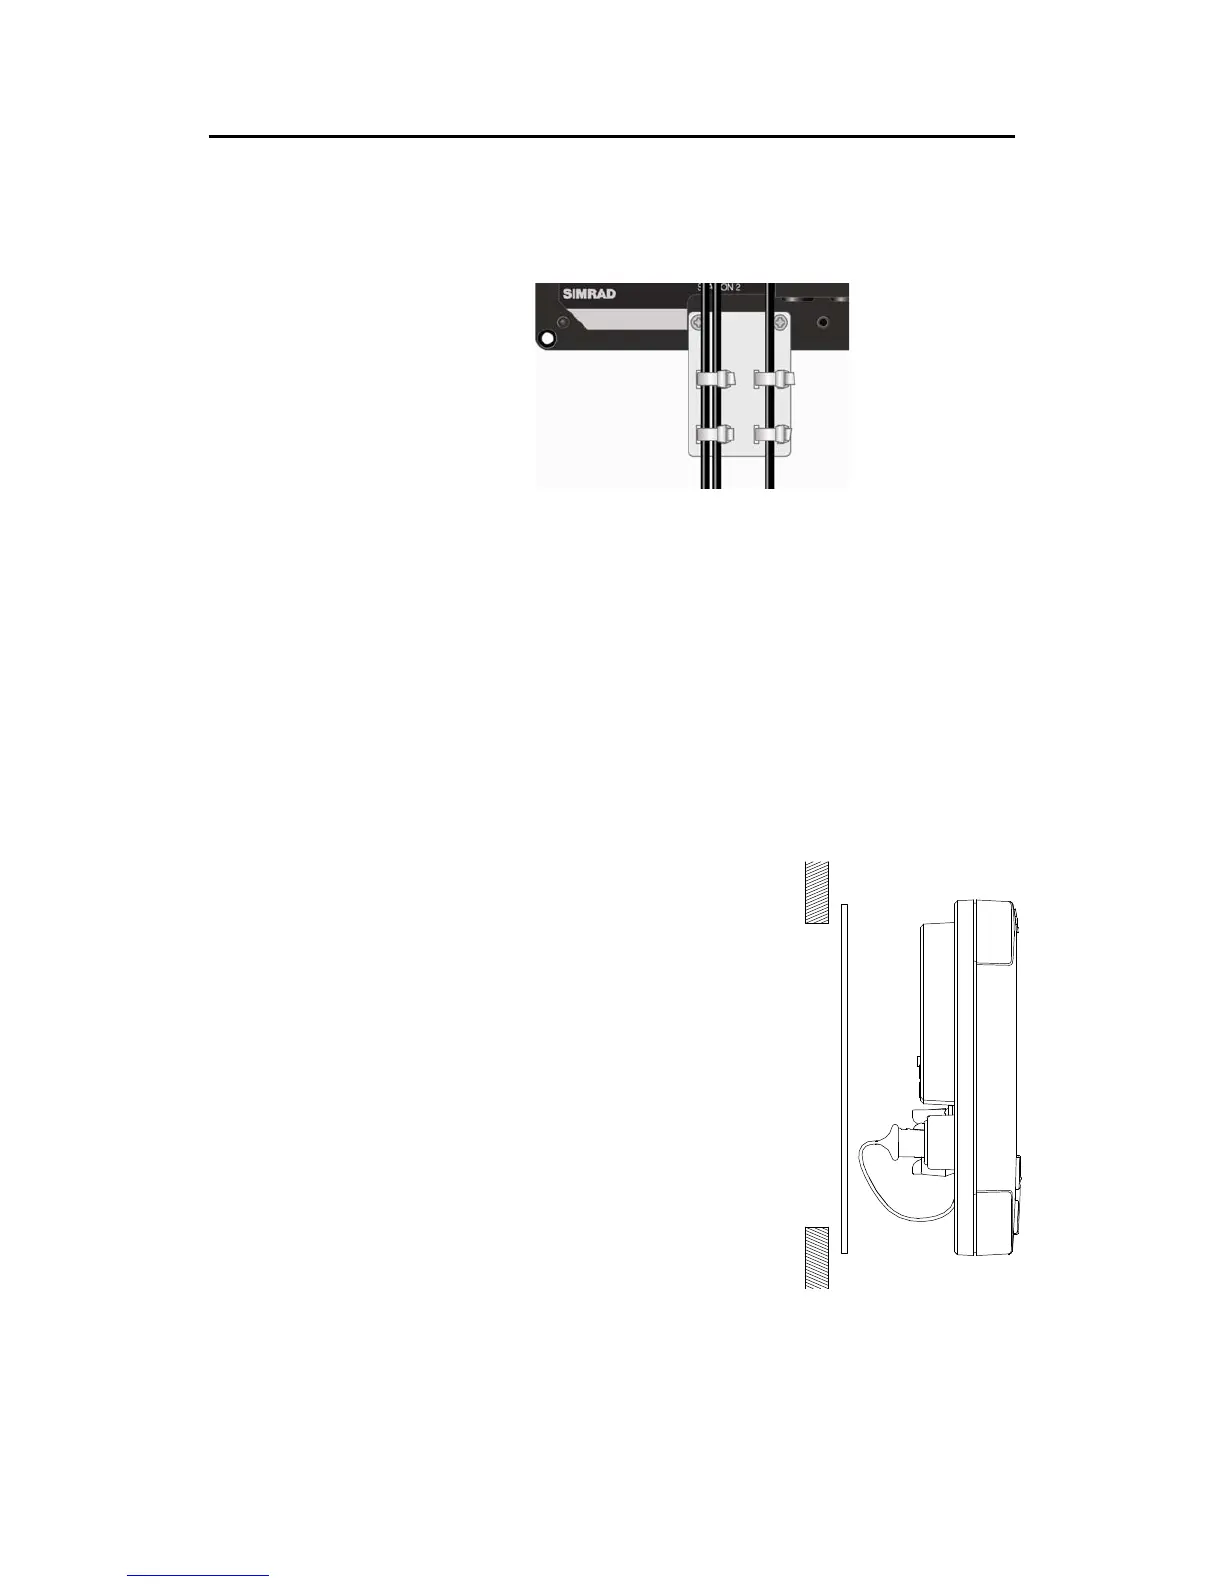
Panel mounting
The mounting surface must be flat and
even to within 0.5 mm.
− Drill the 4 mounting holes and make
a panel cut-out according to supplied
template.
− Use the supplied gasket (P.N.
22087589) between the panel and the
unit. The gasket should normally be
positioned for rear airing. See text on
gasket. If there is a high humidity in
the room behind the instrument, the
gasket should be positioned for front
airing.
− Use the supplied 19 mm screws to fasten the control unit to
the panel.
− Apply the front panel corners.

 Loading...