Installation and start-up
Sintratec S1 BA_S1_en 1.1 31 / 76
Pos: 115 /Sintratec /Überschrift en/2. Ebene/Q - T /Softwareinstalla tion @ 3\ mod_1466493493 670_6556.doc x @ 9645 @ 2 @ 1
6.7 Installing the "Sintratec Central" print software
Pos: 116 /Sintratec /Kap./Montag e und Anschlüss e/Softwareinst allation @ 3\m od_146614985 4720_6556.doc x @ 9528 @ @ 1
Note
The "Sintratec Central" print software is used on a computer which is connected
to the device via a USB cable.
The installation file for the "Sintratec Central" print software must be downloaded
from the Sintratec Academy.
1. Download the latest version of the "Sintratec Central" print software for the
operating system of your computer from:
www.sintratec.info, Software area
2. Run the installation file.
– Select the following path for installation:
C:\Program Files\Sintratec\Sintratec Central
– Accept the terms in the licence agreement.
– Allow changes to be made to the system of your computer.
– Allow the device software ATMEL to be installed.
– Wait until the installation procedure is complete.
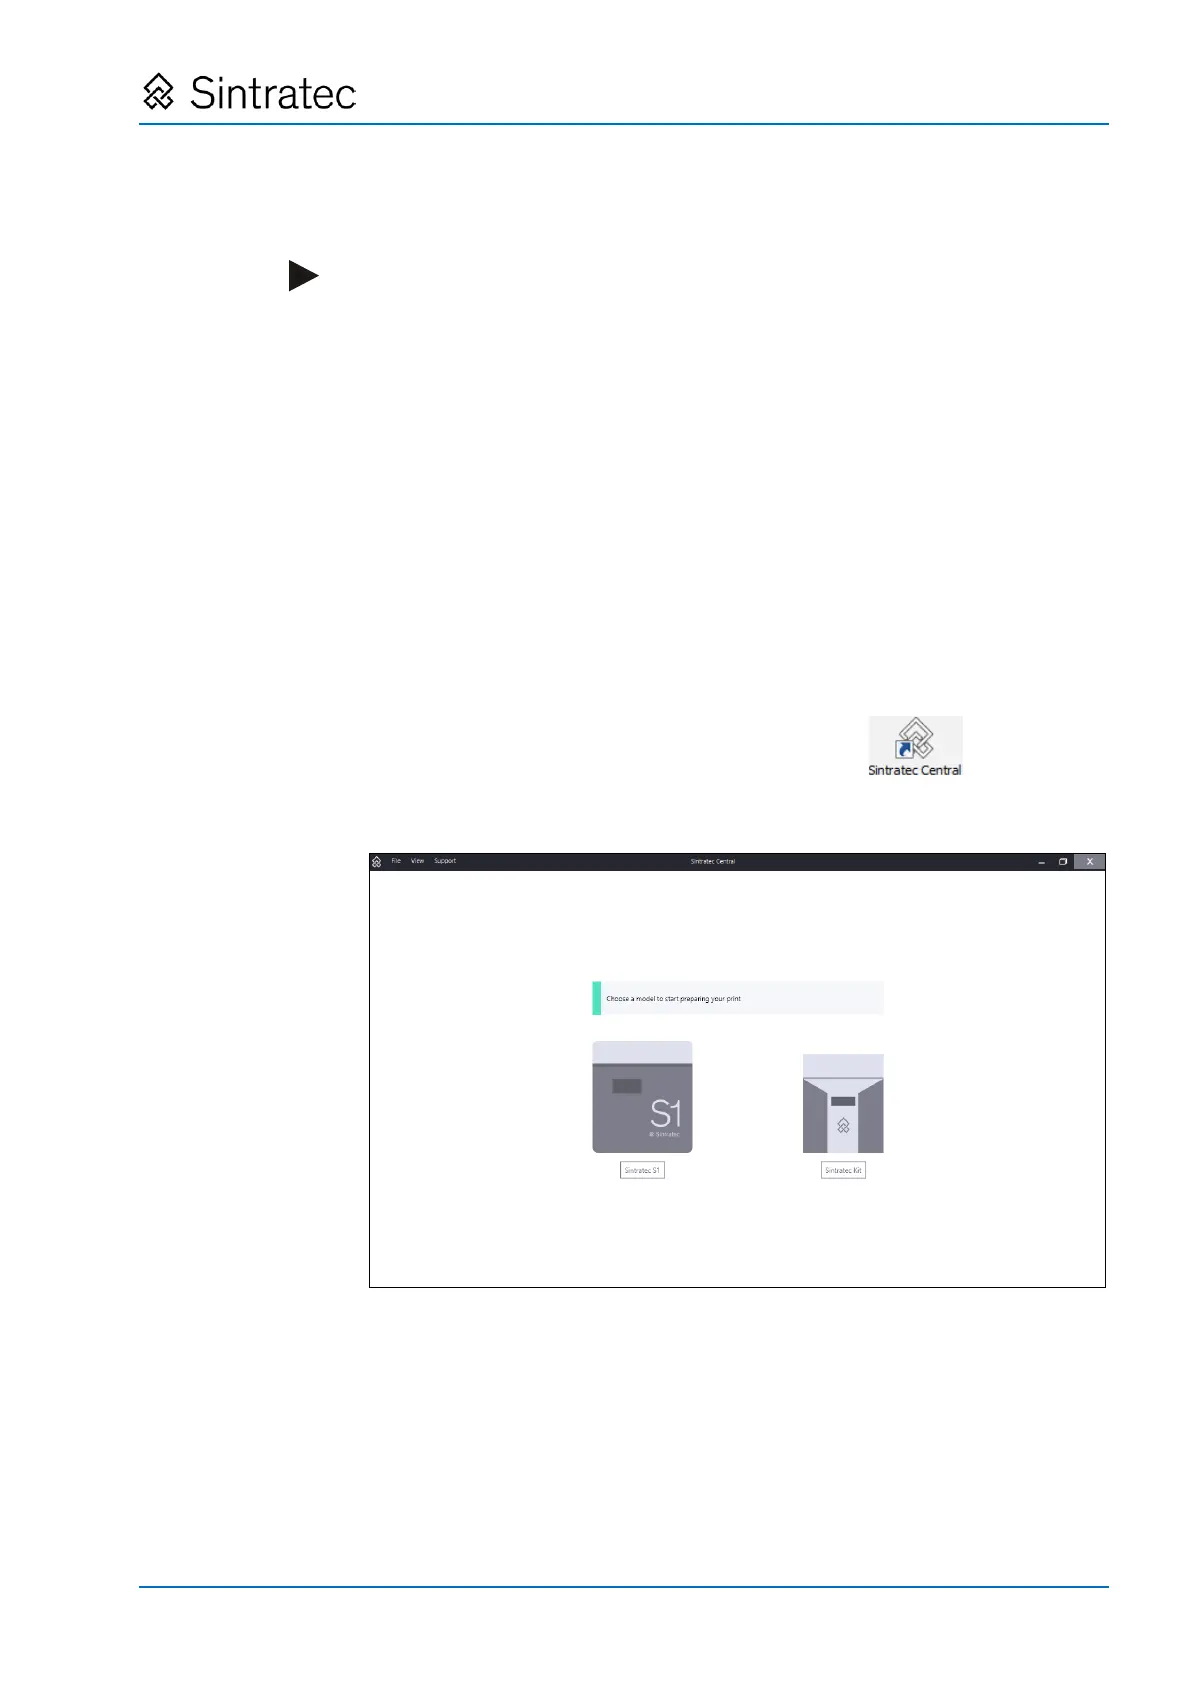
3. Start the "Sintratec Central" print software.
– Use the icon on your desktop for this purpose.
– Alternatively, run the appropriate file from the program directory:
C:\Program Files\Sintratec\Sintratec Central\Central_Launcher.exe
Fig.
: "Sintratec Central" start screen
4. Install the USB driver.
The "Sintratec Central" program must have been started.
– In the main "Sintratec Central" window, select the appropriate USB driver
under "Support > USB Driver for Windows".
– Extract and run the downloaded ".exe" file.
– Wait until the installation procedure is complete.