Operation
36 / 76 Sintratec S1 BA_S1_en 1.1
Pos: 135 /Sintratec /Überschrift en/2. Ebene/M - P/Printvorgang @ 3\mod_14 66155652239 _6556.docx @ 9547 @ 2 @ 1
7.3 Printing process
Pos: 136 /Sintratec /Kap./Betrie b/Printvorgang @ 3\mod_146 6155729261_ 6556.docx @ 955 2 @ @ 1
A printing process comprises the following main steps:
– Switch on device
– Fill device with powder
– Load 3D model data for print object
– Start printing process
– Remove print object and perform finishing work
– Clean
Note
The aforementioned steps are to be carried out for each printing process.
The procedure is described in full below, using a sample print object as an
example for this purpose. For device calibration reasons, this should be the first
print object that you produce.
To optimise the dimensional accuracy of the print objects, the device can be re-
calibrated if required. To this end, the actual measurements of the sample print
object are compared with the target measurements, so that the required
correction factor can be determined. See "Analysis and re-calibration" section.
The use of the "Sintratec Central" print software and the possible settings that
can be made are described only briefly in this operating manual. More detailed
information and user tips can be found in the Sintratec Academy.
Pos: 137 /Sintratec /Kap./Betrie b/Gerät einschalt en S1 @ 3\ mod_1466156 076266_6556.d ocx @ 9556 @ 3 @ 1
7.3.1 Switching on the device
1. Move the main switch to the ON position.
2. Use the ON/OFF button to switch on the device (white lamp lights up).
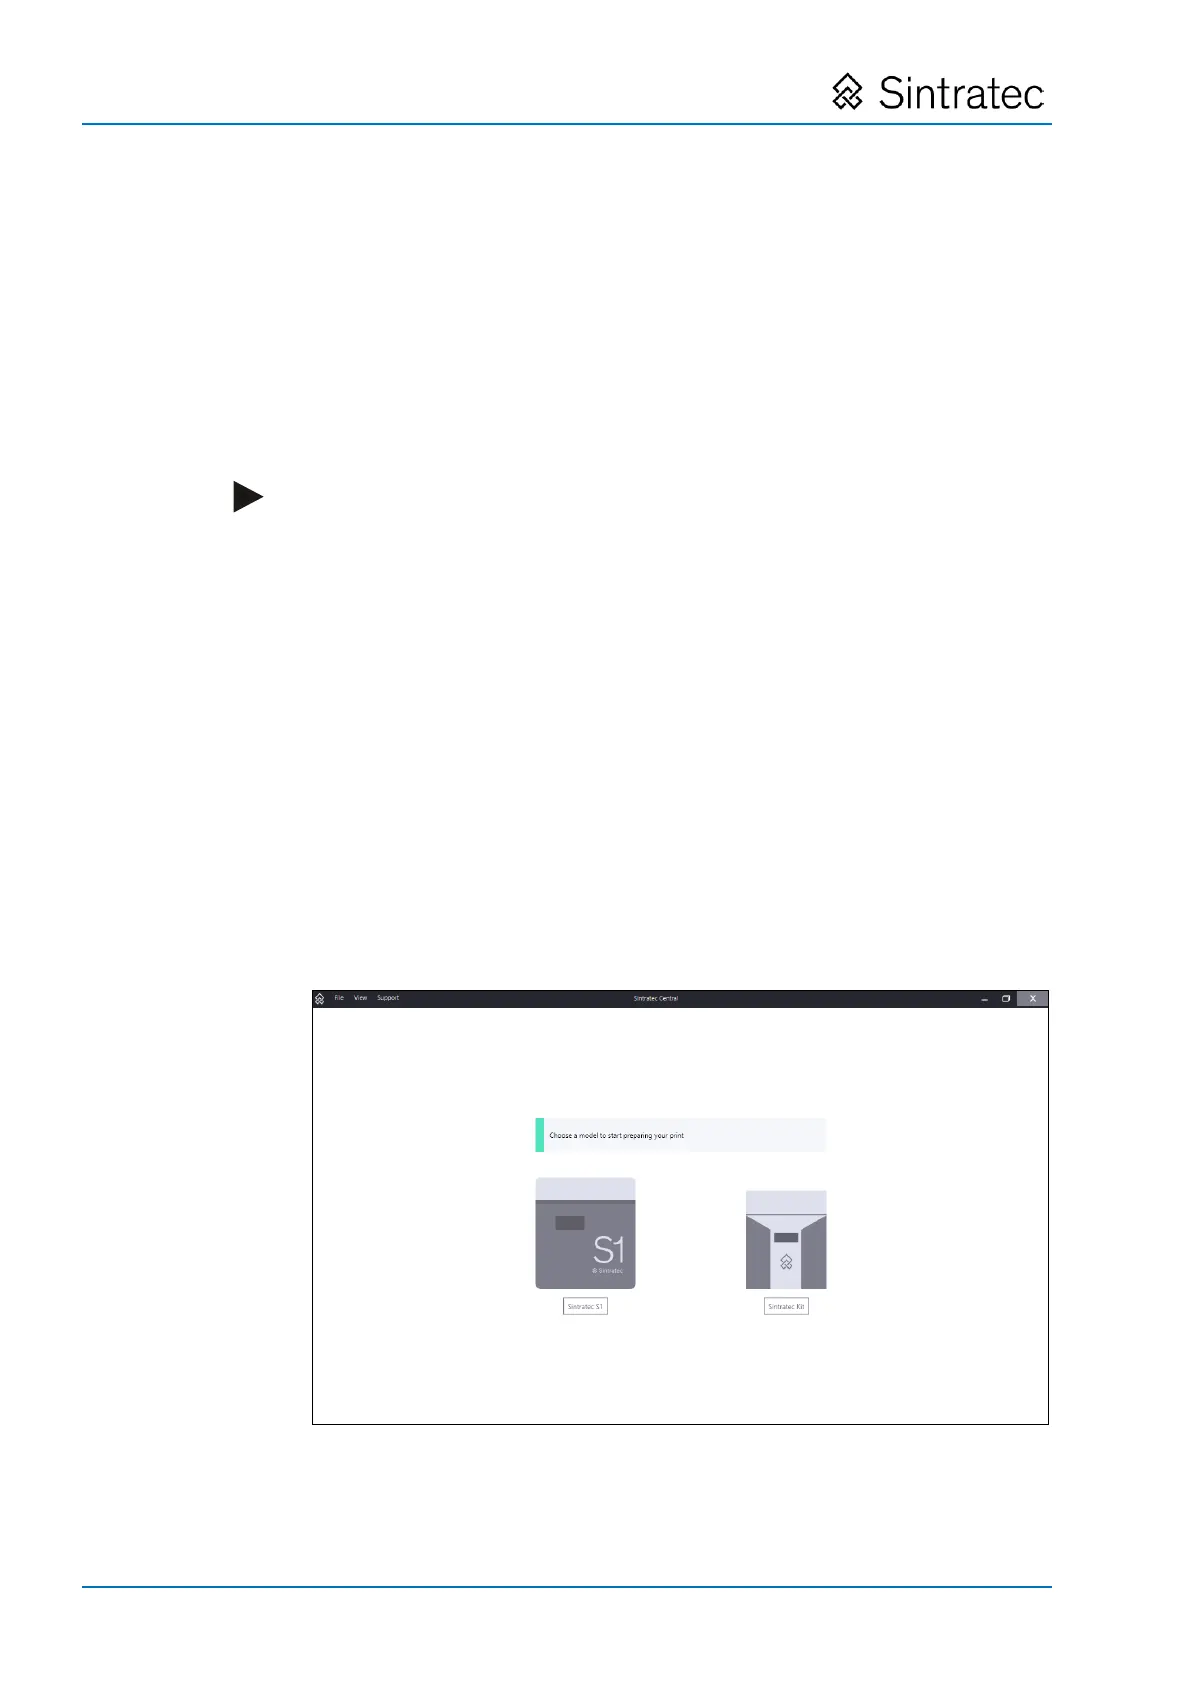
3. Start "Sintratec Central" at the computer connected to the device.
Fig.
: "Sintratec Central" start screen
4. Select the Sintratec S1 device.
Pos: 138 /Sintratec /+++++++ + Seitenumbruch +++ +++++ @ 3\ mod_146398 1070991_0.docx @ 7762 @ @ 1