CHAPTER 2
INSTALLING THE DISPLAY
19 smarttech.com/kb/171167
NOTE
Refer to the display’s specifications for its weight (see More information on page10).
Also be sure the area of the wall where you will mount the display is no more than 3/16"(5mm) off
plumb horizontally and vertically.
In some situations, you may need to request an engineering analysis to determine if the wall can
support the display.
Selecting mounting hardware and tools
The mounting hardware and tools required for installation vary according to the type of wall onto
which the display is being mounted.
Refer to the installation instructions for the mounting hardware and tools required for the display.
Selecting a wall mount
It is always best to mount the display on a wall. If the wall can’t support the display’s weight, you
can use additional hardware to transfer some of the weight to the floor.
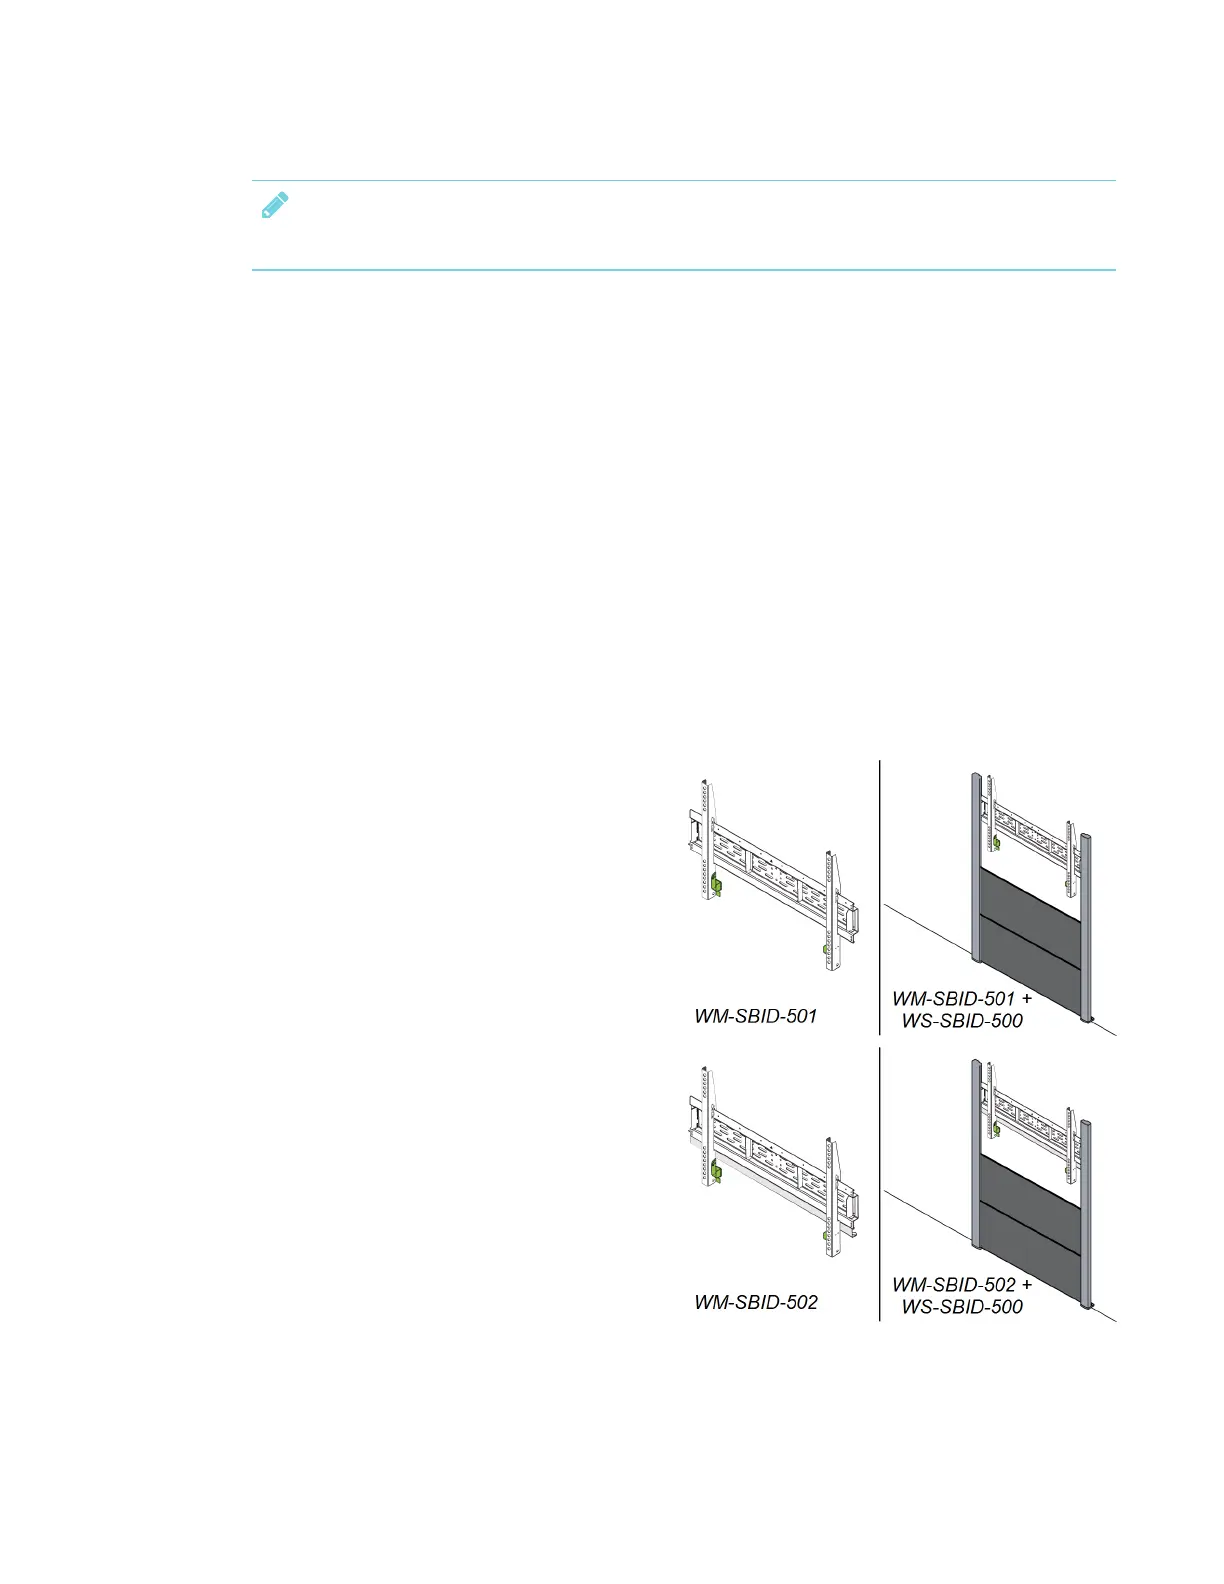
SMART offers two wall mounts for
SMARTBoard interactive displays: WM-SBID-
501 and WM-SBID-502. Most displays can use
the WM-SBID-501 while the WM-SBID-502 is for
larger and heavier displays. These mounts can
be purchased separately or as part of a SMART
Wall Stand Kit (WSK-Single or WSK-Dual).
These wall-stand kits are not free-standing
mounts; they still require a wall that can support
the display’s weight.
 Loading...