91
Scope Multimeter Operation and Controls
z To turn a trigger on/off:
A trigger is activated by selecting the trigger icon from the control panel, which then
automatically initiates trigger slope setup.
1. Select the desired channel’s Trigger icon.
Each tap of the icon sets the trigger to a different slope setting, or turns the trigger off.
2. Select the desired slope setting, to turn the trigger on.
3. Proceed to “To set trigger position” next to complete the trigger set up.
z To set trigger position:
Trigger position (also called trigger level) can be adjusted in two ways:
– Dragging the trigger marker (Figure 8-21) on the touch screen - rough adjustment
– Using the trigger position control panel (Figure 8-21) - fine adjustment
The trigger marker is indicated by a plus symbol (+) on the display (Figure 8-22). The trigger
marker represents the trigger point and is displayed on the screen when the trigger is turned
on.
To roughly position the trigger marker, select and drag it into position using the touch screen.
4. To more accurately position the trigger marker, select the Trigger Position Control icon
(Figure 8-22).
The trigger position control panel opens.
5. Use the directional controls provided, or the thumbpad directional controls to move the trigger
marker into position (Figure 8-21). Sweep and vertical scale values are provided in the trigger
position control panel, which gives you the precise position of the trigger marker.
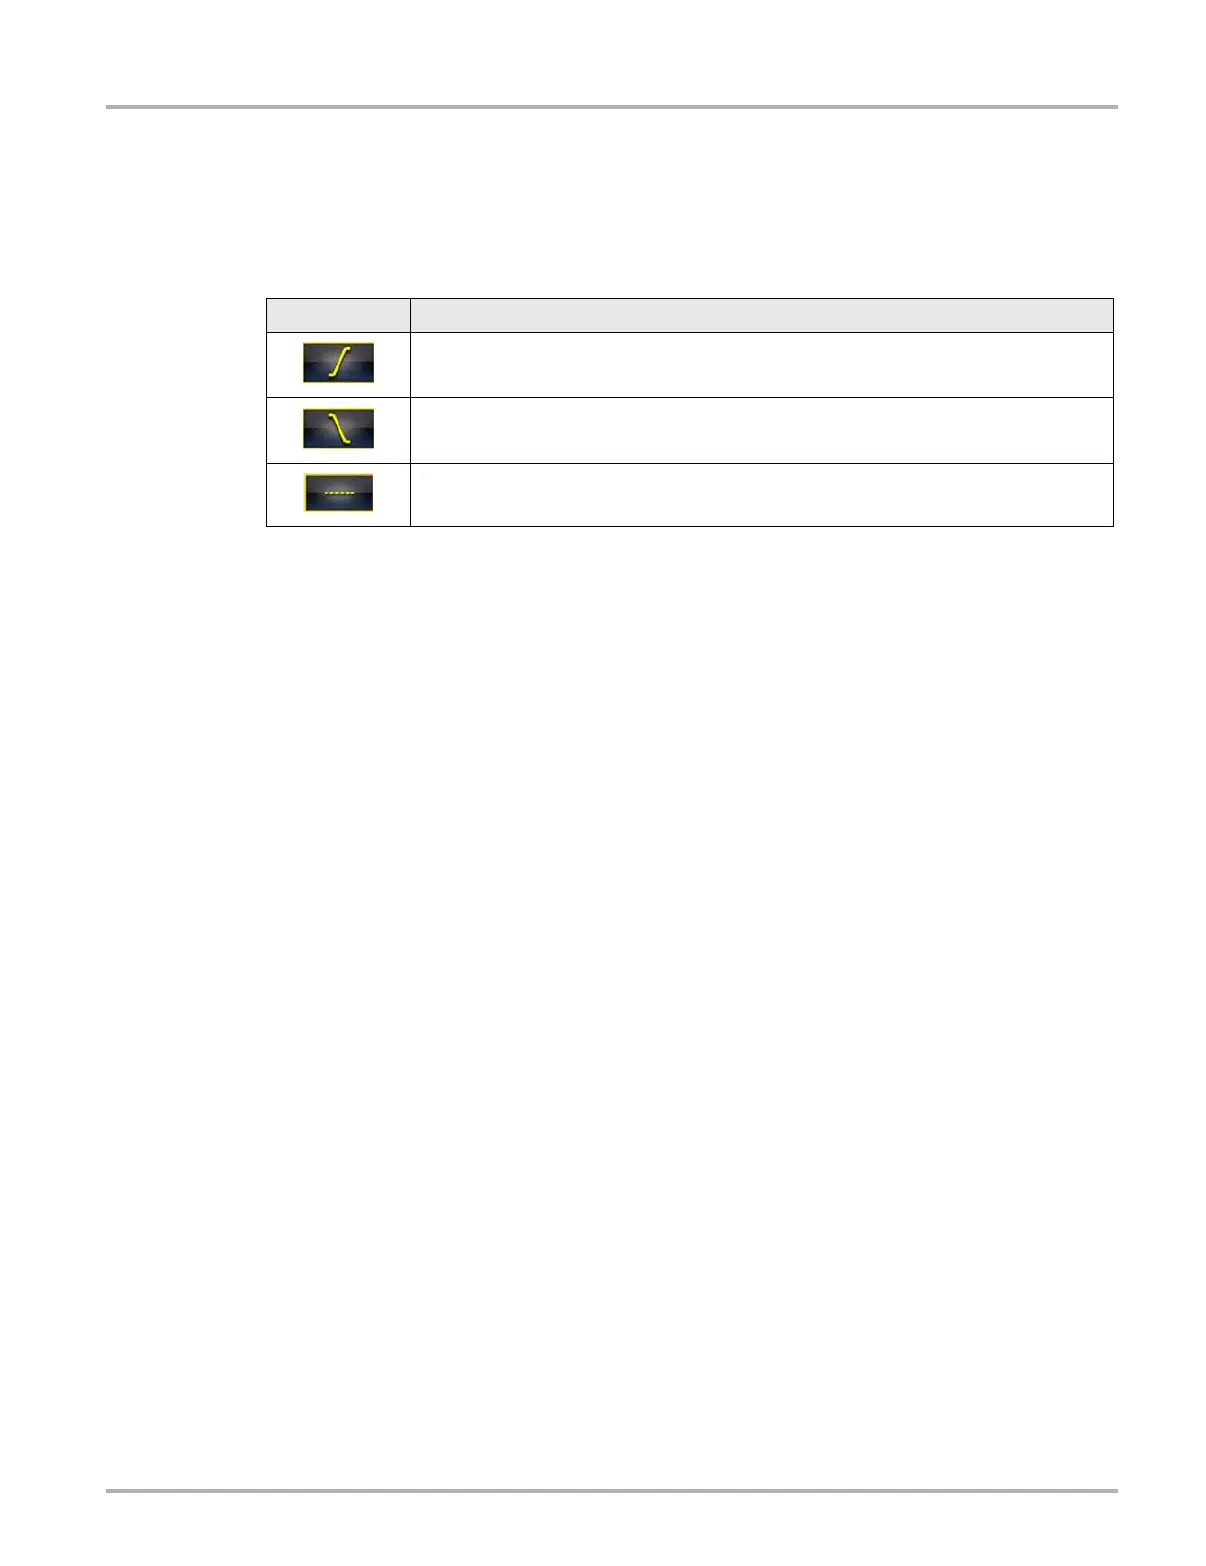
Trigger Icon Description
Rising (up or positive) -
Trigger is turned on to start the trace on the rising edge (as signal begins to rise)
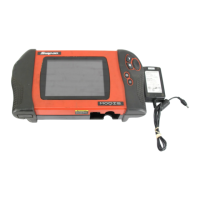
Falling (down or negative) -
Trigger is turned on to start the trace on the falling edge (as signal begins to fall)
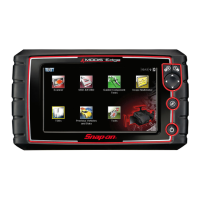
Off -
Trigger is turned off.