76
Downloading and Installing Software Updates Downloading Service Upgrades
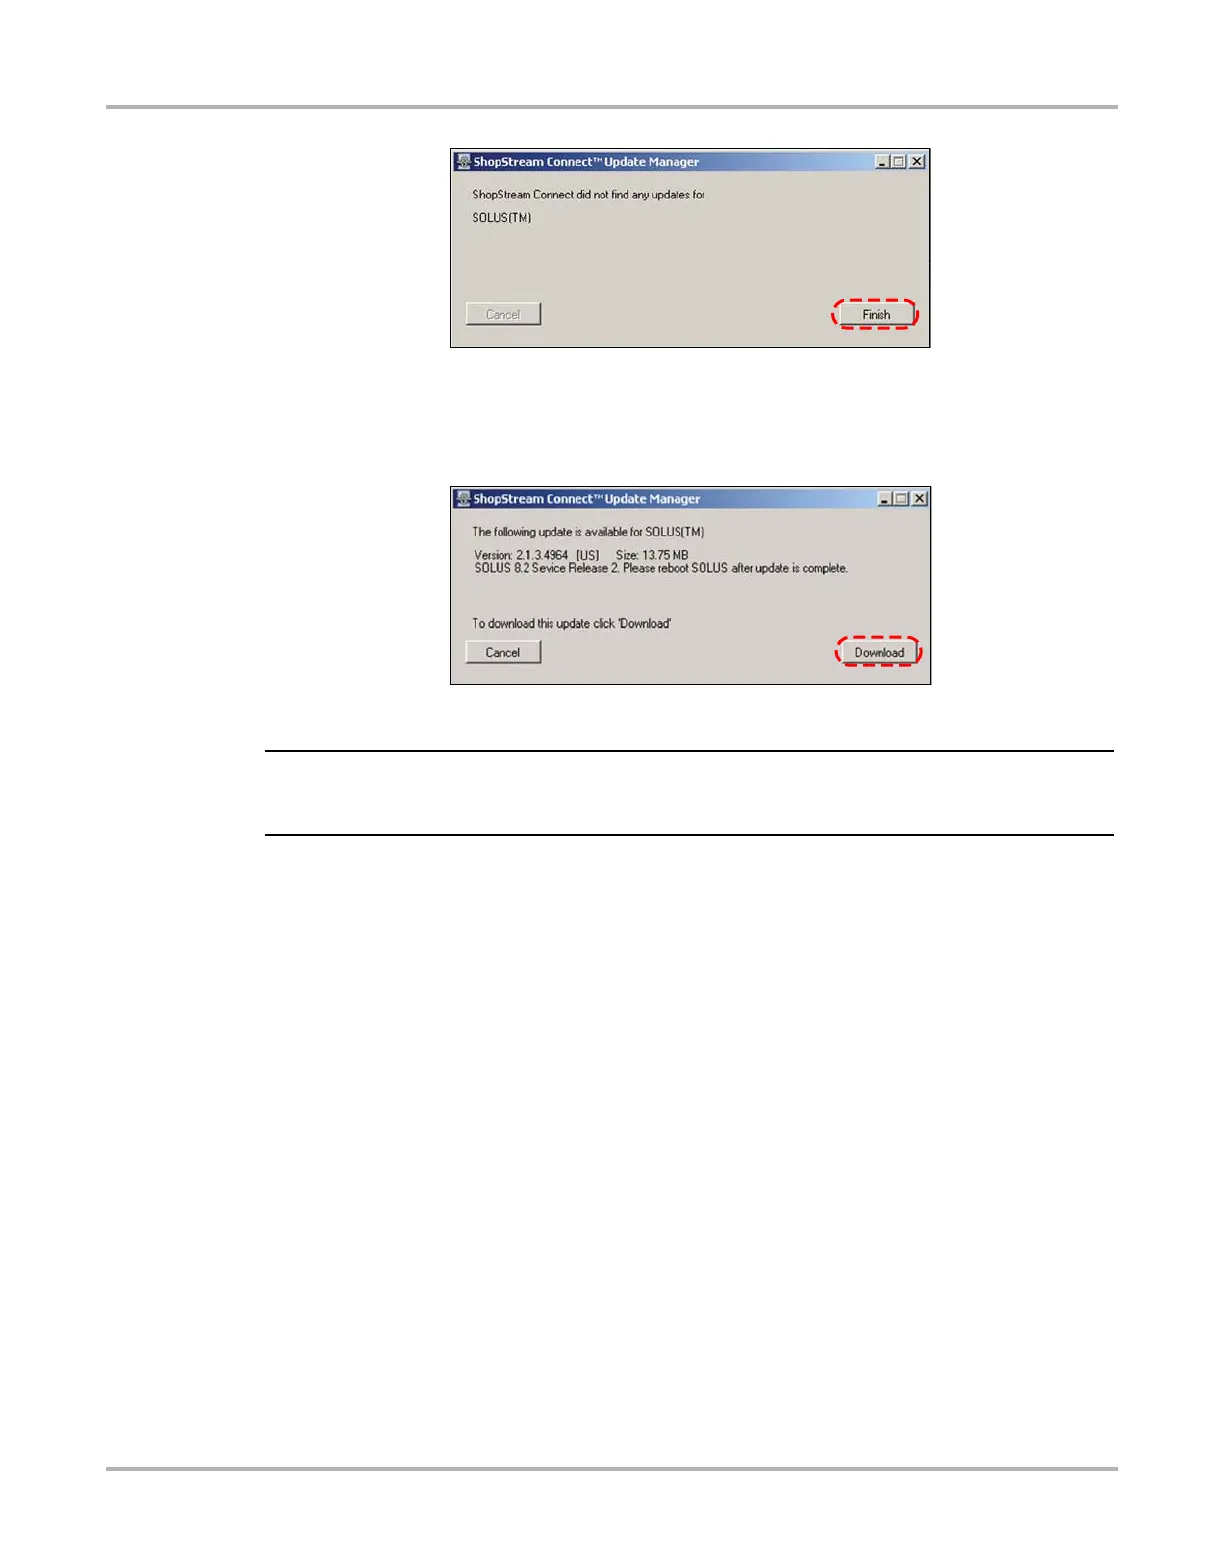
Figure C-12 Sample no updates available screen
b. If an upgrade is available, an updates found message displays (Figure C-13). Select
Download to begin the upgrade process and continue to Step 8.
Figure C-13
Sample update available screen
NOTE:
i Each service upgrade is unique. The time involved will vary and some additional steps may be
required. Follow any on-screen instructions to complete the process.
8. When the “complete” message displays, select Finish to close the Update Manager.
9. Remove the USB cable to disconnect the tool from the PC.
10. Press the Power button on SOLUS to exit Connect to PC mode.
The upgrade is now downloaded, but not installed. The installation process automatically
begins when SOLUS is powered on. SOLUS should automatically reboot after exiting
Connect to PC mode. If not, power on the tool.
11. After SOLUS powers on, the upgrade installation begins. The install may take several minutes
and a series of screens tracks the progress. Do not press any buttons or disrupt power during
the installation.
When the main menu displays, the installation is complete and your SOLUS scan tool is ready
for use.