HCD-GT3D
23
[DVD COLOR SYSTEM MODE]
This mode let you change the color system of the video output
from PAL to NTSC or vice-versa.
Procedure:
1. Press [\/1] button to turn on the system.
2. Press [FUNCTION] button and turn the [MULTI CONTROL]
knob to select “DVD/CD” function, then press [ENTER]
button.
3. Press [ENTER] button and [MIC ECHO] button
simultaneously and hold for 3 seconds.
4. The message “PAL” or “NTSC” appears on the fl uorescent
indicator tube.
• To release from DVD Color System Mode
1. Once the color system has been selected, the mode is fi xed
there after. If you wish to change the mode again, perform the
above item 2 again.
[DVD SERVICE MODE]
This mode let you make diagnosis and adjustment easily by using
the remote commander and the TV. The instructions, diagnostic
results, etc. are given on the on-screen display.
• TEST DISC LIST
Be sure to use the DVD disc that matches the signal standards
of your region.
• CD
YEDS-18 (Part No.: 3-702-101-01)
PATD-012 (Part No.: 4-225-203-01)
HLX-A1 (Part No.: J-2501-307-A)
• DVD SL (Single Layer)
NTSC : HLX-503 (Part No.: J-6090-069-A)
HLX-504 (Part No.: J-6090-088-A)
HLX-513 (Part No.: J-2501-305-A)
PAL : HLX-506 (Part No.: J-6090-077-A)
• DVD DL (Double Layer)
NTSC : HLX-501 (Part No.: J-6090-071-A)
HLX-505 (Part No.: J-6090-089-A)
HLX-514 (Part No.: J-2501-306-A)
PAL : HLX-507 (Part No.: J-6090-078-A)
• Procedure to enter to DVD Service Mode:
1. Press [\/1] button to turn on the system.
2. Press [FUNCTION] button and turn the [MULTI CONTROL]
knob to select “DVD/CD” function, then press [ENTER]
button.
3. Press [SOUND FIELD] button and [VOCAL FADER] button
simultaneously and hold 3 seconds.
4. The message “SERVICE IN” appears on the fl uorescent
indicator tube.
The display of the “Model Name” of the “Remocon Diagnosis
Menu” change with the model and the destination appears on
screen display. Refer to below on the model name.
MHC-GT3D: GV2
Remocon Diagnosis Menu
0. External Chip Check
1. Servo Parameter Check
2. Drive Manual Operation
3. Emergency History
4. Version Information
Model Name
IF-con
Syscon
: MHC-GT3D_ XX
*1
: Ver. XX.XX (XXXX)
: Ver. X.XXX
*1: Changes depending on destination
5. To execute each function, press its number by using numeric
button on the remote commander.
6. To release from this mode, press [\/1] button to turn off the
system.
• Execute IOP Measurement
In order to execute IOP measurement, the following standard
procedures must be followed.
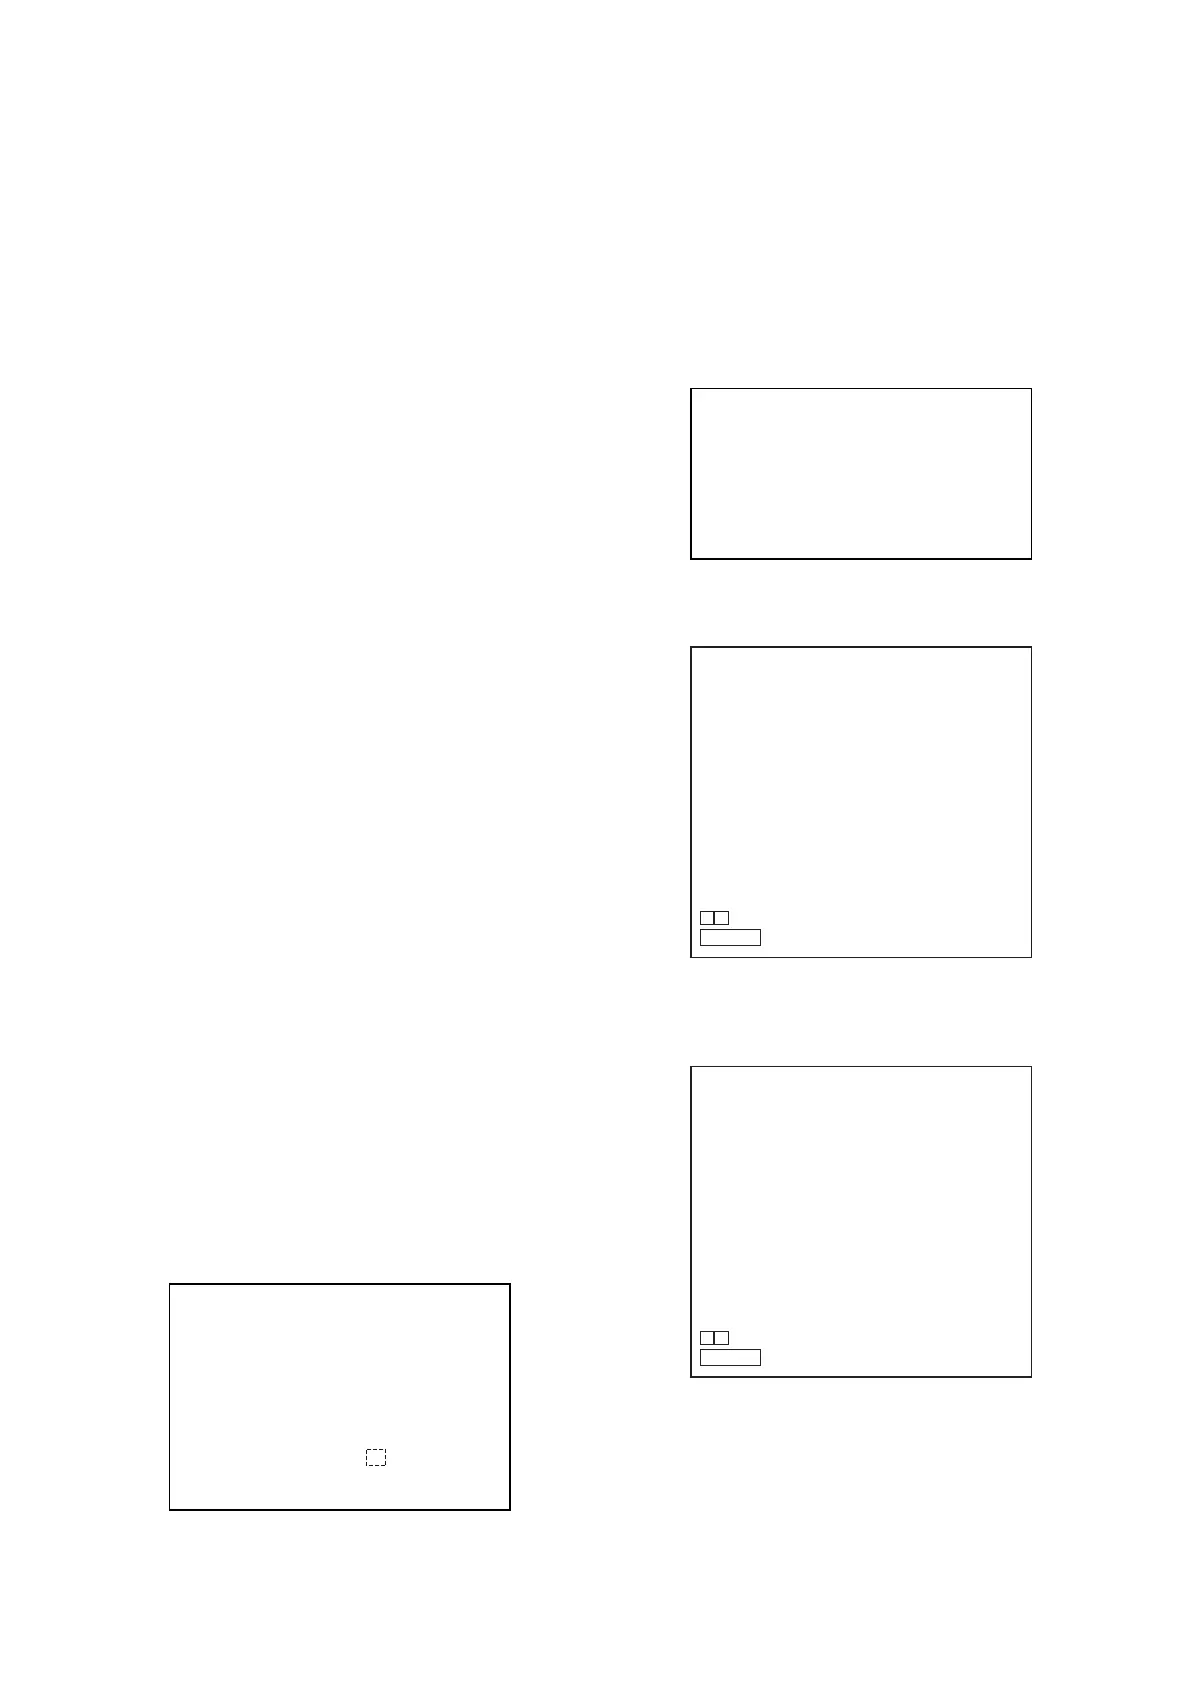
1. From the Top Menu of Remocon Diagnosis Menu, select
“2. Drive Manual Operation” by pressing the [2] button on
the remote commander. The following screen appears on the
onscreen display.
Drive Manual Operation
1. Servo Control
2. Track/Layer Jump
3. Manual Adjustment
4. Tray Aging Mode
5. MIRR time Adjust
0. Return to Top Menu
2. Select “3. Manual Adjustment” by pressing the [3] button on
the remote commander. The following screen appears on the
on-screen display.
Manual Adjust
1. Track Balance Adjust:
2. Track Gain Adjust:
3. Focus Balance Adjust:
4. Focus Gain Adjust:
5. Eq Boost Adjust:
6. Iop:
7. TRV. Level:
8. S curve (FE) Level:
9. RFL (PI) Level:
0. MIRR Time:
O o Change Value
RETURN Return to previous menu
3. Select “6. Iop:” by pressing the [6] button on the remote
commander.
4. Wait until a hexadecimal number appears in the on-screen
display as below:
Manual Adjust
1. Track Balance Adjust:
2. Track Gain Adjust:
3. Focus Balance Adjust:
4. Focus Gain Adjust:
5. Eq Boost Adjust:
6. Iop. ED
7. TRV. Level:
8. S curve (FE) Level:
9. RFL (PI) Level:
0. MIRR Time:
O o Change Value
RETURN Return to previous menu
5. Convert data from hexadecimal to decimal by using
conversion table.
6. Please fi nd the label on the rear of the BU (Base Unit).
The default IOP value is written in the label.
7. Subtract between these two values.
8. If the remainder is smaller than 93 (decimal), then it is OK.
However if the value is higher than 93, then the BU is defective
and need to be change.
9. Press [RETURN] button on the remote commander to return
to previous menu.
Ver. 1.1
 Loading...