139
You can also enter a difference value from the currently
set value using the [TRIM] button.
For details, see “Entering a difference from a current
value” (page 77).
To change parameters to the closest detent
position
Press the [CTR] button once.
To return two-dimensional transform
para
meters to the default values
Press the [CTR] button twice. Or
press and hold the
[SHIFT] button and press the [CTR] button.
To return two-dimensional transform
param
eters to the initial settings
Press the [CLR WORK BUFR] button once.
The two-dimensional transform p
arameters return to the
initial status saved data setting values.
To return all resizer parameters to the initial
se
ttings
Press the [CLR WORK BUFR] button twice. Or press
and hold the [SHIFT]
button and press the [CLR WORK
BUFR] button.
The resizer parameters return to the initial status saved
da
ta setting values.
To return a switcher bank to the initial settings
Press the [M/E DEF RCALL] button twice.
The selected switcher bank returns to the initial status
sav
ed data setting values.
Setting Rotation
Rotating a key (menu)
1
Open the Home > M/E-1 > Key1 > Resizer/Proc Key
> Resizer Adjust/DME Select menu (11101.41).
2
Set the [Resizer] button to the on state.
3
In the [Rotation] group, select a direction of rotation.
X: Rotat
ion in horizontal direction
Y: Rotat
ion in vertical direction
When the [X] button
is selected, set the following
parameters.
When the [Y] button is selec
ted, set the following
parameters.
Rotating a key (key control block)
1
Press the [M/E-1] button, turning it on.
2
Press the [KEY1] button, turning it on.
3
Press the [RSZR] button, turning it on.
4
Select the rotation direction for the key.
Press the page selection button to display page 2/3 of
the
setting buttons.
Select the rotation directi
on using the following
buttons.
[ROT X] button: Rota
tion in horizontal direction
[ROT Y] button: Rota
tion in vertical direction
When the [ROT X] button is selected, set the
foll
owing parameters.
When the [ROT Y] button is selected, set the
foll
owing parameters.
Removing the Virtual Image
When the perspective of an image is changed, portions
beyond the virtual viewpoint may be displayed wrapped
around on the monitor screen (virtual image). You can
make a setting so the virtual image portions are not
displayed.
1
Open the Home > M/E-1 > Key1 > Resizer/Proc Key
> Resizer Adjust/DME Select menu (11101.41).
2
Set the [Resizer] button to the on state.
3
Set the [Wrap Around] button to the on state.
The virtual image portions are removed.
Note
No. Parameter Adjustment
1 Rotation X Rotation in horizontal
direction
4 Perspective Viewpoint position
(pers
pective)
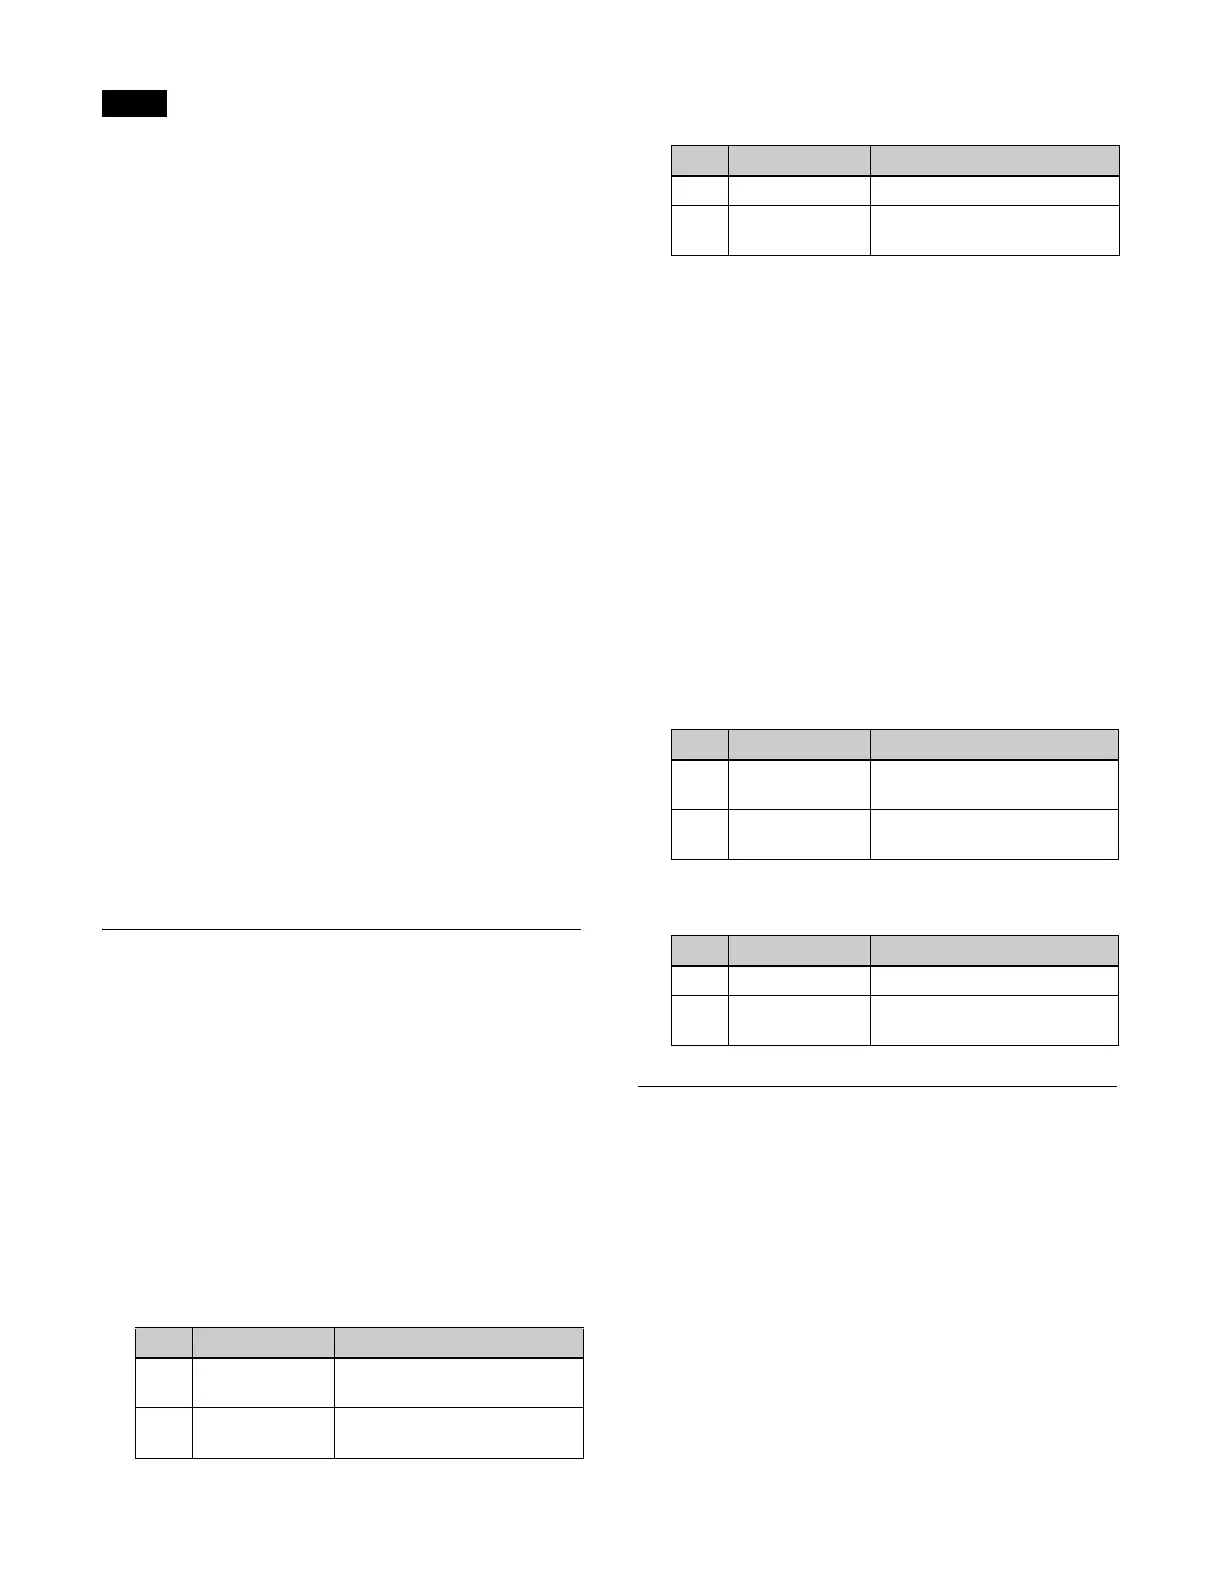
No. Parameter Adjustment
2 Rotation Y Rotation in verti
cal direction
5 Perspective Viewpoint position
(persp
ective)
No. Parameter Adjustment
1 ROT X Rotation in horizontal
dir
ection
4 PERS Viewpoint position
(persp
ective)
No. Parameter Adjustment
2 ROT Y Rotation in verti
cal direction
4 PERS Viewpoint position
(persp
ective)