154
6
Press the [Color 1] button and set color 1 using the
following parameters.
The [Color 1] button parameters are shared with the
[Matte] button parameters in th
e [Edge Fill] group in
the Home > M/E-1 > Bus/Transition > Wipe > Pattern
Mix/Edge/Direction menu (11109.33).
7
Press the [Color 2] button and set color 2 using the
following parameters.
To swap color 1 and color 2 in a color mix
Open the Home > M/E-1 > Bus/
Transition > Wipe >
Matte Adjust menu (11109.34) and set the [Color Invert]
button to the on state.
To set modifiers for a dedicated pattern for a
color mix
You can set the following modifiers in the Home >
M/E-1 > Bus/Transition > Wipe > Matte Adjust menu
(1
1109.34).
Position:
Set the [Position] button to the on state and set the
parameters.
For details about setting parameters, see “Setting the
wipe pattern position (Position)” (page 159).
Multiplication:
Set the [Multi] button to the on state and set the
parameters.
For details about setting parameters, see
“Replicating a wipe pattern (Multi)” (page 160).
Aspect:
Set the [Aspect] button to the on state and set the
parameters.
For details about setting parameters, see “Setting the
aspect ratio of a wipe pattern (Aspect)” (page 160).
Rotation (angle):
Set the [Angle] button in the [Rotation
] group to the
on state and set the parameters.
For details about setting parameters, see “Rotating a
wipe pattern (Rotation)” (page 159).
Rotation (speed):
Set the [Speed] button
in the [Rotation] group to the
on state and set the parameters.
For details about setting parameters, see “Rotating a
wipe pattern (Rotation)” (page 159).
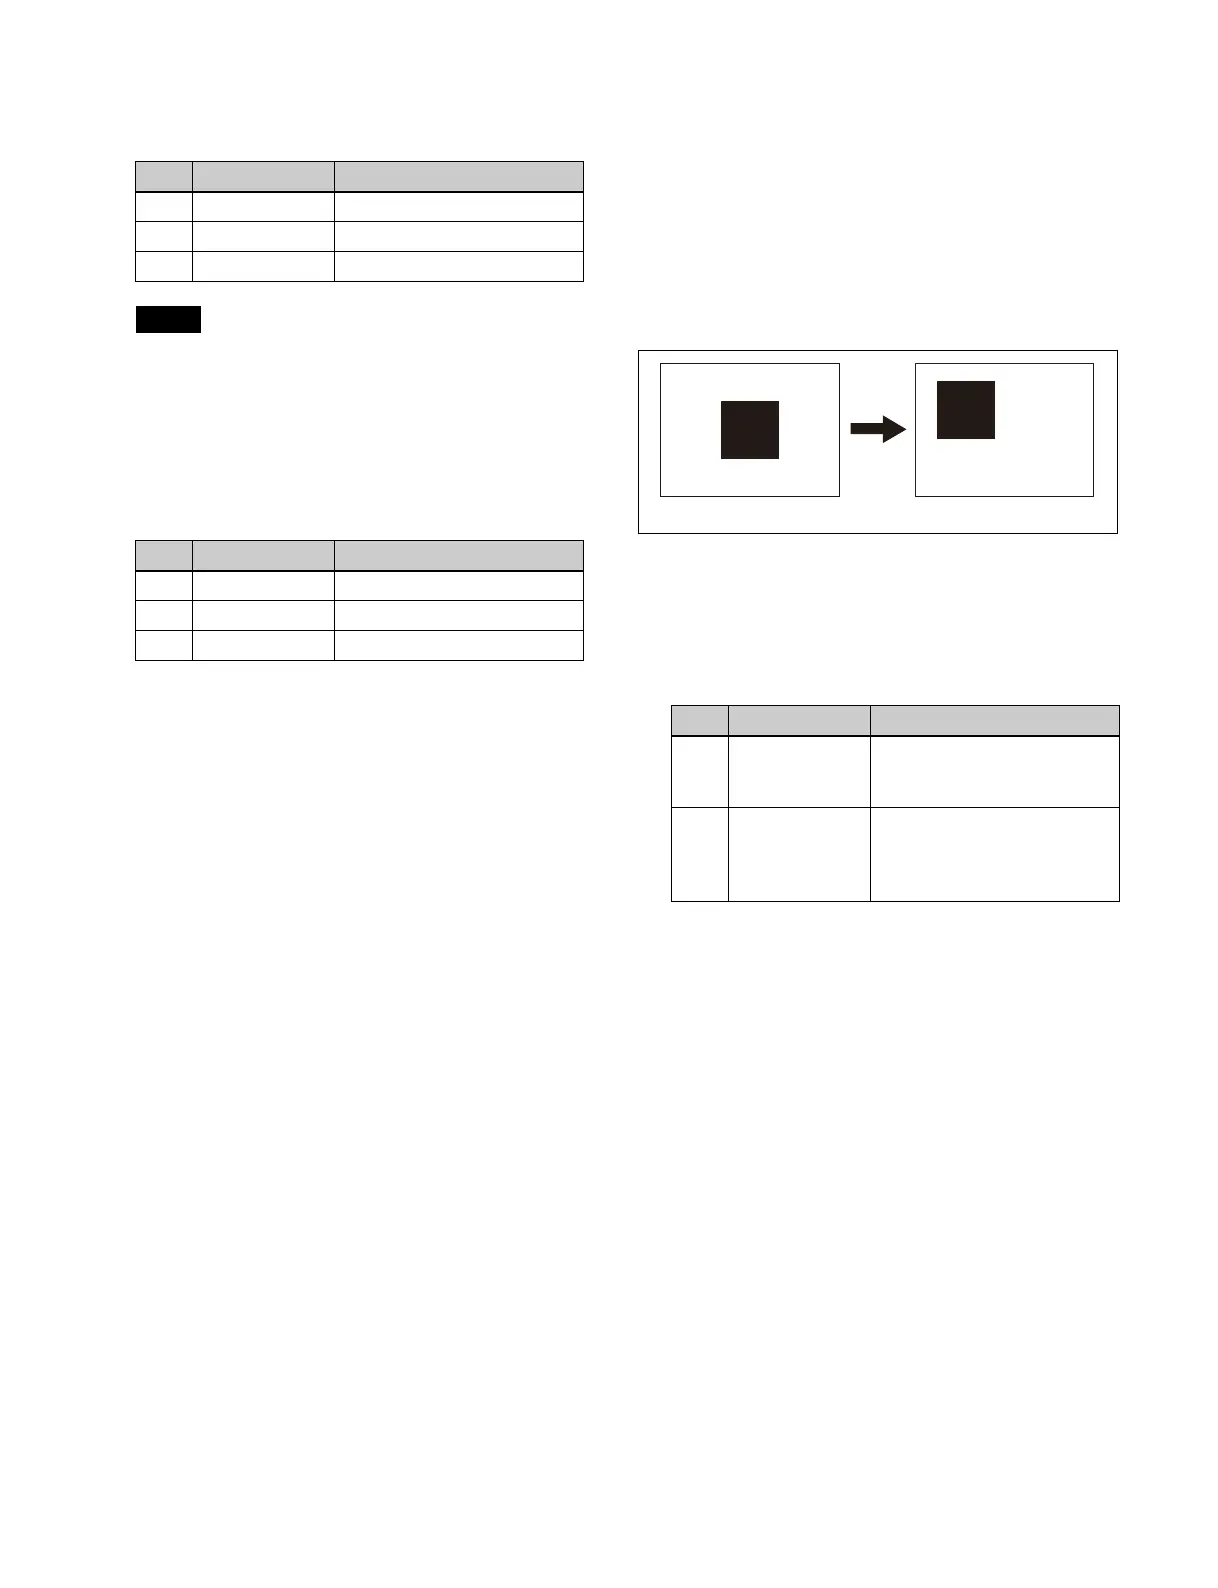
Setting the wipe pattern position
(Position)
You can move a wipe pattern to a desired position.
1
Open the Home > M/E-1 > Bus/Transition > Wipe >
Main Modify menu (11109.35).
2
Set the [Position] button in the [Position] group to the
on state and set the following parameters.
To return the pattern position to the center of the
scr
een
Press the [Center] button in the [Posit
ion] group.
To return a pattern from a moved position to the
cent
er of the screen as a transition progresses
Set the [Auto Center] button in the [Position] group to the
on
state.
No. Parameter Adjustment
1 Luminance Luminance
2 Saturation Saturation
3 Hue Hue
Note
No. Parameter Adjustment
1 Luminance Luminance
2 Saturation Saturation
3 Hue Hue
No. Parameter Adjustment
1 Position H Horizontal position
• Negative values move left.
• Positive values move right.
2 Position V Vertical position
• Negative values move
down
.
• Positive values move up.
Position disabled Position enabled