325
a) You can set a separate macro attachment for each bus.
b) You can also set a macro attachment to buttons with inhibit
enabled.
c) In the case of an event that inserts or
removes a key, the state at the time
of event registration (key on or key off) is also registered in the macro.
When a macro is executed, the event is only reproduced if the key state
matches the registered state.
• After setting a macro attachment to a 2nd row cross-
point button in the cross-point control block in key/
AUX bus delegation mode, if you change the bus
assignment of the 1st row delegation buttons, the macro
attachment setting is deleted.
• After setting a macro attachment to a 3rd row/4th row
cross-
point button in the AUX bus control block (AUX
bus operation mode), if you change the bus assignment
of the 1st row/2nd row delegation buttons, the macro
attachment setting is deleted.
• After setting a macro attachment to an assignable
b
utton, if you change the button setting, the macro
attachment setting is deleted.
• After setting a macro attachment to a cross-point
button
in the cross-point control block, if you change the
function assignment of the button, the macro
attachment setting is deleted.
Executing a macro attachment
To execute a macro assigned to a button or fader lever
using a macro attachment, macro attachments must be
enabled.
You can enable/disable macro a
ttachments using the
following buttons.
• ICP-X7000: [MACRO ATTACH ENABLE] button
a
ssigned to the cross-point pad in the cross-point
control block
• ICP-X1000 series: [MCRO ATTCH ENBL] button
a
ssigned to the function button section in the cross-
point control block
• Button assigned with the “
Macro Attachment Enbl”
utility command
You can also permanently enable or disable macro
at
tachments.
For details about settings, see “Setting the macro
attachment enable/disable co
nfiguration mode”
(page 417).
Setting a Macro Attachment
Selecting a macro register
You can select a macro register to assign to a control
panel button or a fader lever.
1
Open the Home > Register > Macro > Attachment
menu (18307.31).
2
Press the [Target Register] button and enter a register
number in the numeric keypad window.
When a macro register is
recalled using a control
panel, the register number of the recalled register is
set.
For details about recalling a macro register, see
“Executing a Macro” (page 321).
Setting a macro attachment to a button
1
Select a macro register.
For details about selecting a register, see “Selecting
a macro register” (page 325).
2
Assign a macro register to a button.
To assign in pre-macro mode
Press and hold the [PRE MACRO] button in the
cross-po
int control block and press the assignment
target button.
To assign in post-macro mode
Press and hold the [POST MACRO] button in the
cross-po
int control block and press the assignment
target button.
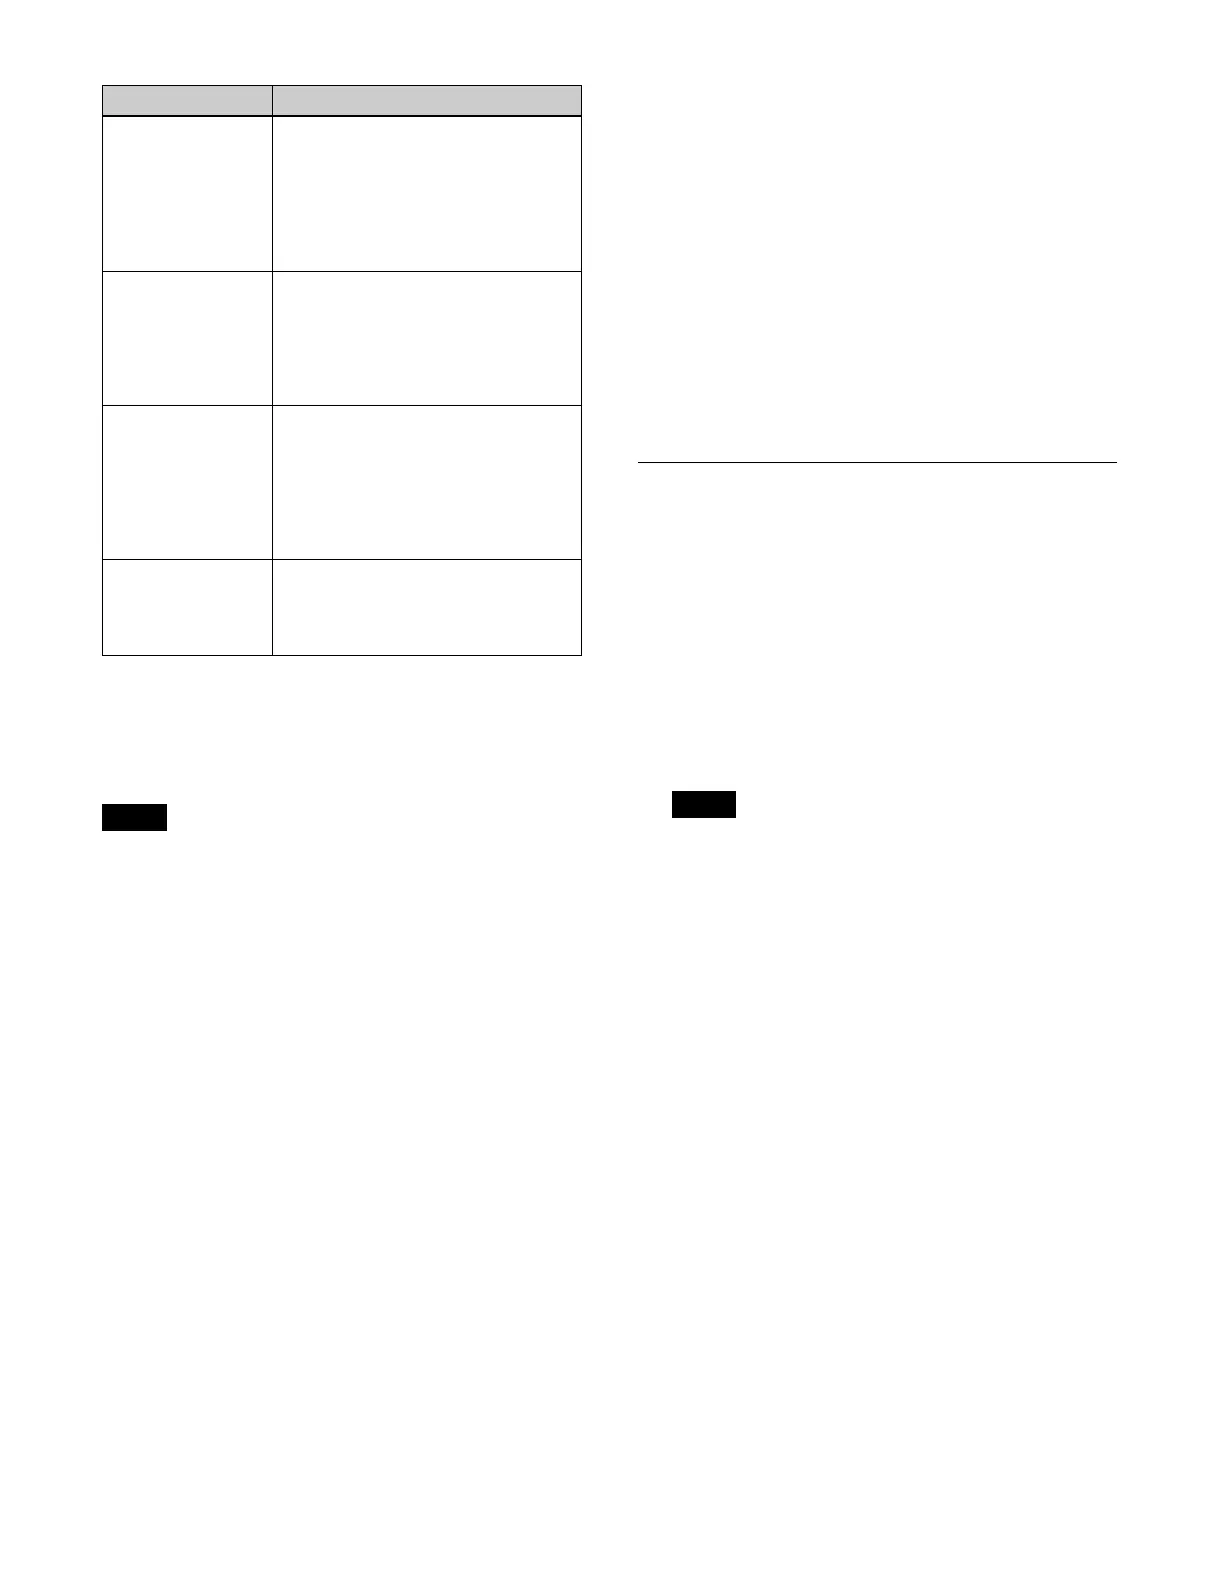
Transition control
block (simple type)
• Fader lever
• Buttons assigned with the following
functions.
– Auto transition
–Cut
– Select transition type
– Enable/disable pattern limit
Independent key
transitio
n control
block
• Buttons assigned with the following
functions.
– Auto transition in an independent
key transition
c)
– Key on/off in an independent key
transition
c)
Key fader control
block
• Buttons assigned with the following
functions.
– Select transition type
– Auto transition in an independent
key transition
c)
– Key on/off in an independent key
transition
c)
Device control
block
• [CUE] button
• [PLAY] button
• [STOP] button
• [START TC] button
Notes
Control block Button
Note