Waukesha Cherry-Burrell
®
Brand Universal 3 Pump Maintenance
11/2018 95-03103 Page 35
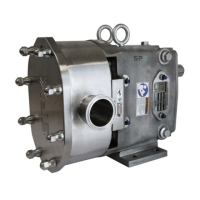
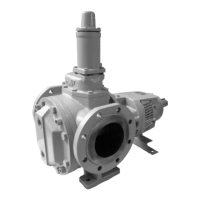
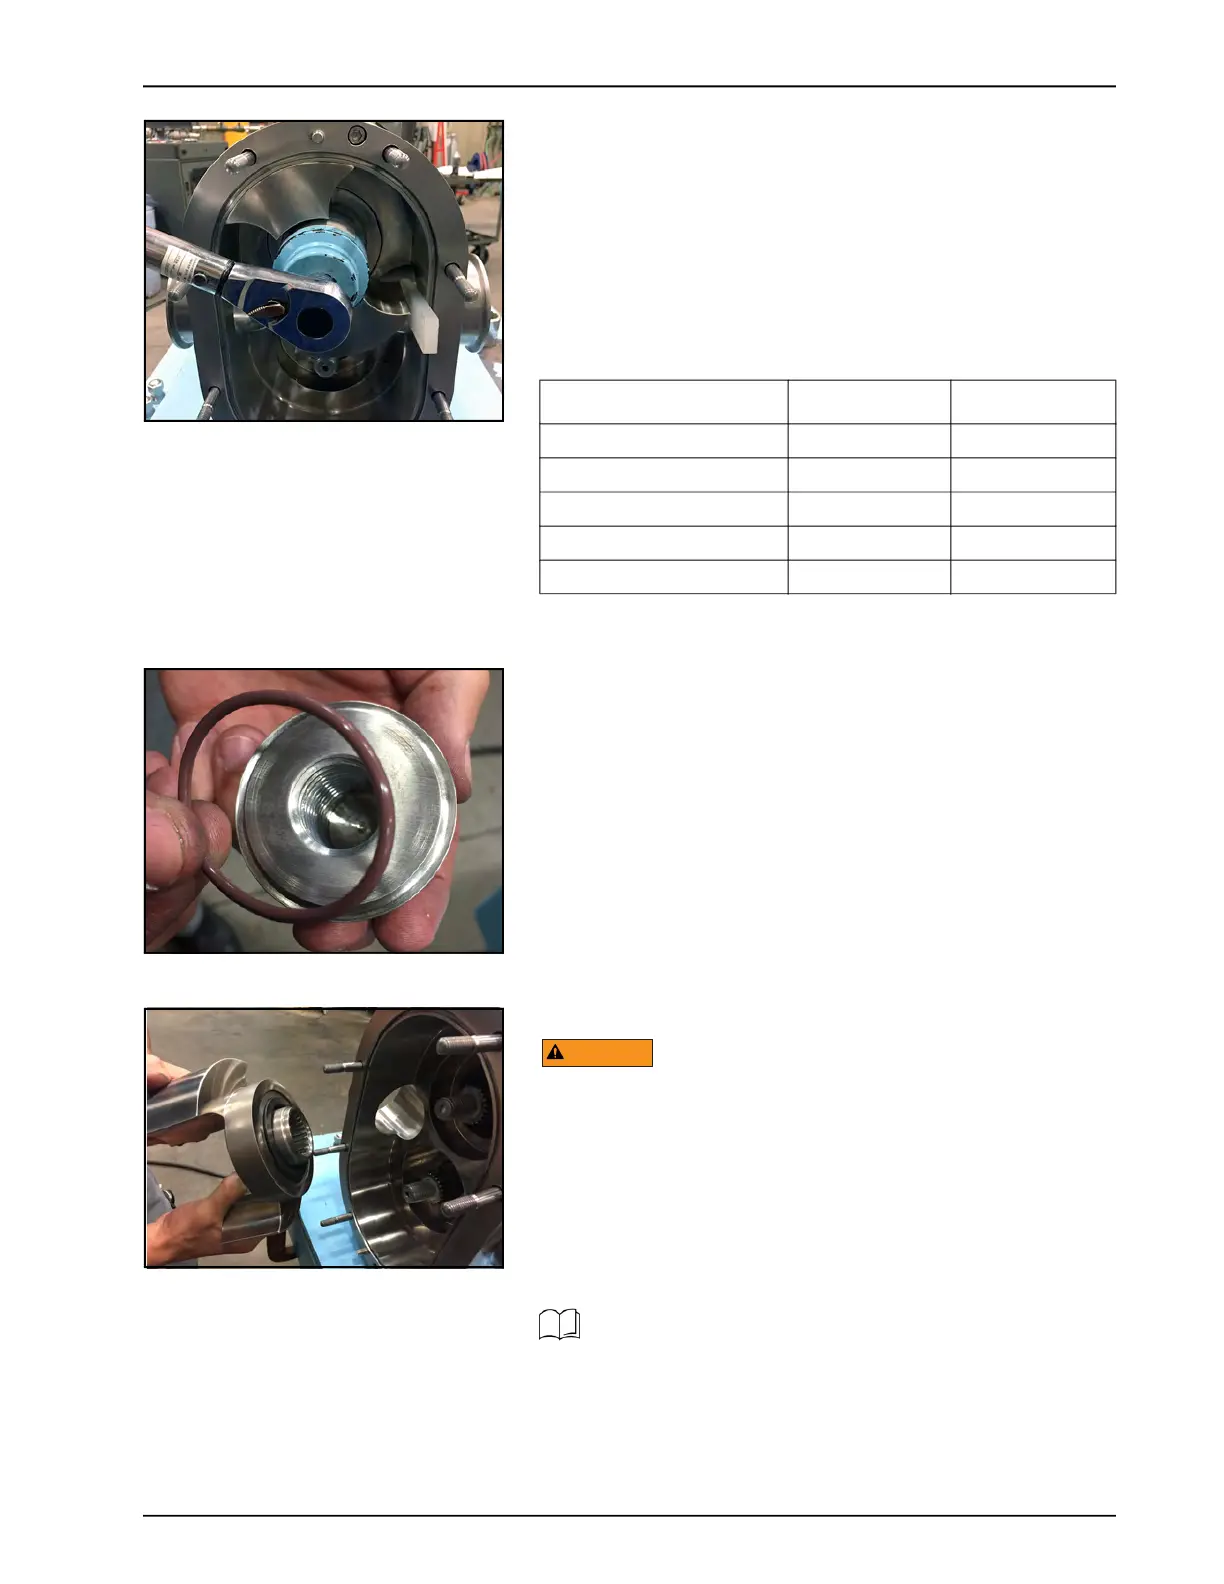
Remove Rotor Nuts
1. Use the rotor blocking tool (part number 139790+) to keep
the rotors from turning when removing the rotor nuts.
NOTE: When working on a rotor, always block the rotor against
the body, not against the other rotor. See Figure 38.
NOTE: SPX FLOW recommends using the Non-Marring Socket
Tool for Rotor Nuts to protect the rotor nut. See Table 5 and page
131.
2. Remove the rotor nuts.
3. Remove the rotor nut O-rings from each rotor nut.
NOTE: Discard the O-rings from the rotor nut; these are
intended for one-time use only.
Remove Rotors
The pump components and piping may contain sharp edges.
Handle the rotors carefully because edges may be sharp. Wear
gloves while installing and servicing the pump to help avoid
injuries from these hazards.
Remove the rotors by hand. Place the rotors on a protected sur-
face to prevent damage to close-tolerance parts.
NOTE: Mechanical seal is shown in Figure 40.
For mechanical seals, continue.
Figure 38 - Remove Rotor Nut
Table 5: Rotor Nut Wrench Size and Socket Tool
U3 Model Wrench Size Socket Tool
006, 015, 018 15/16" 140074+
030, 040 1-1/4" 139795+
045, 060, 130 1-5/8" 139796+
180, 220 2-1/4" 139797+
210, 320 2-3/8" 126536+
Figure 39 - Remove O-ring
Figure 40 - Remove rotor
For O-ring seals, skip to page 67.