Waukesha Cherry-Burrell
®
Brand Universal 3 Pump Maintenance
11/2018 95-03103 Page 79
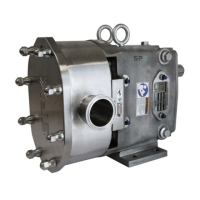
6. Torque the rotor nuts to the specified torque (see Table 14).
Remove the rotor blocking tool after torquing.
Use a torque wrench to tighten the rotor nuts to the proper torque.
Failure to tighten the nuts properly could result in the nuts
loosening during operation, causing damage to the pump.
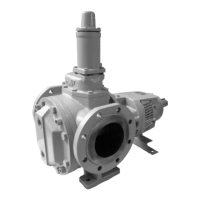
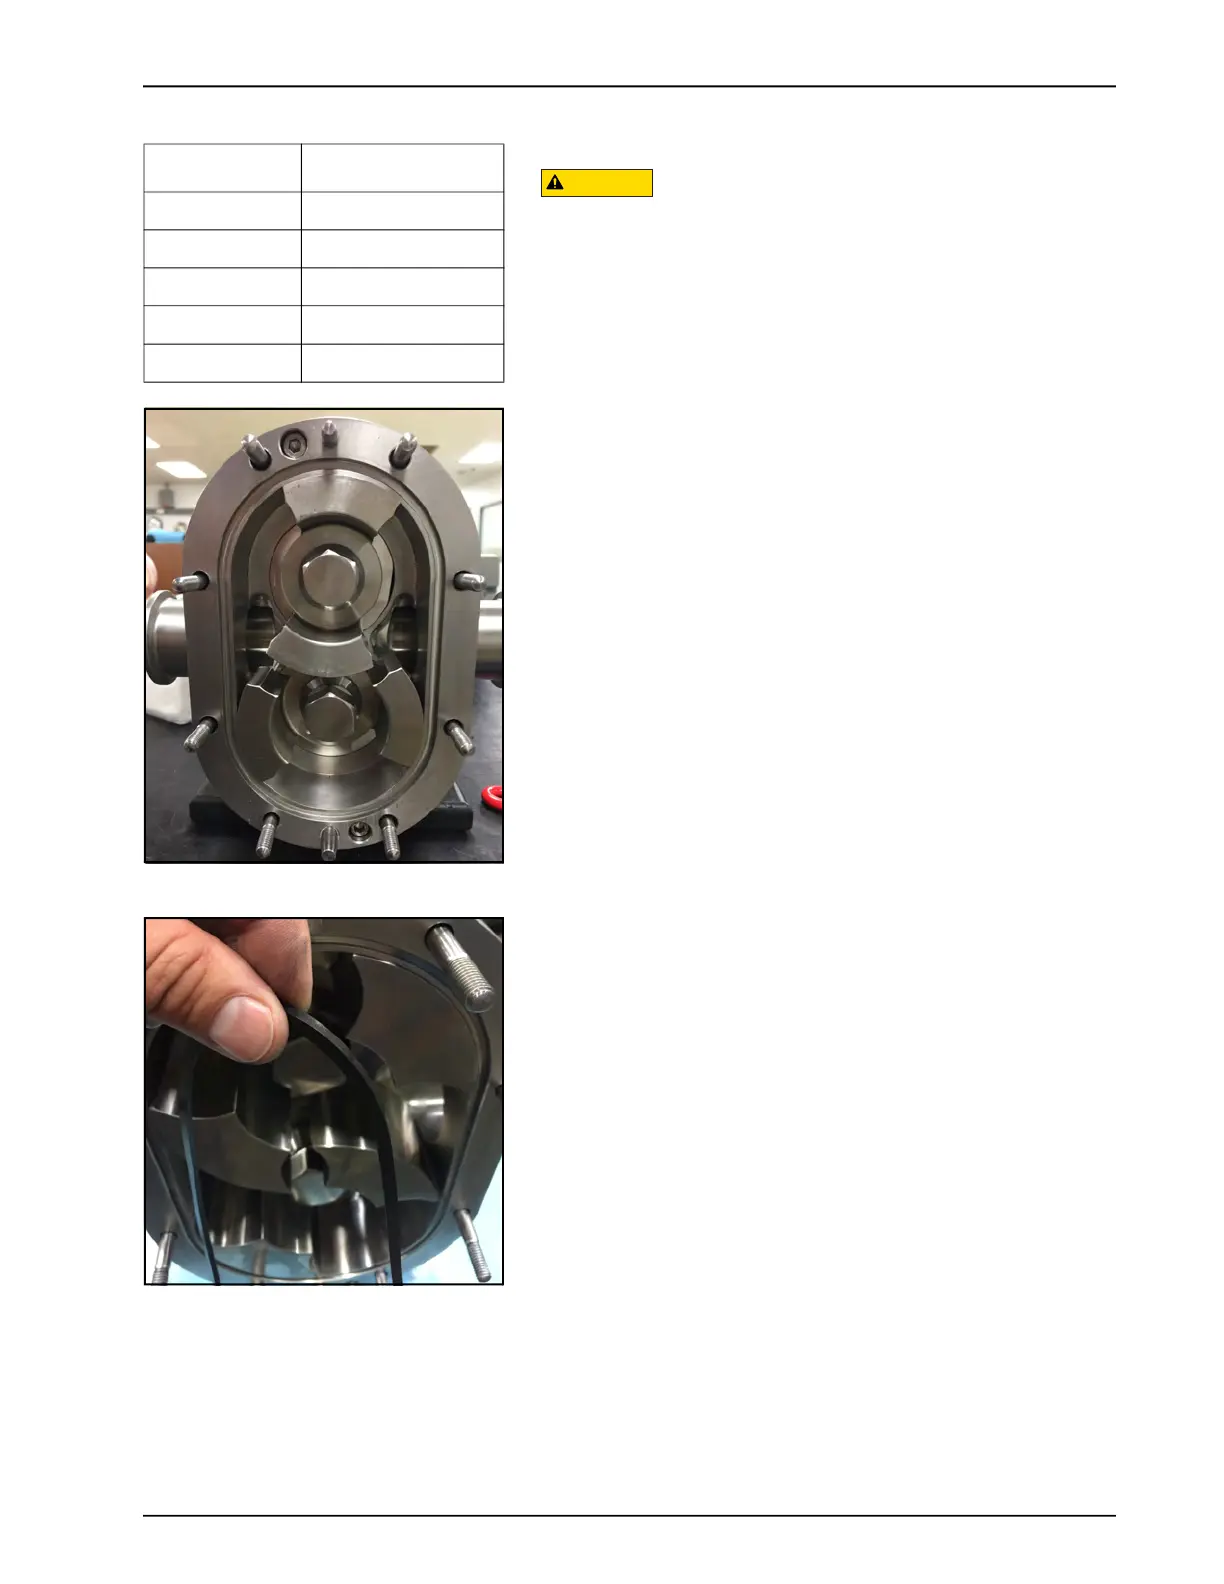
7. Figure 187 shows the rotors installed.
8. Double Mechanical Seal only: Turn on the flush and make
sure there are no leaks. If there are leaks, check for pinched
O-rings or cracked seals.
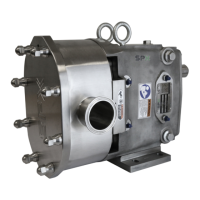
Install Cover
1. Install the cover gasket into the groove on the pump body.
Table 14: Rotor Nut Torque
U3 Model Rotor Nut Torque
006, 015, 018 50 ft-lb (68 N·m)
030, 040 120 ft-lb (163 N·m)
045, 060, 130 250 ft-lb (339 N·m)
180, 220 325 ft-lb (441 N·m)
210, 320 375 ft-lb (508 N·m)
Figure 186 - Rotors installed
Figure 187 - Install cover gasket